Overview
The Campaign 2.0 migration involves updating existing video marketing campaigns to leverage the enhanced capabilities of the latest Brightcove features. These include a new Player plugin for enriched video experiences and new interactivity options through Lead Forms integrated directly within the Brightcove Player.
Supported third-party platforms
The following third-party platforms are currently supported for this workflow:
- client-side data capture (MAPs Tracking)
- Marketo
- Hubspot
- server-side data capture (Integration Set Up)
- Marketo
- Hubspot
- Salesforce
- Eloqua
Disable Campaign
If you are editing an existing Campaign player, you have to remove the existing Campaign plugin since Campaign 2.0 doesn’t work with Campaign Enabled players.
Follow these steps to disable your Campaign Enabled players:
- Login to Video Cloud Studio.
- Open the Players module.
- Click the link for the Player you want to open the player properties page.
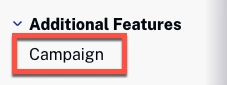
- Click Campaign in the left navigation menu.
- Disable the Enable Campaign checkbox.

Enable the Viewer ID Tracking
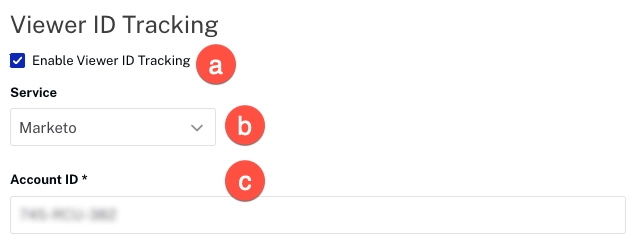
Follow these steps to enable the Viewer ID Tracking plugin from the player details view:
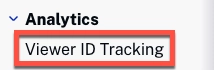
- Click the Viewer ID Tracking in the left navigation menu.
- Click the Enable Viewer ID Tracking checkbox.
- Choose the 3rd Party Service from the Service dropdown (Hubspot, Marketo).
- Provide your respective Account ID.
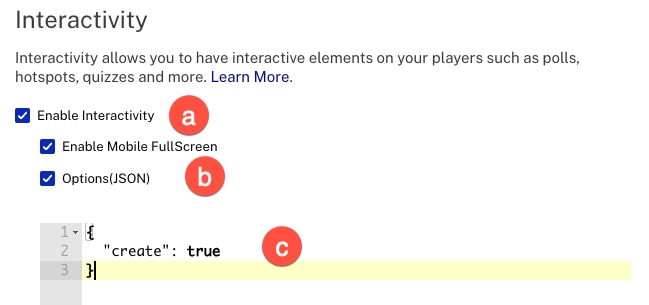
Interactivity Player Set Up
To Set Up your Player to automatically create Interactive Projects that can receive Lead Forms, from the player details view, follow these steps:
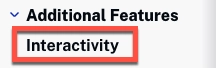
- Click Interactivity in the left navigation menu.
- Check Enable Interactivity.
- Check Options (JSON) to enable Interactivity projects auto-creation. This reveals a textarea where you can insert a JSON configuration.
- Inside the textarea, insert the following JSON.
{
   "create": true
  }
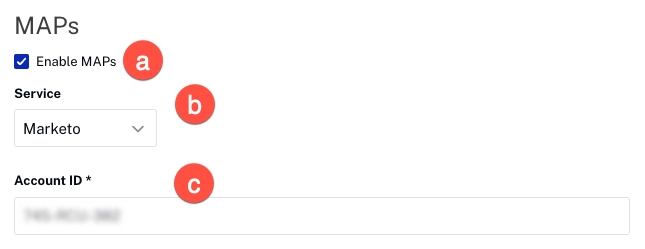
Set up MAPs Tracking
To Setup MAPs (Marketo & Hubspot Client-Side Only) from the player details view, follow these steps:
- Click the MAPs in the left navigation menu.
- On the MAPs page, select the Enable MAPs checkbox.
- Select your Service.
- Provide your respective Account ID.
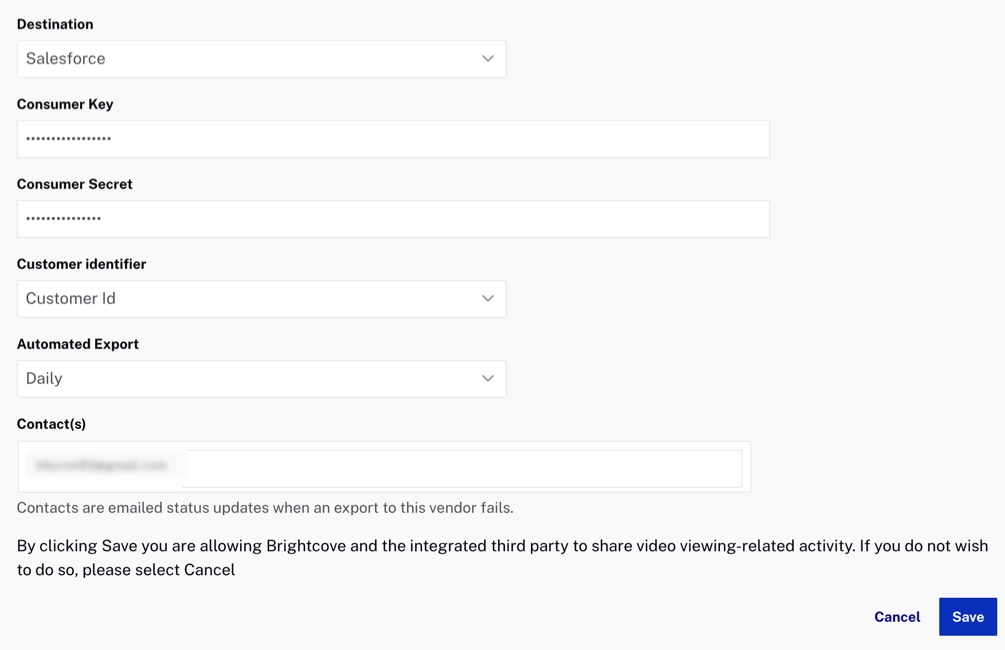
Integration Set Up
Setting up an integration is straightforward. However, you will need some information from the third-party vendor - exactly what you need will vary for different services, but will be clearly indicated by input fields in the setup dialog. Typical requirements are "Account id", "API key", and/or "Secret key". If you are unsure how to find or obtain a required piece of information, consult the vendor's documentation or support service.
Steps
- Login to Studio
-
Click the Integrations icon in the left-side navigation to open the Integrations module:
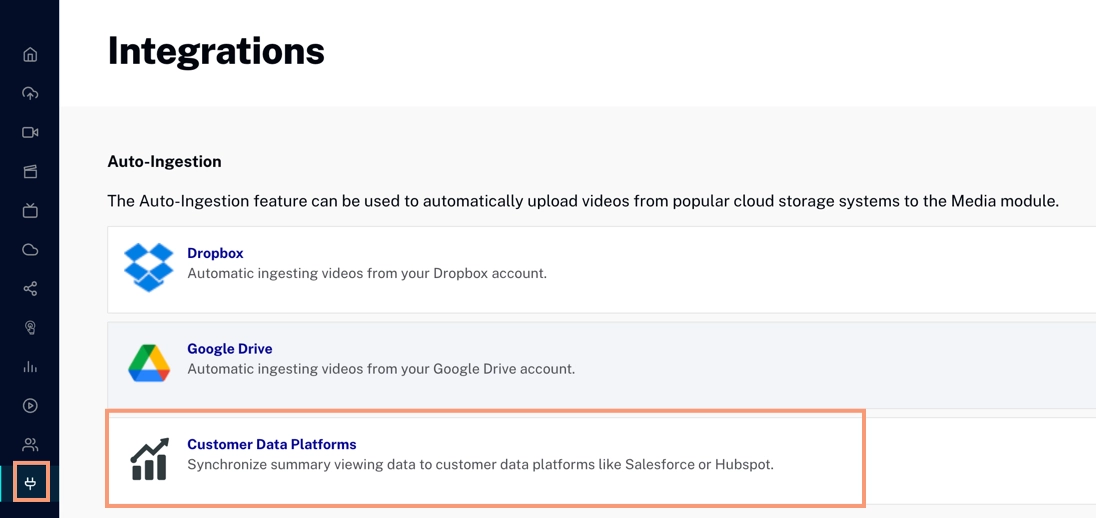
Integrations Module -
Click Customer Data Platforms to go to the data platform integrations:
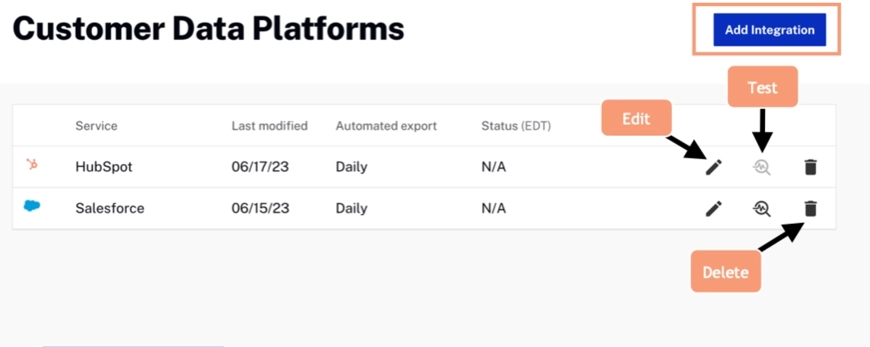
Customer Data Platform Integrations - As you see in the screenshot above, any existing integrations will be shown as a list and can be modified (see the next section). Here we will click to create a new integration.
-
In the Add Integration dialog, first select the service you want to integrate:
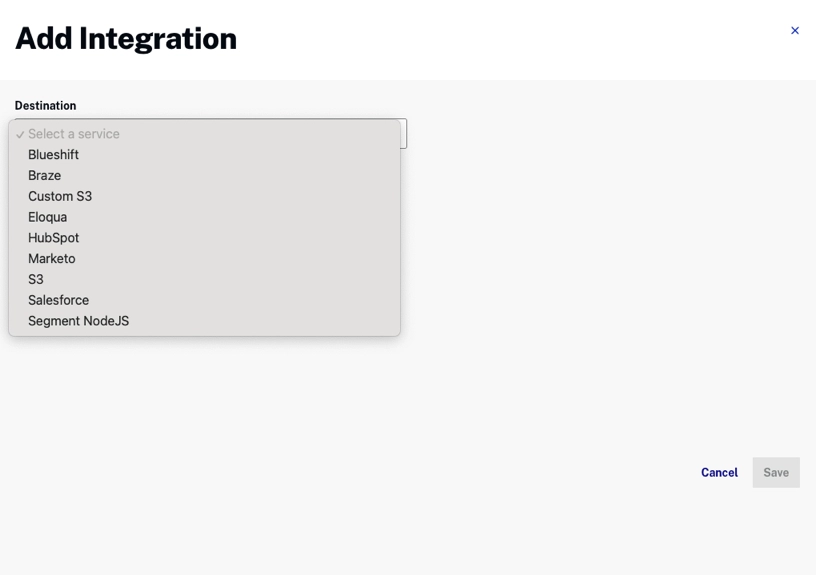
Add Integration Dialog -
Next, fill in the required information according to the service you are integrating:
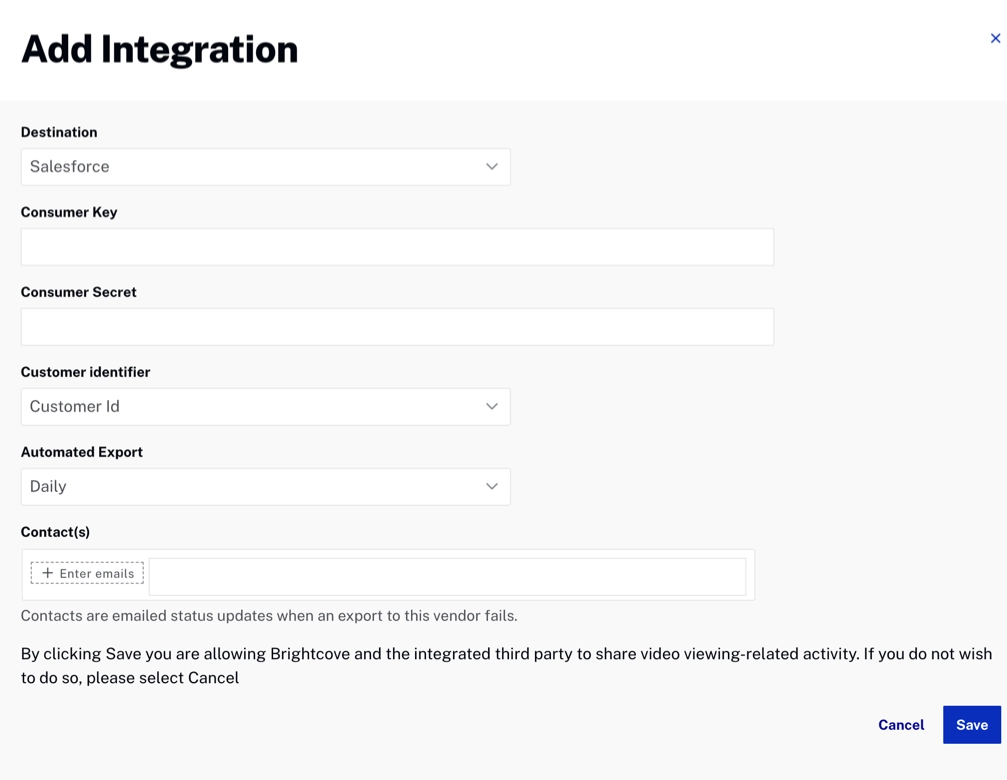
Add Information for Integration Sample - Click to complete the setup.
Modify an integration
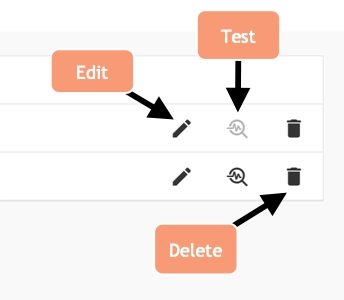
As shown above, in the list of existing integrations, there are three icons that allow you to:
- Edit the integration
- Test the integration
- Delete the integration
If you click the Edit icon, a dialog similar to the Add Integration dialog will appear:
Note the additional Integrations Properties tab. For some services, there will be additional properties you can set here; for others there are no additional properties.