Using Live RTMP Outputs to Stream to Facebook and YouTube
Introduction
The Live module can be used to broadcast a live event to both desktop and mobile devices. After entering your event information into the Live module, you will be provided with a set of encoder settings that you plug into your on-site encoder. Typically, the live stream will be published inside of a Brightcove Player. The Live module Control Room page provides the ability to enter additional RTMP output URLs. The RTMP output settings can be used to send the live stream to social media sites. Note that RTMP output hours will be billed against event hours. This topic will cover the steps to create a simple live event and then show how the RTMP outputs can be used to stream a live event to Facebook and YouTube.
Creating a new event
To create a new event, follow these steps.
- Open the Live module.
- From the Manage Events page click . The Create Live Event page will open.
- Enter the Event Name and any required custom fields.
- Select a Live Ingest Profile.
- Select Convert event to video asset when complete to save a VOD version of the live video to your account.
- Click Stream Options and select a Region. To reduce latency, you should select the region that is closest to where your encoder is located.
- Click Advanced Options and configure the advanced options as appropriate.
- Click to start the live event. The Control Room page will open with details about the live event including the Streaming Endpoint (RTMP URL) and Stream Name which will be used by your encoder.
- Start streaming from the encoder and the live stream will appear in the Control Room page.
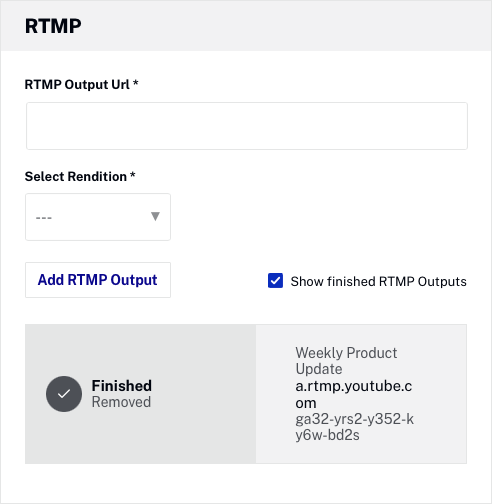
Once the live event has started, the live stream can be sent to Facebook and/or YouTube.
When an RTMP output is deleted, an option to Show finished RTMP outputs will be available. Check that option to view finished RTMP outputs.
Streaming to Facebook Live
Facebook Live is a live video streaming feature on Facebook that allows you to broadcast a live event out to your audience through your company page or personal profile. Live videos will show up in an individual's news feed during the live event, as well as after the event has ended.
Once the live streaming has started in the Live module, follow these steps to use the live stream in Facebook.
- Login to your Facebook account.
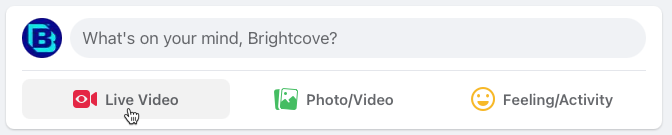
- Create a new post and click on the Live Video option.
- In the Go live section click Create Live Video.
- If the Facebook Video Producer dialog opens, close it.
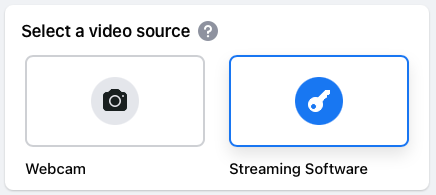
- In the Select a video source section, click on Streaming Software.
- Facebook will display a Stream Key.
- Expand the Advanced Settings section to reveal the Server URL. The Stream Key and Server URL will be used in the Live module.
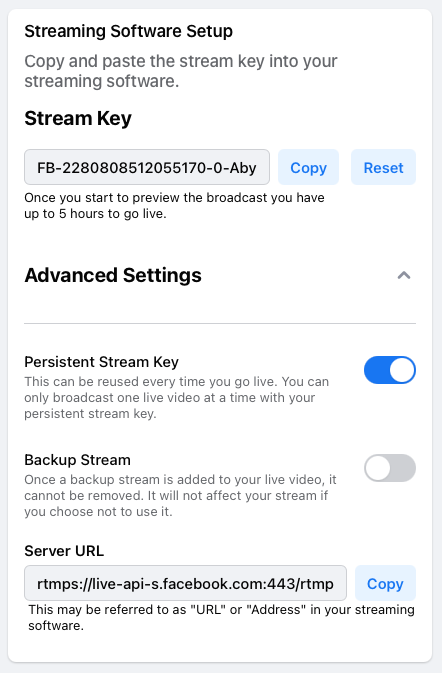
- Copy the Server URL to the clipboard.
- In the Live module, paste the Server URL into the RTMP Output URL field on the Control Room page.
- Copy the Stream Key from Facebook to the clipboard.
- In the Live module, paste the Stream Key at the end of the RTMP Output URL field. The RTMP Output URL field will be the Facebook Server URL with the Stream Key appended, all as one value.
- Select a rendition from the Select Rendition dropdown
.

- Click Add RTMP Output.
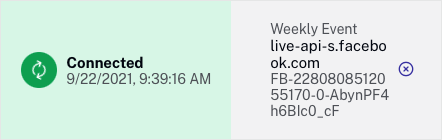
- Confirm that the connection was successful.
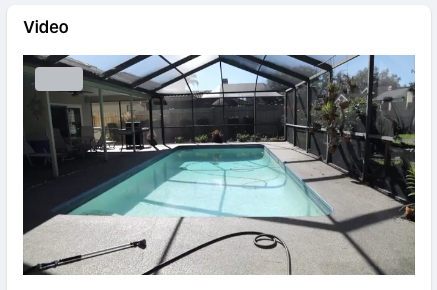
- In Facebook, the Video section should display a preview of the stream.
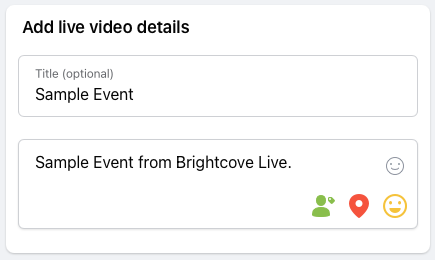
- In Facebook, Add live video details.
- Click Go Live.
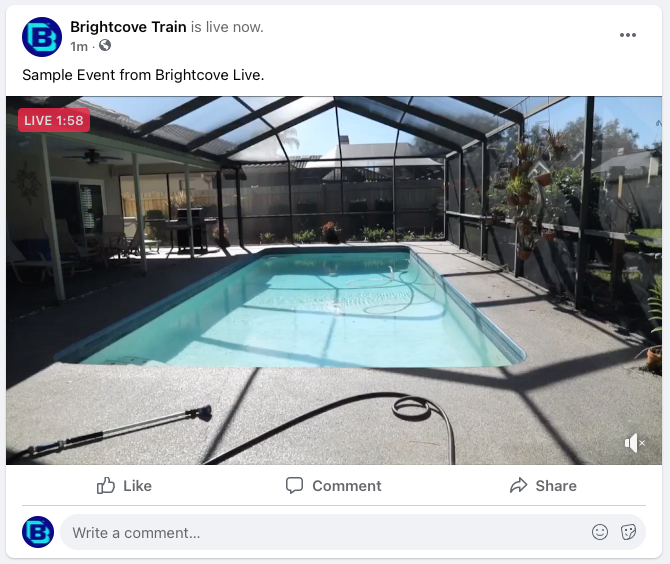
- Confirm the live stream appears in Facebook.
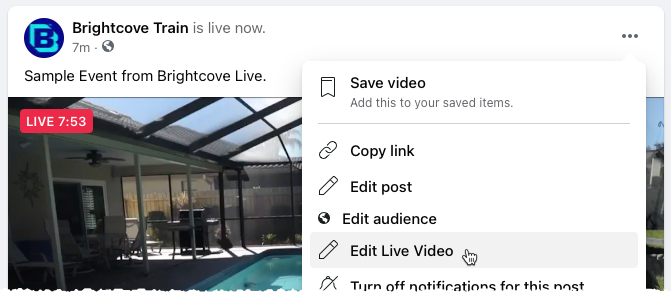
To return to the Live Dashboard, in Facebook, locate the post in your news feed, click on the ellipsis (...) next to the post and click Edit Live Video.
Click End Live Video to end the Facebook live stream. Remember to stop the encoder as well when the event is complete.
Streaming to YouTube
YouTube provides the ability to deliver live streaming video to your audience. Before you begin a live stream for the first time, you have to enable your YouTube channel.
Once the live streaming has started in the Live module, follow these steps to use the live stream in YouTube.
- Login to your YouTube account.
- Go to the YouTube Studio page at https://studio.youtube.com.
- At the top right of the page, click CREATE > Go live.
- In the left navigation, click Stream.
- YouTube will display a Stream key and Stream URL. These values will be used in the Live module.
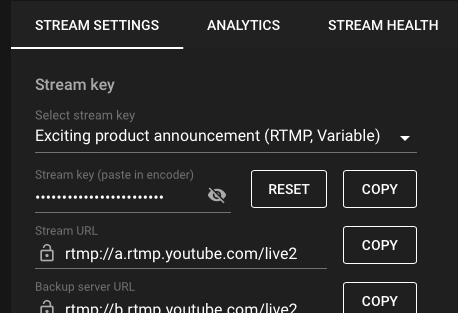
- Copy the Stream URL to the clipboard.
- In the Live module, paste the Server URL into the RTMP Output URL field on the Control Room page.
- Copy the Stream key from YouTube to the clipboard.
- In the Live module, paste the Stream key at the end of the RTMP Output URL field. The RTMP Output URL field will be the YouTube Stream URL with the Stream key appended, all as one value.
- Select a rendition from the Select Rendition dropdown.
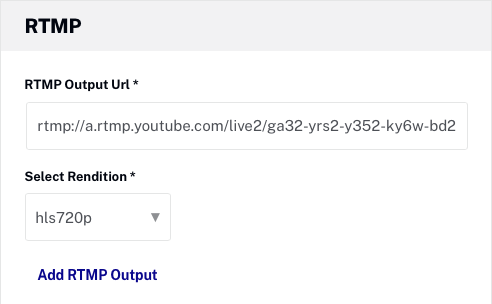
- Click Add RTMP Output.
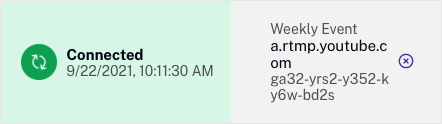
- Below the RTMP section, confirm that the connection was successful.
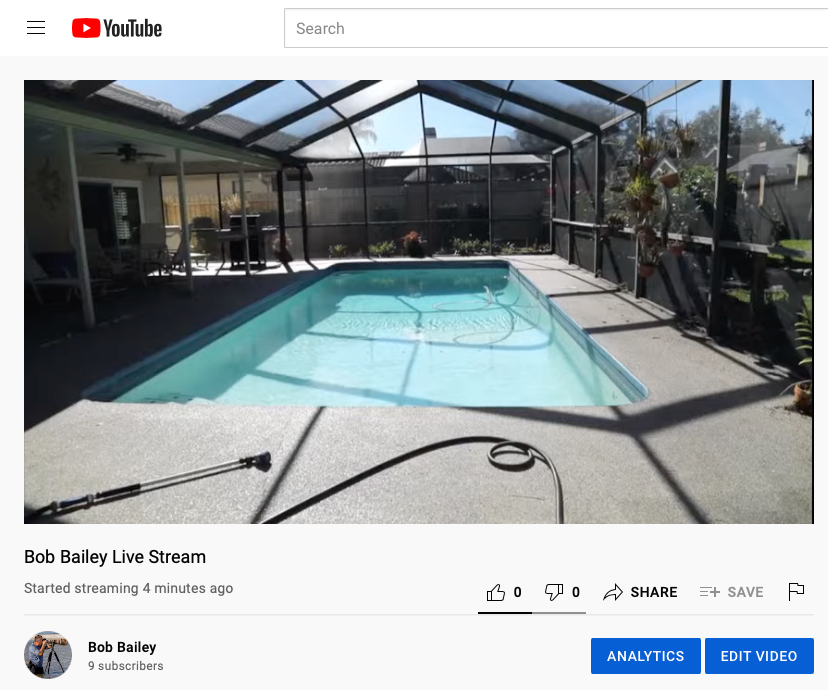
- Confirm the live stream appears in YouTube.
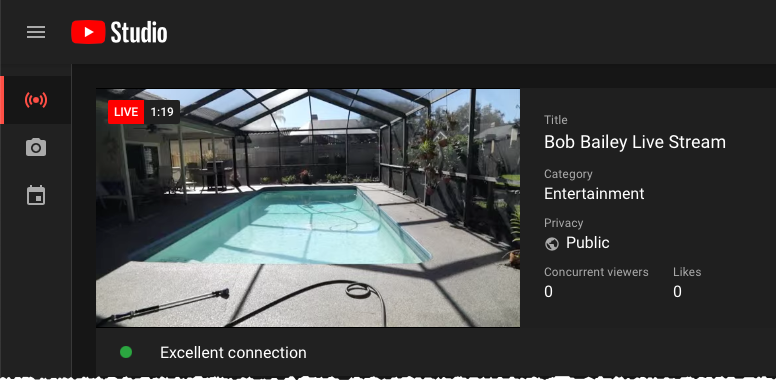
The live stream will begin in YouTube.
In YouTube Studio, click END STREAM to end the live stream. When your stream is complete, a public video will be automatically created and uploaded for people to view later. Remember to stop the encoder as well when the event is complete.
Limitations
- Currently, the RTMP output to LinkedIn from Brightcove Live is not supported.