Configuring Language Settings
The Language Settings is where you define a Primary Language and then add and manage additional metadata languages. The Primary Language is the language your account is currently using for video metadata. Before adding additional languages to your account, your existing metadata will be associated with the language you define as the Primary Language. The Primary Language is what is initially displayed when you edit video properties in the Media module.
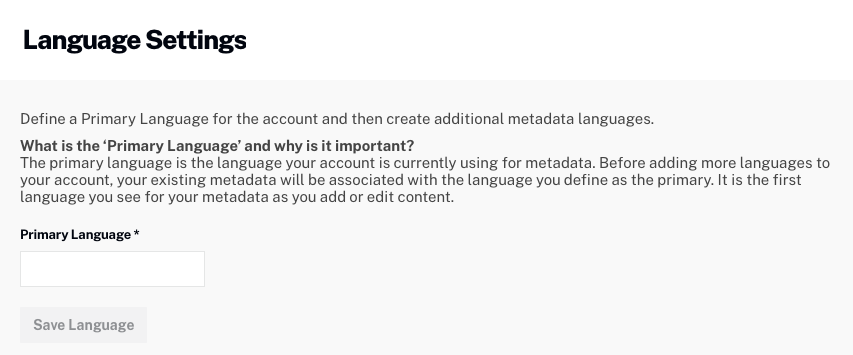
Setting a Primary Language
To set the Primary Language:
- Login to Video Cloud Studio.
- Open the Admin module from the left navigation.
- Click Language Settings. Note that you must be an account administrator to access the Admin menu.
- Click Primary Language and enter your primary language. As you type, a list of matching languages appears.
- Click on a language to select it.
- Click Set as Primary.
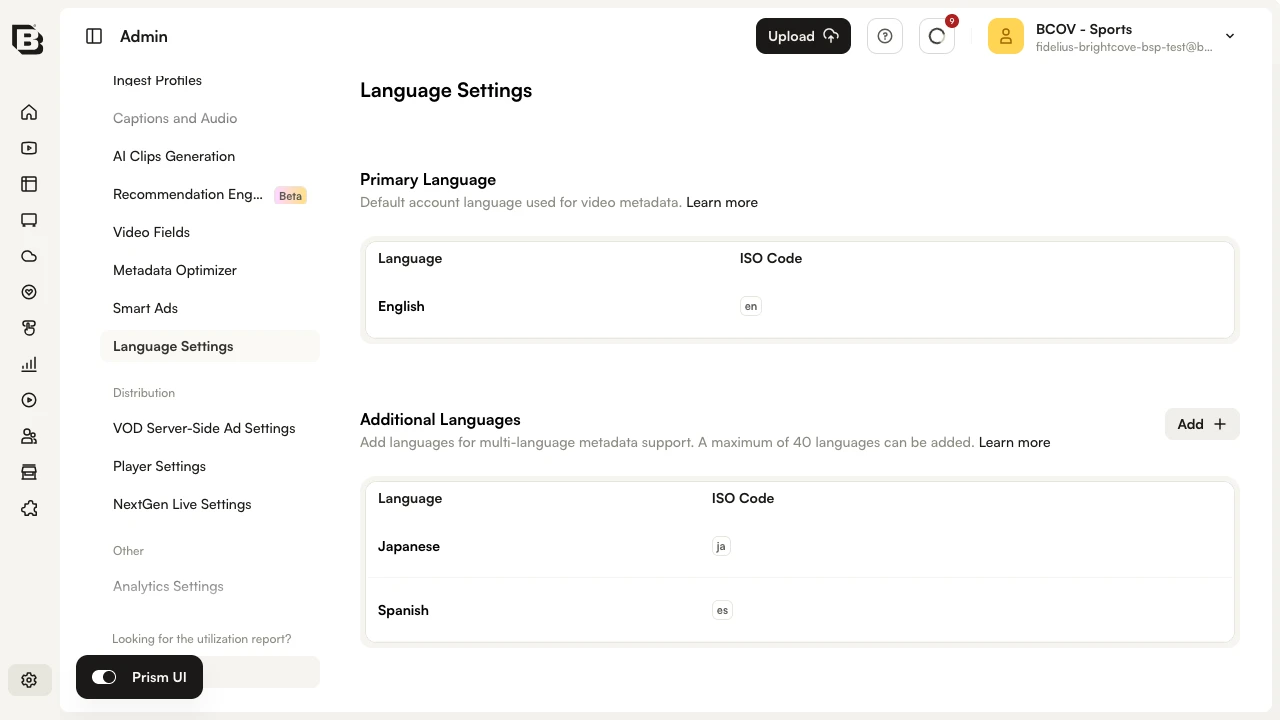
Adding additional languages
After a Primary Language is saved, additional metadata languages can be added. By adding additional languages, you will be able to enter additional, multi-lingual metadata in the Media module. To add additional languages, follow these steps.
- Click Add.
- Enter your language. As you type, a list of matching languages will appear.
- Click on a language to select it.
- Click Save Language. The language will be added to the Additional Languages table.
- Click Add to add additional languages as needed.
To edit the language name (as it will appear in the Media module), click on it, make any changes and then click Save. To delete a language, click the delete icon (![]() ).
).