Step-by-Step: Using the Players Module to Create and Publish a Player
After working through the steps in this topic, you should be able to:
- Navigate inside the Players module
- Create a player
- Set player properties
- Pass a video ID to display in the player
- Preview and publish a player
Audience
Any video publisher who needs to create and publish videos using the Players module.
Prerequisites
- A account with access to the Players module
- A video in your account to publish; The video used in this Quick Start can be downloaded here or you can use your own content
- If you are using the video provided with this Quick Start, upload it to your account
Instructions
To create and publish a Brightcove player using Video Cloud Studio, you will complete the following tasks:
Creating a player
To create a new player, follow these steps.
- Login to Video Cloud Studio.
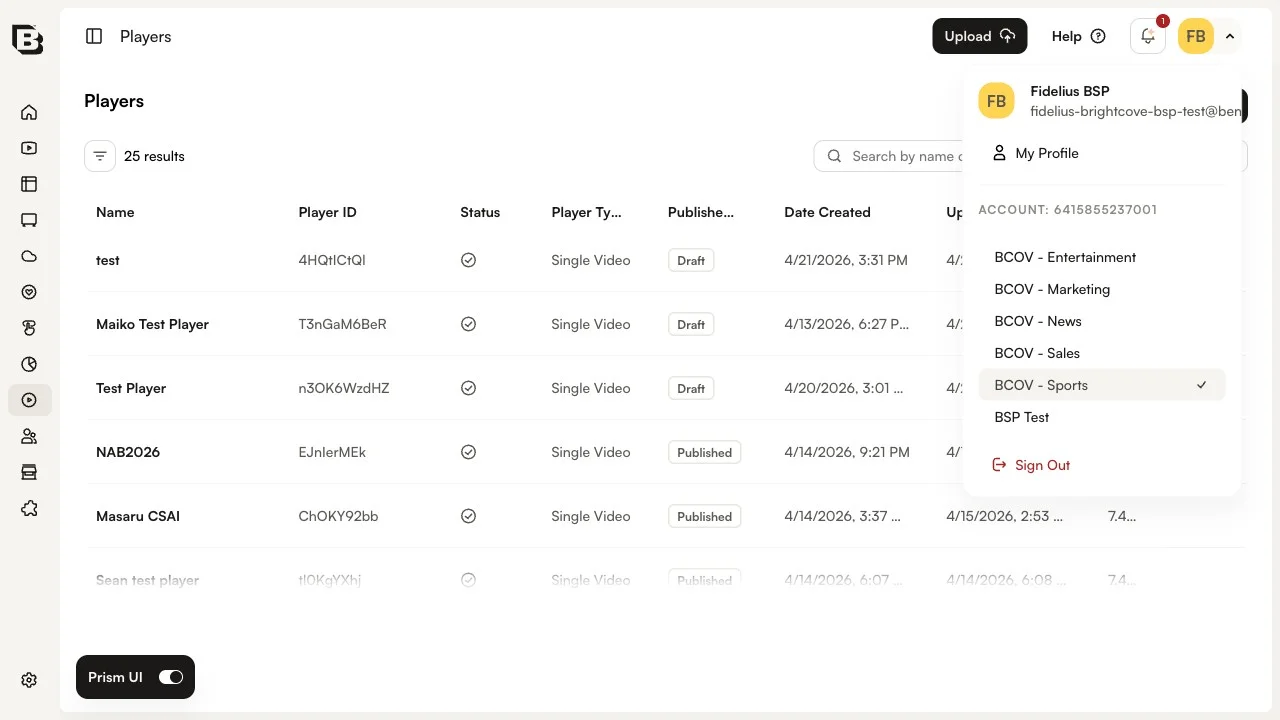
- If you have multiple accounts, click the profile icon in the top right of the page and select the account you would like to create the player in.
- Open the Players module.
- Click Add Player.
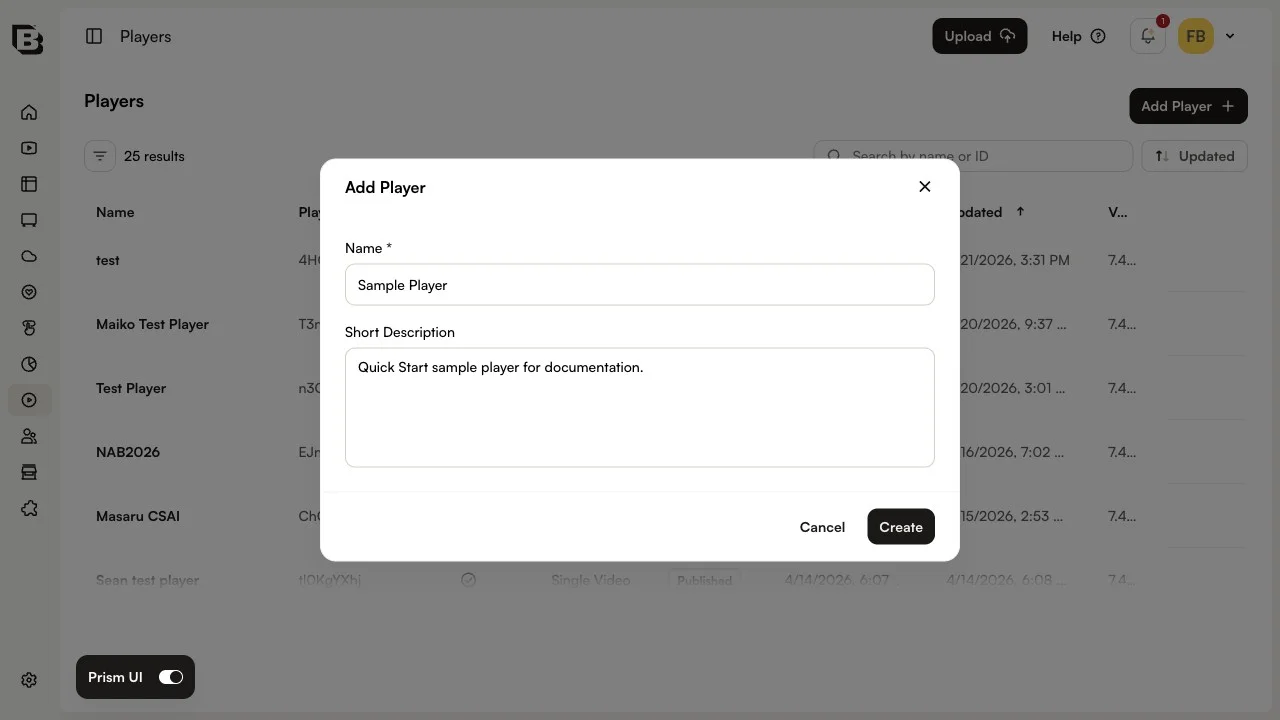
- Enter a Name and Short Description for the player. For this Quick Start, the player name will be Sample Player. Click Create.
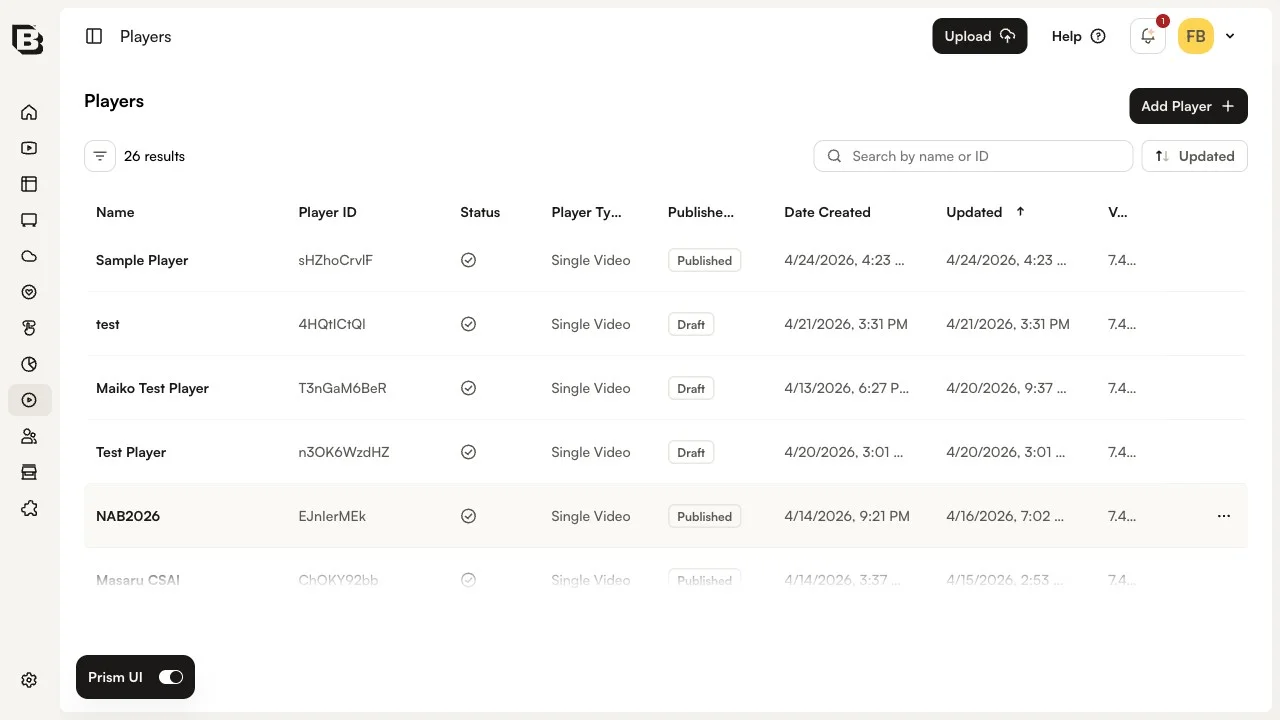
- Confirm that the player appears in the list of players.
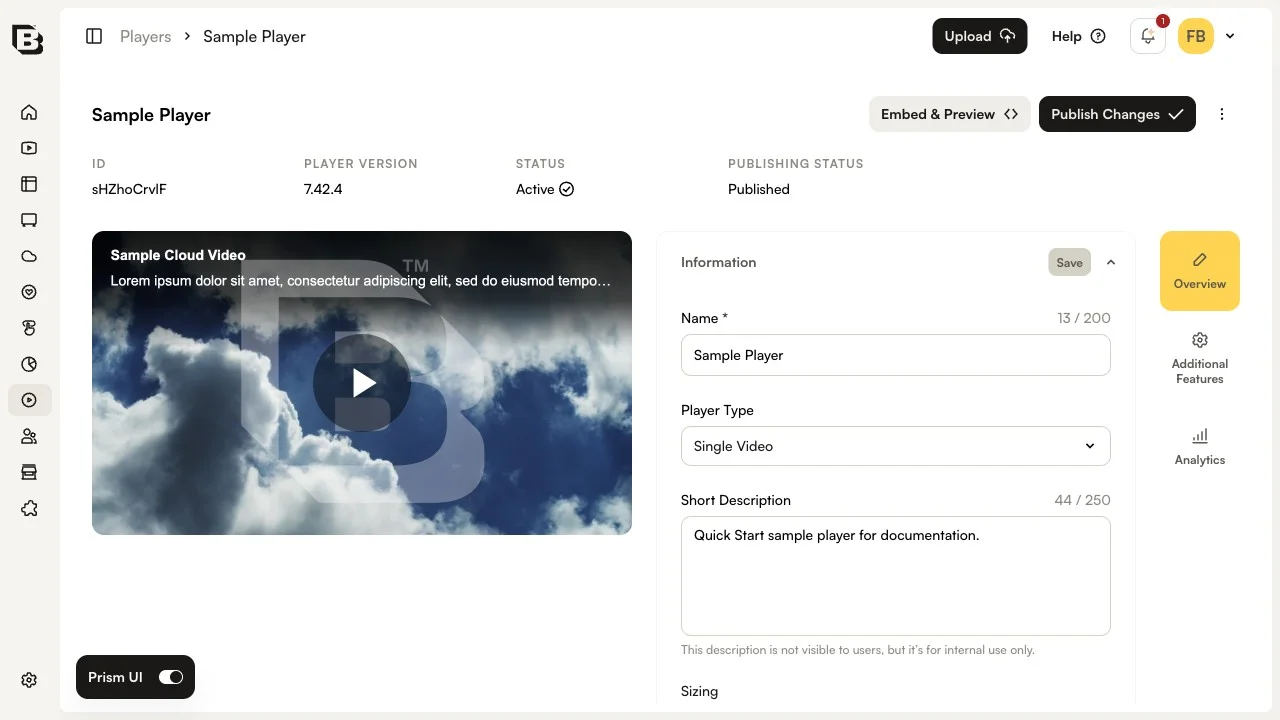
When a new player is created using the Players module, the player is built using the latest player version as published by Brightcove. To see the player version, open the Players module and click the player that you want to check. The Player Version is shown in the player header.
Note that all players may not be the same version. As Brightcove continues to develop and improve the Brightcove player, new player versions will be released. By default, updates are applied to all players automatically. To prevent auto-updating of a player, you must set the Update Mode setting to Manual (also known as locking a player). For more information, see Setting the Player Update Mode and Version.
Configuring the player dimensions
By adding player dimensions, width and height parameters will be added to the iframe embed code. If you leave the dimensions blank, the player can be put into a <div> of any size on a page and it will expand to fill the space. To set the player dimensions, follow these steps.
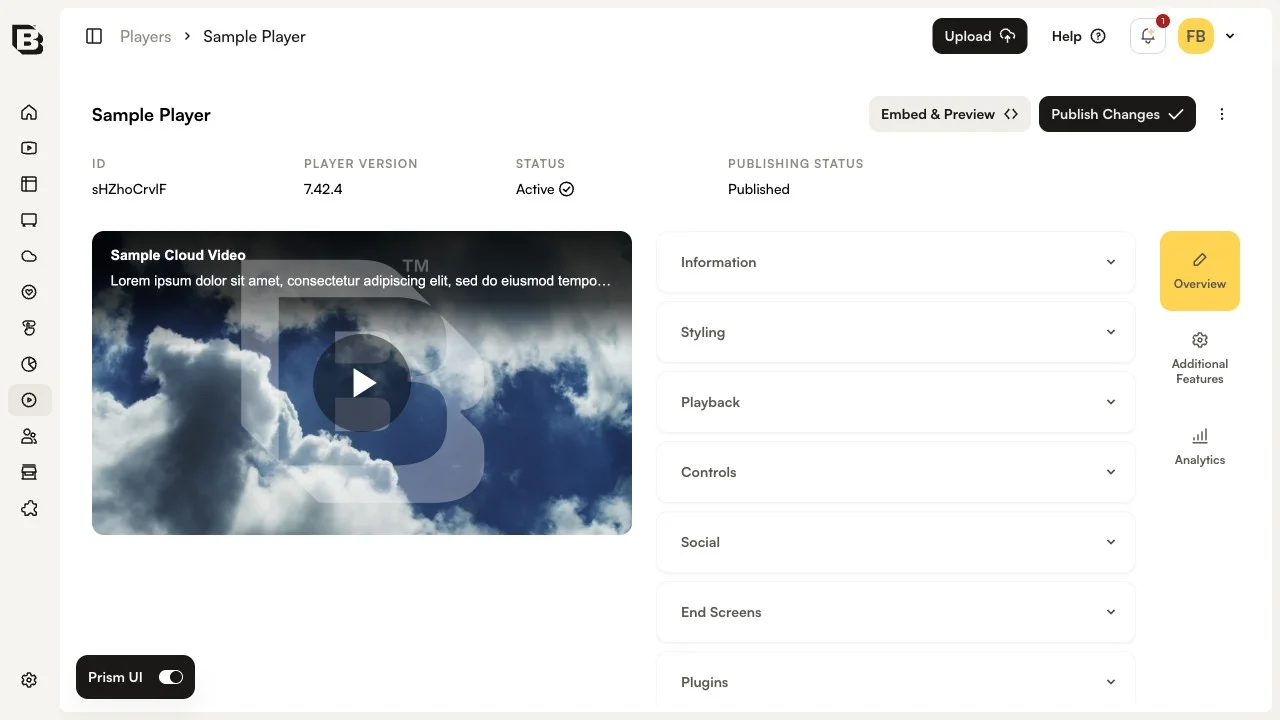
- Click Sample Player to open the player properties page.
- Open the Information accordion on the Overview tab.
- Set the Aspect Ratio to 16:9.
- Set the Player Width to 640.
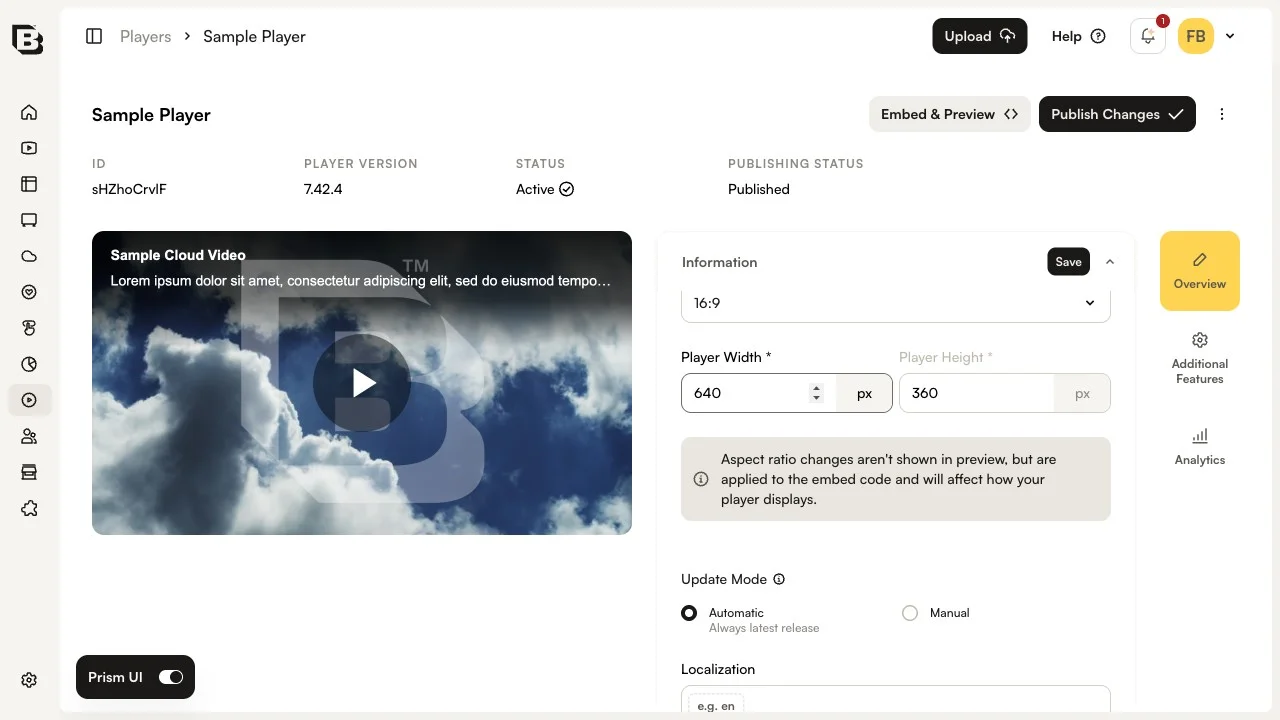
- Click Save.
For more information on the Player Information properties, see Setting Player Information Properties.
Publishing and previewing the player
Publishing the player will push the changes to the published player. For more information on preview players, published players and player publishing code, see Generating Player Embed Code.
To publish the player, follow these steps.
- Click Publish Changes in the top-right of the player properties page.
- Confirm that the Publishing Status at the top of the player page shows Published.
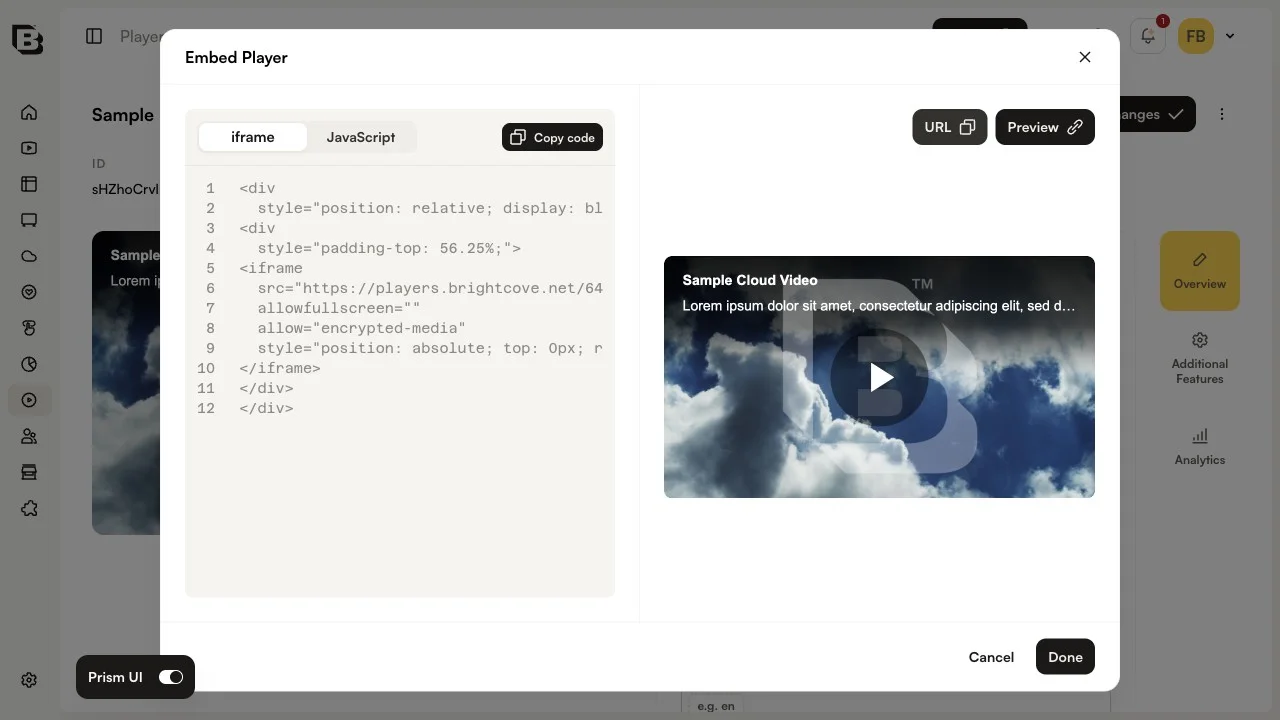
- Click Embed & Preview to open the embed dialog, then copy the Player URL and open it in a new browser tab. The player will be empty because no video has been assigned to it.
Dynamically assigning video content to the player
For this Quick Start, we will dynamically assign a video ID to the player by using a URL parameter. To do this, follow these steps.
- Open the Media module and locate the video you want to publish. The video ID appears in the ID column of the video list.
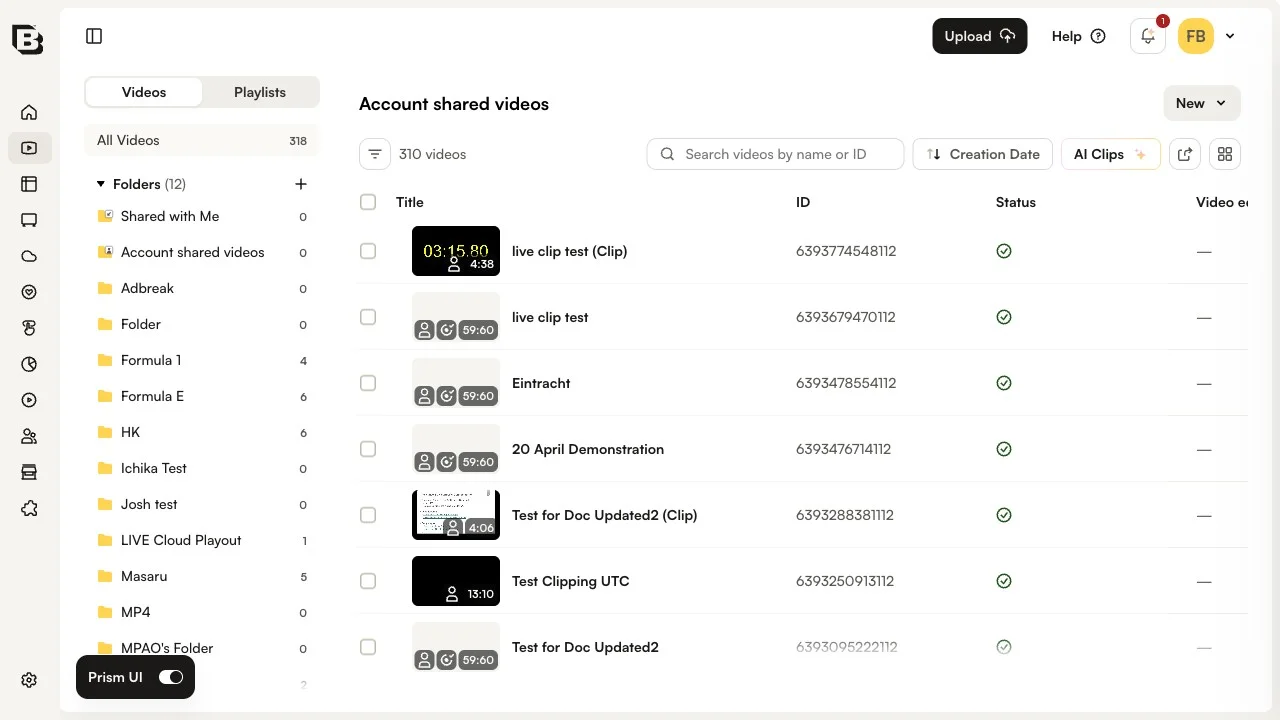
- Copy the video ID to the clipboard.
- Return to the tab with the preview player. To dynamically pass in the video ID to display, append the following to the URL and press enter:
?videoId=your video idThe complete URL will look something like:
https://players.brightcove.net/1486906377/Ctzra7vEL_default/index.html?videoId=5798846643001 - Confirm the video appears.
Configuring styling properties
The style properties are used to customize the appearance of the player. For more information on styling players, see Styling Players.
To configure the style settings, return to the Players module and follow these steps.
- Click Sample Player to open the player properties page.
- Open the Styling accordion on the Overview tab.
- Select a Play Button Shape and Play Button Position.
- In the Color Theme section, click the Play Button color swatch and choose a new color.
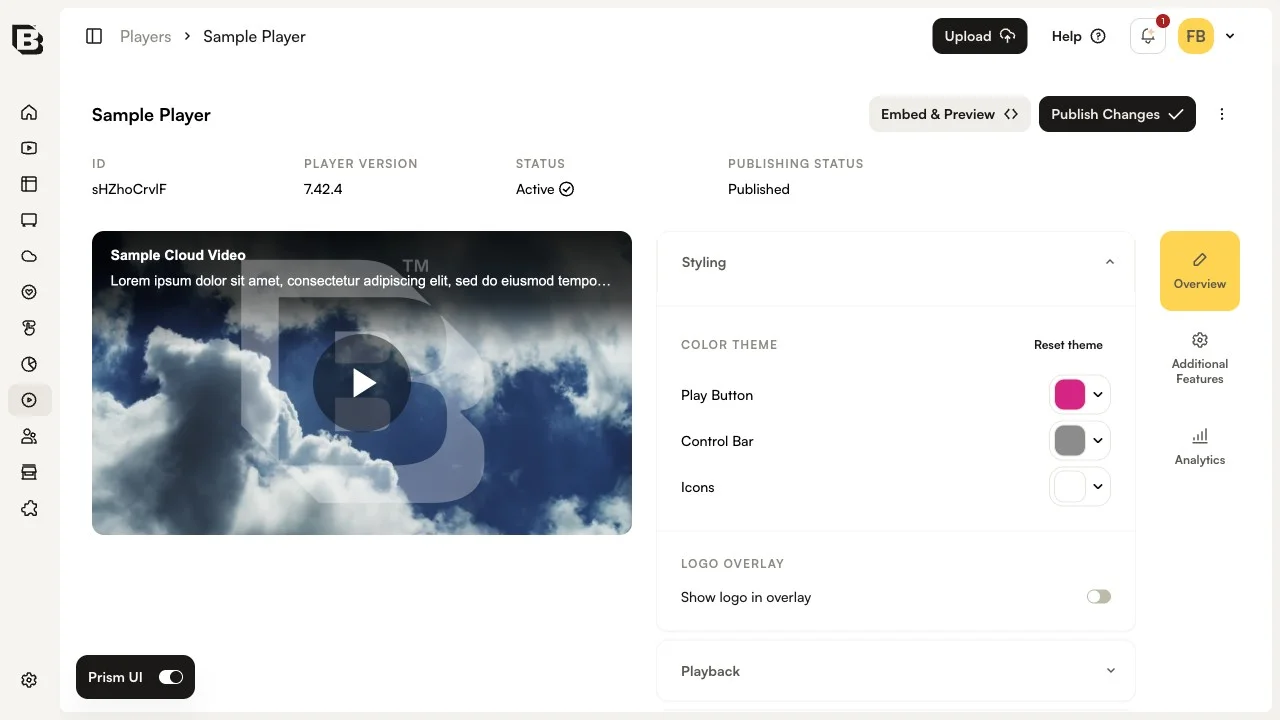
- Click Save.
The preview player in the properties page reflects your styling changes immediately. These changes are saved as draft updates and will not appear in the published player until you click Publish Changes.
Configuring social sharing properties
When social sharing is enabled, a share icon will appear at the bottom of the player next to the playhead. This will allow viewers to share your content out to popular social media sites. For more information on configuring the social properties for a player, see Configuring the Social Properties for a Player.
To configure the social settings, follow these steps.
- Open the Social accordion on the Overview tab.
- Turn on the Enable Sharing toggle.
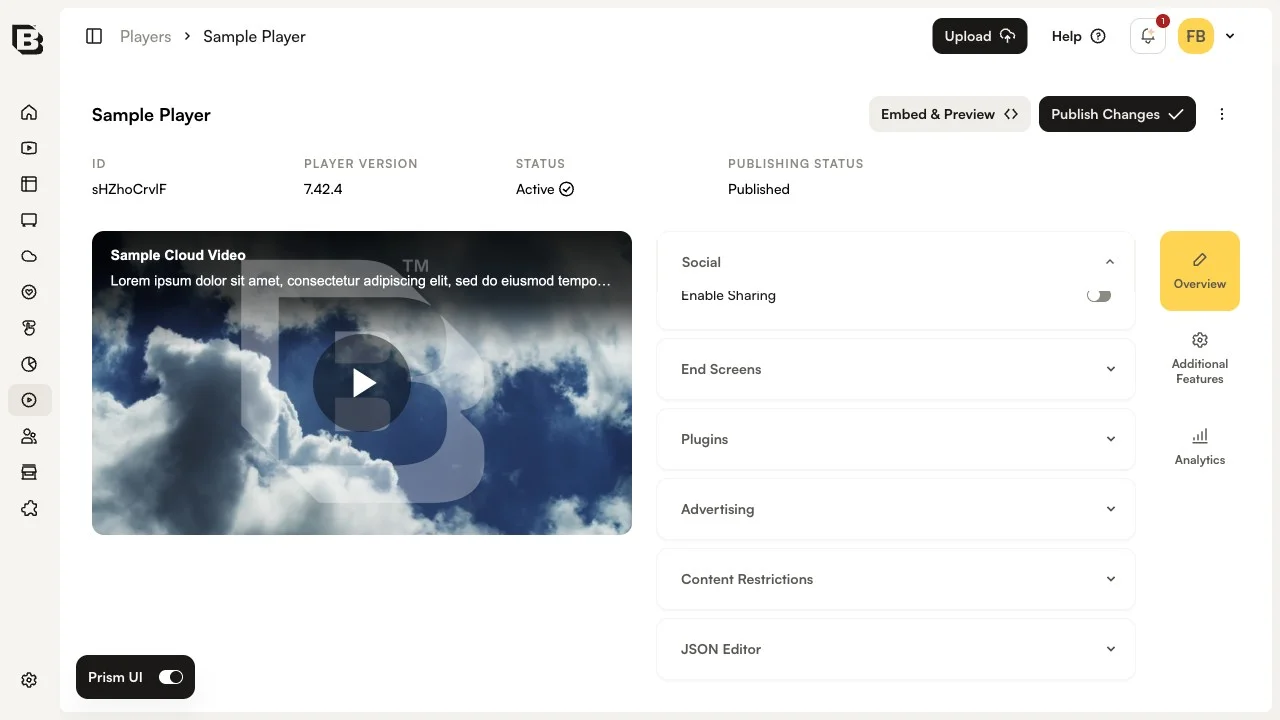
- Click Save.
Previewing the player
The preview player on the properties page reflects the styling and social changes that have been made to the player.
It is also possible to generate the publishing code for the preview player. For example, maybe the marketing department needs to approve all changes made to the player. You can send them a URL to the preview player so they can approve the changes. To generate the publishing code for the preview player, follow these steps.
- On the player properties page, click Embed & Preview. The embed dialog will display.
- Click the Preview Player URL to open the preview player in a new browser tab.
- The preview player should occupy the entire width of the browser page and have a Brightcove logo overlay indicating that it is the preview player. Confirm that the color changes and social sharing changes are visible.
- Leave the preview player open and return to the Players module.
Publishing the final player
The changes in the preview player will not be visible in the published player until the changes are published. To publish the changes, follow these steps.
- On the player properties page, click Publish Changes.
- Confirm that the Publishing Status at the top of the player page shows Published.
- Return to the browser tab with the published player. Remember, the preview player will display a Brightcove logo overlay.
- Refresh the page and verify that the color change and social sharing settings are now visible in the published player. Note that there might be a slight delay before the changes appear in the published player.