Overview
The Campaign 2.0 migration involves updating existing video marketing campaigns to leverage the enhanced capabilities of the latest Brightcove features.
Supported third-party platforms
The following third-party platforms are currently supported for this workflow:
- client-side data capture
- Marketo
- Hubspot
- server-side data capture
- Marketo
- Hubspot
- Salesforce
- Eloqua
Tracking Methods
When working with Brightcove Campaign 2.0, you have three primary methods for tracking user interactions and campaign performance.
MAP Tracking (Client-Side) Setup: This setup allows you to collect real-time viewing data directly from the Brightcove player to your Marketing Automation Platform (MAP) via the browser. Since no campaign data is stored on Brightcove servers, there's no need to enable Insights, making this a direct and efficient connection between the player and your MAP.
Use Case: Real-time data collection, immediate marketing actions, easy setup.
Viewer ID (Server-Side) Setup: This setup involves assigning a unique identifier to each viewer for server-side tracking. To enable this, you need to set up Insights Integration through the Integrations Module, which synchronizes data from Brightcove servers to your Marketing Automation Platform (MAP) servers, such as Marketo, HubSpot, Salesforce, or Eloqua.
Use Case: Used for dropping a cookie onto the page that will allow Brightcove to recognize known users.
Custom Setup: The Analytics API offers an alternative way to identify your users, ideal for highly customized integrations.
Use Case: Handling large-scale data, use in environments with client-side limitations, prioritizing data reliability.
MAP Tracking (Client-Side) Setup
- Disable Campaign on Existing Players
-
Enable MAPs Tracking
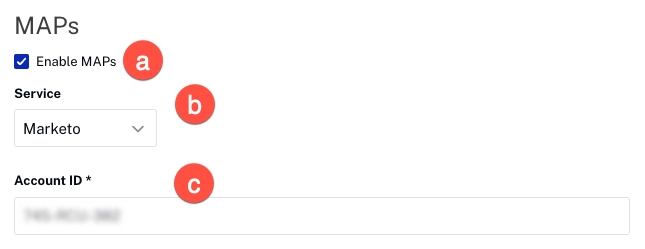
To Setup MAPs (Marketo & Hubspot Client-Side Only) from the player details view, follow these steps:
- On Video Cloud, open the Players module.
- Click the link for the Player you want to open the player properties page.
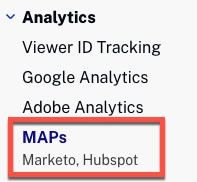
- Click the MAPs in the left navigation menu.
- On the MAPs page, select the Enable MAPs checkbox.
- Select your Service.
- Provide your respective Account ID.
- Set Up Interactivity Player
-
Create Lead form in Interactivity Module
Viewer ID (Server-Side) Setup
- Disable Campaign on Existing Players
-
Enable the Viewer ID
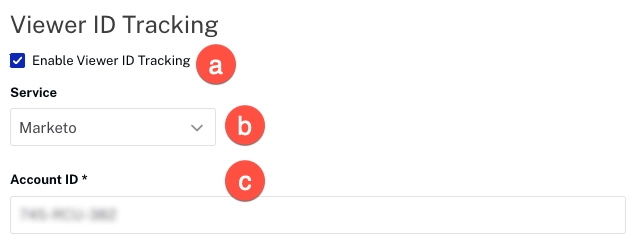
Follow these steps to enable the Viewer ID Tracking:
- On Video Cloud, open the Players module.
- Click the link for the Player you want to open the player properties page.
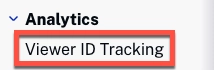
- Click the Viewer ID Tracking in the left navigation menu.
- Click the Enable Viewer ID Tracking checkbox.
- Choose the 3rd Party Service from the Service dropdown (Hubspot, Marketo).
- Provide your respective Account ID.
- Set Up Interactivity Player
-
Create Lead form in Interactivity Module
- Set Up Integration
- Modify an integration
Custom Setup
- Disable Campaign on Existing Players
- SetUser API
- Set Up Interactivity Player
-
Create Lead form in Interactivity Module
- Set Up Integration
- Modify an Integration
Disable Campaign
If you are editing an existing Campaign player, you have to remove the existing Campaign plugin since Campaign 2.0 doesn’t work with Campaign Enabled players.
Follow these steps to disable your Campaign Enabled players:
- Login to Video Cloud Studio.
- Open the Players module.
- Click the link for the Player you want to open the player properties page.
- Click Campaign in the left navigation menu.
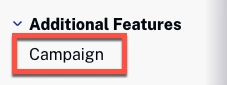
- Disable the Enable Campaign checkbox.

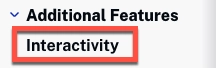
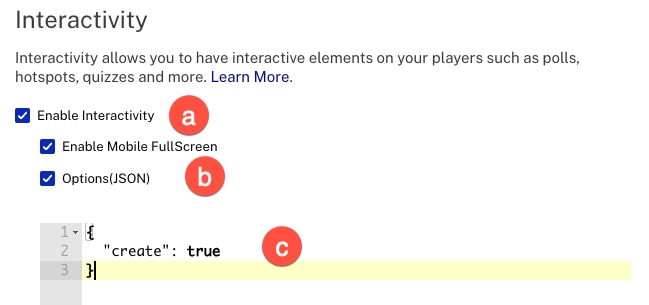
Interactivity Player Set Up
To Set Up your Player to automatically create Interactive Projects from the player details view, follow these steps:
- On the player properties page, click Interactivity in the left navigation menu.
- Check Enable Interactivity.
- Check Options (JSON) to enable Interactivity projects auto-creation. This reveals a textarea where you can insert a JSON configuration.
- Inside the textarea, insert the following JSON.
{
"create": true
}
Integration Set Up
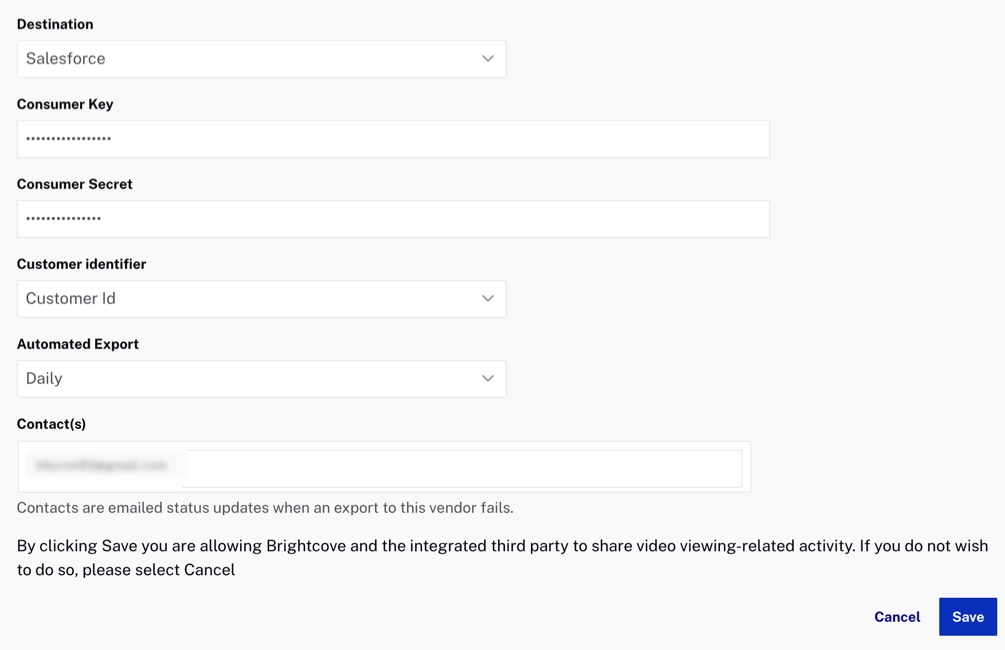
Setting up an integration is straightforward. However, you will need some information from the third-party vendor - exactly what you need will vary for different services, but will be clearly indicated by input fields in the setup dialog. Typical requirements are "Account id", "API key", and/or "Secret key". If you are unsure how to find or obtain a required piece of information, consult the vendor's documentation or support service.
- Login to Studio
-
Click the Integrations icon in the left-side navigation to open the Integrations module:
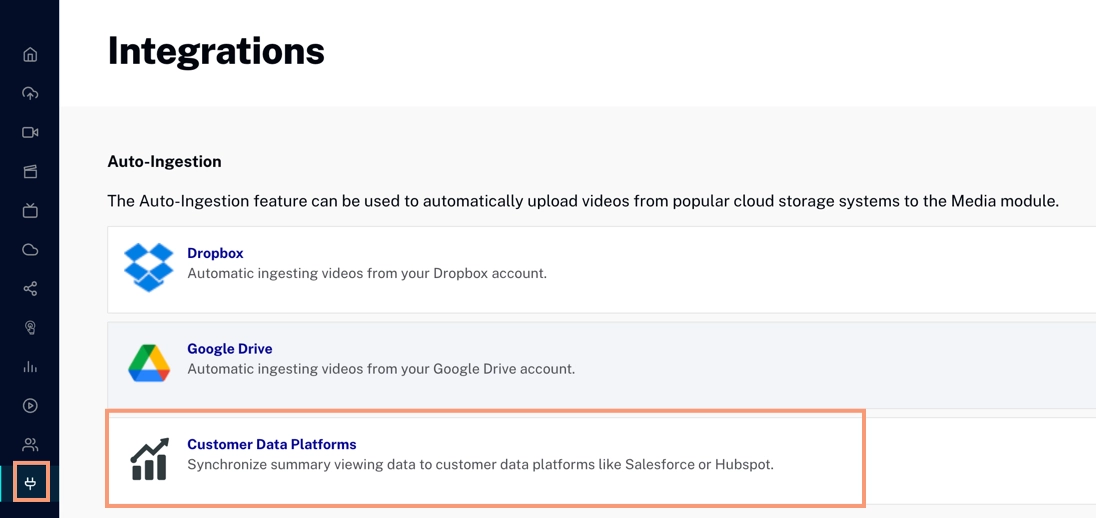
Integrations Module -
Click Customer Data Platforms to go to the data platform integrations:
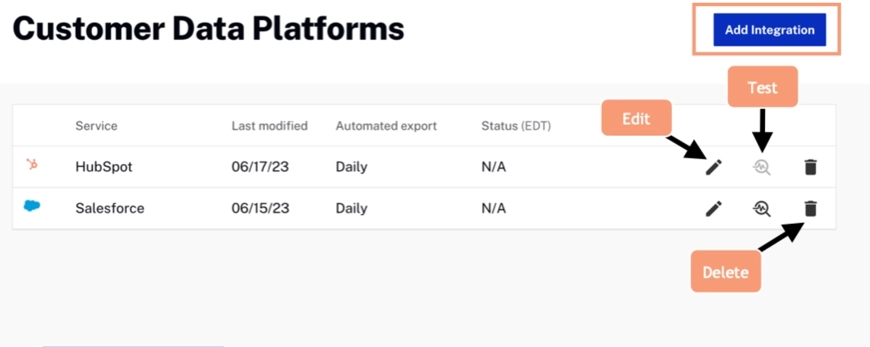
Customer Data Platform Integrations - As you see in the screenshot above, any existing integrations will be shown as a list and can be modified (see the next section). Here we will click to create a new integration.
-
In the Add Integration dialog, first select the service you want to integrate:
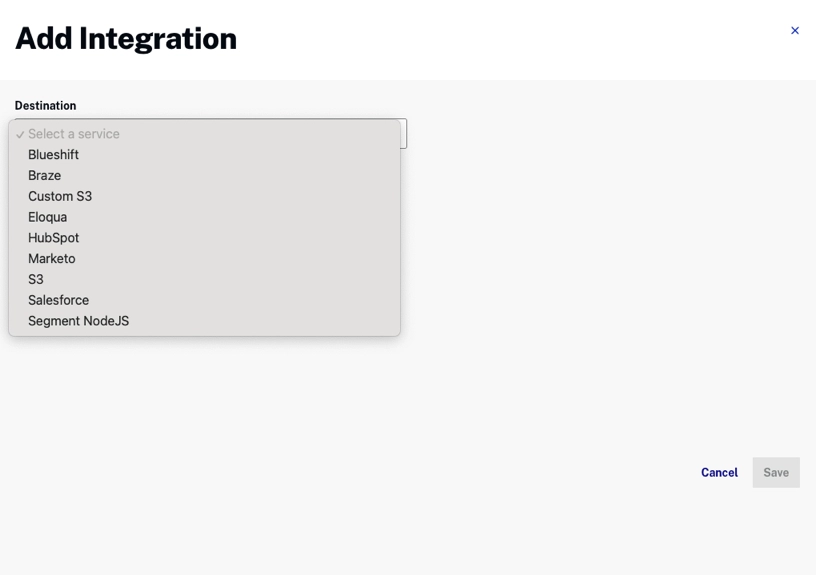
Add Integration Dialog -
Next, fill in the required information according to the service you are integrating:
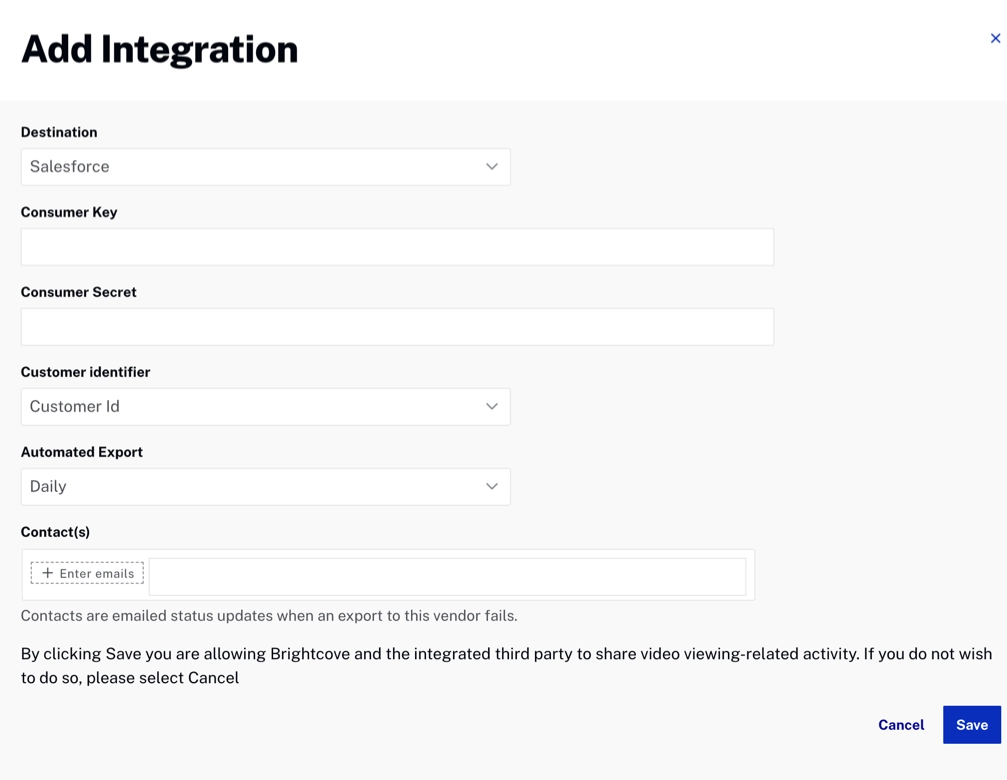
Add Information for Integration Sample - Click to complete the setup.
Modify an integration
In the list of existing integrations, there are three icons that allow you to:
- Edit the integration
- Test the integration
- Delete the integration
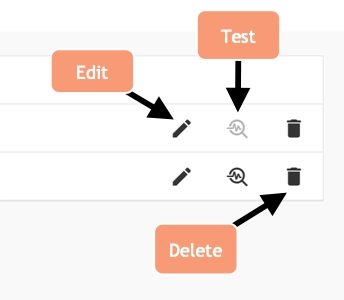
If you click the Edit icon, a dialog similar to the Add Integration dialog will appear:
Note the additional Integrations Properties tab. For some services, there will be additional properties you can set here; for others there are no additional properties.
Contact vs Viewing Data Integrations
Two different types of integrations are available: Contact and Viewing Data. The following table shows the differences between the two:
| Contact | Viewing Data | |
|---|---|---|
| Granularity | Viewer level | Video view level |
| Supported Targets | Blueshift, Braze, Custom S3, Eloqua, HubSpot, Marketo, S3, Salesforce, Segment NodeJS | Eloqua, S3, Salesforce |
| Data Location in Map Instances | Contact objects | Custom objects |
| Data Overwritten or Appended | Contact objects are overwritten on each update | Custom objects are appended on each update |
| Schedule | Daily or weekly | Daily |
| Customizability | Fields can be customized for certain integrations | Fields are fixed |
For more details on how to set up a specific integration, see Server-side Connections
Customer ID vs Viewer Token
Customer ID
All MAP integrations support syncing data by the Customer ID. The Customer ID is the identifier for a Contact in a MAP instance. It is used to attribute a video view to a specific Customer, and it differs with each MAP. To push data to a MAP, the Customer ID must be known and set in the Player as the User.
For more details on how to find the Customer ID in your MAP, see Finding your customer ID.
For more details on how to set a User in the Player, see Using user
Viewer Token
For certain MAP integrations, instead of using a Customer ID, customers can drop a cookie containing a viewer token from their MAP and track this value into Insights using the Brightcove Viewer ID plugin. The integrations that currently support viewer token syncing are:
| Viewing Data | Contact |
|---|---|
| Eloqua | Eloqua |
| Marketo | Marketo |
| Hubspot |
For more details on how to configure Viewer ID Tracking in the Player, see Configuring Viewer ID Tracking
Since viewer tokens are not stored permanently in browsers (as they can be cleared when a cache is reset or when cookies expire), it is recommended to use this integration alongside a Lead Form. Lead forms will allow viewers to create Contacts in a MAP while directly associating these Contacts with any viewer tokens that are tracked into Insights. Before data is pushed to the MAP, these viewer tokens are translated to a Customer ID, ensuring the data is correctly attributed to the Contact created by the Lead Form. This eliminates the need to manually set the User in the Player.
For more details on how to add a Lead Form to the Player, see Adding a Lead Form