The Interactivity module allows adding different types of interactive annotations to videos. The Lead Form Annotation will enable you to embed a form from systems like Eloqua, Salesforce, Marketo, and HubSpot.
Before you get started
Before you can add interactivity to a player, you need an Interactivity-enabled Brightcove Player and you need to make sure an Interactivity project has been created. See Getting Started with the Interactivity Module and Configuring a Brightcove Player with the Interactivity Plugin for more information.
Adding a Lead Form to a video
Follow these steps to add a Lead Form to a video:
- Login to Video Cloud Studio.
- Open the Interactivity module.
- Click . Or you can click on a project already created.
- Enter a Project Title.
- Select a video to use.
- Click .
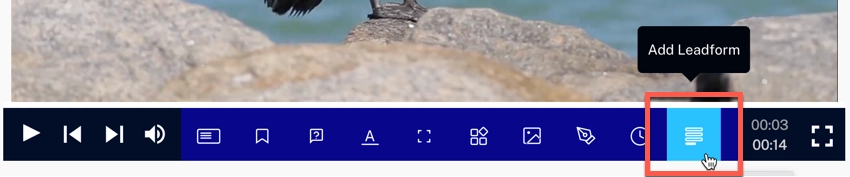
- Play the video to the point where the Lead Form should be displayed.
- In the bottom toolbar, click on the Lead Form icon.
- Click on the Edit link in the menu.
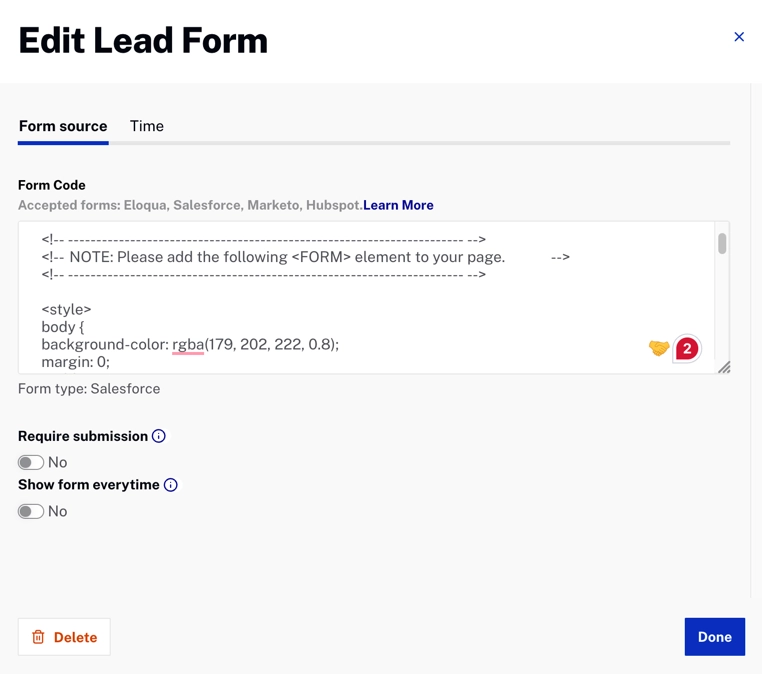
- Click on the Form source tab to add the Lead Form Code. On this screen, you can also click on the options Require submission and Show form everytime. You should see something similar to this:
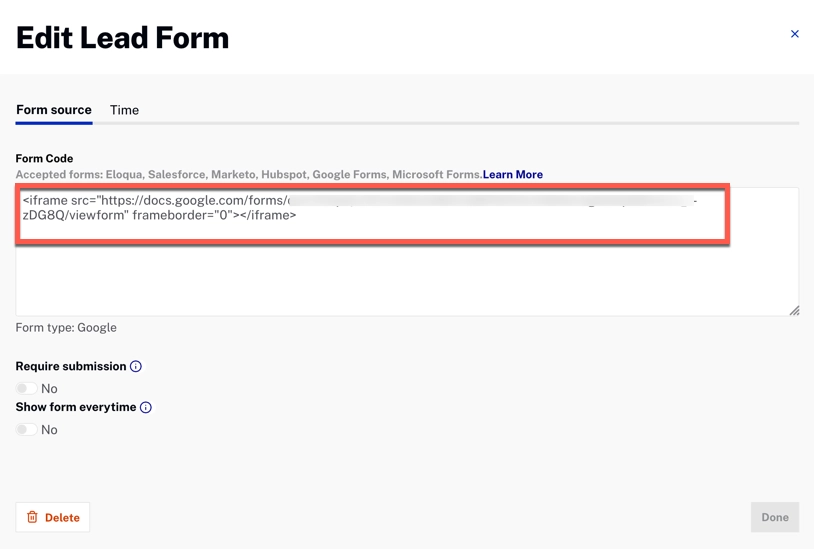
In the case where you are working with Microsoft or Google Forms, you should see something like this:
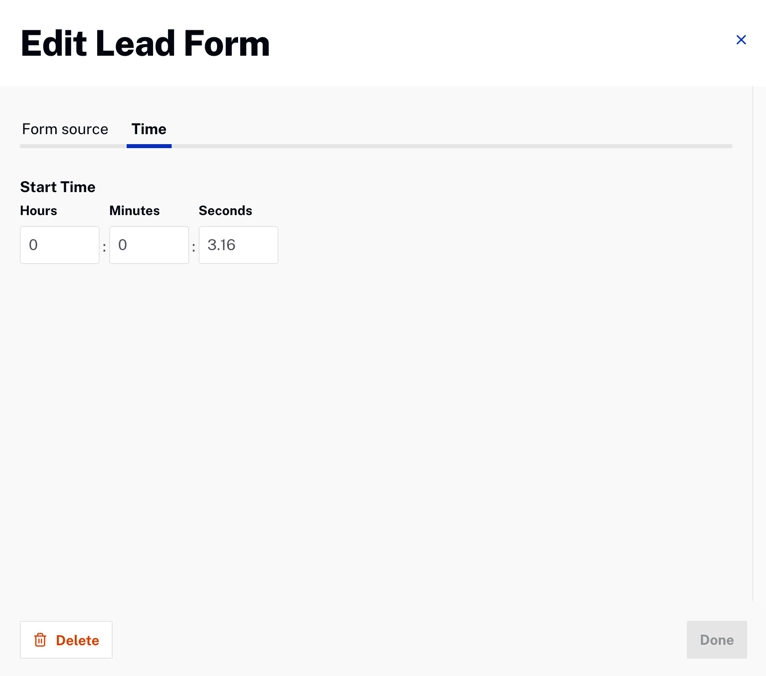
- Click on the Time tab to enter the start time.
- Click to finish or to delete the annotation.
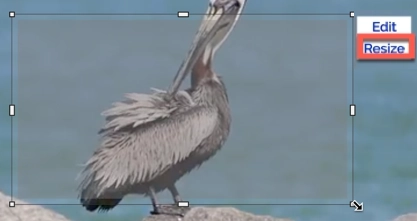
- Click on the Resize link in the menu to drag the Lead Form to where you want it to appear on the video.
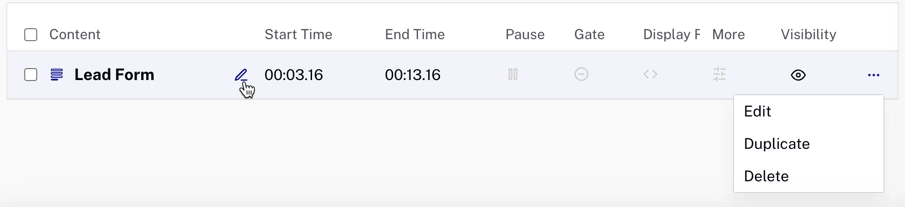
- You can also click
 to edit, or click
  to Duplicate, Delete, or Edit the annotation in the section under the player preview:
- Click .
- Click Preview, play the video and confirm that the Lead Form appears.
Adding a Lead Form as a template
Follow these steps to add a Lead Form as a template:
- Login to Video Cloud Studio.
- Open the Interactivity module.
- In the left navigation, click Templates > All templates.
- Click .
- Enter a Template Title.
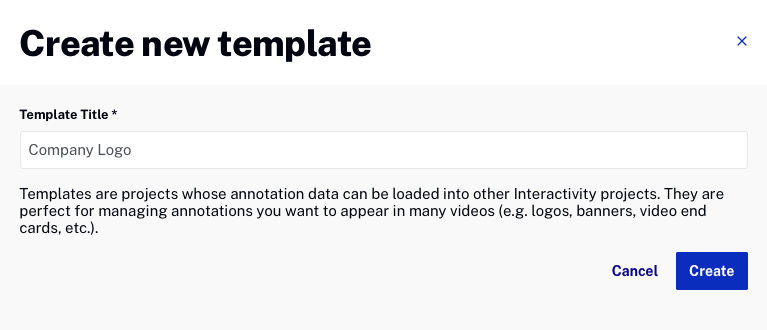
Click .
- Play the video to the point where the Lead Form should be displayed.
- In the bottom toolbar, click on the Lead Form icon.
- Click on the Edit link in the menu.
- Click on the Form source tab to add the Lead Form Code. On this screen, you can also click on the options Require submission and Show form everytime. You should see something similar to this:
- Click on the Time tab to enter the start time.
- Click to finish or to delete the annotation.
- Click on the Resize link in the menu to drag the Lead Form to where you want it to appear on the video.
- You can also click to edit, or click to Duplicate, Delete, or Edit the annotation in the section under the player preview:
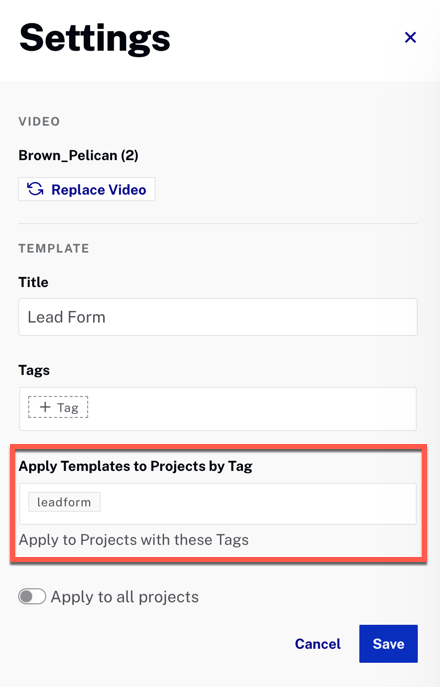
- To apply the Lead Form Template across multiple projects or videos, click .
- Use the Apply Templates to Projects by Tag input to define a unique tag. The tag will be assigned to the videos in the Media Module. Publish the video using a player and confirm that the Lead Form appears.

Known Issues
- Currently, the source for the Lead Form Annotation will be cached. This means that after you update the source, you may not be able to see your changes immediately. Therefore, if you want to update the Lead Form Annotation source to something different and expect those changes to have an immediate effect, we recommend removing the existing Lead Form Annotation and creating a new one.