Replacing a Video Source File
There may be times when you want to replace the source file for a video. One common case is when you need to edit a video that was already published. If you delete the video and re-upload, you will have to re-enter all of the video metadata and you will lose any video analytics associated with the video.
While the new renditions are being created, the video will remain playable using the existing renditions.
Steps to replace a video source file
To replace a video source file, follow these steps:
- Open the Media module.
- Click the link for the video you want to replace the source file for.
- Locate the Video Files section and click Replace Source File.
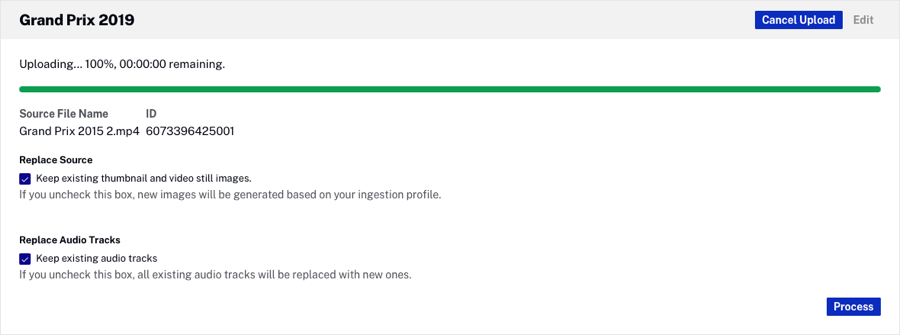
- The Upload module will open in another tab. Confirm that the Upload module indicates that you are replacing a source file.

- Select an ingest profile to use.
- Use the Upload module to upload a new source file. The new source file name does not have to match the original source file name.
- Check Keep existing thumbnail and poster images to keep the existing images. If you uncheck this box, new images will be generated based upon the image settings in the selected ingest profile.
- Any audio tracks associated with the original source file will be replaced by the new one. Check Keep existing audio tracks to keep any separate audio tracks that were ingested.
- Click Process to begin the transcoding. A Processing Complete message will display. Note that there will be a delay before the updated renditions are available. Check the Upload Date values in the Video Files section of the Media module to verify that the new renditions are available.

