Managing Users
The User Management page lets you manage the users authorized to access Studio. To open the page, you must be signed in as a user with the Admin role.
To open User Management:
- Sign in to Studio.
- Open the Admin module and click User Management.
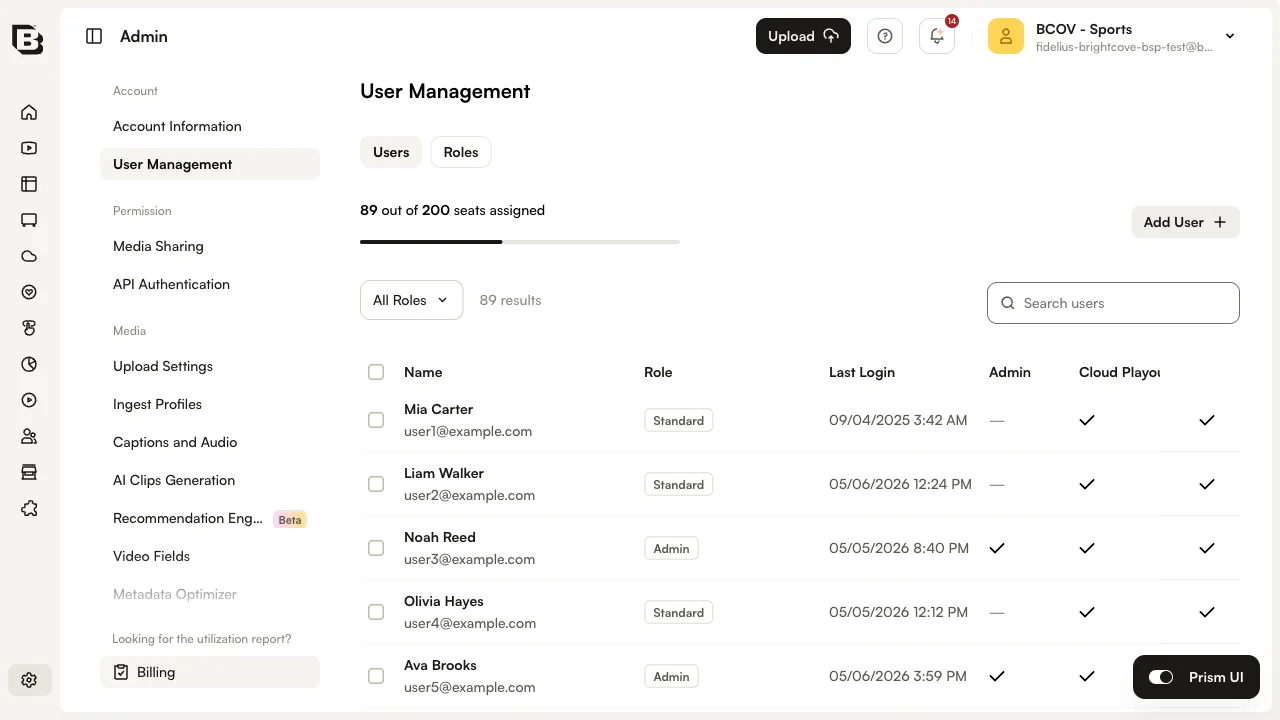
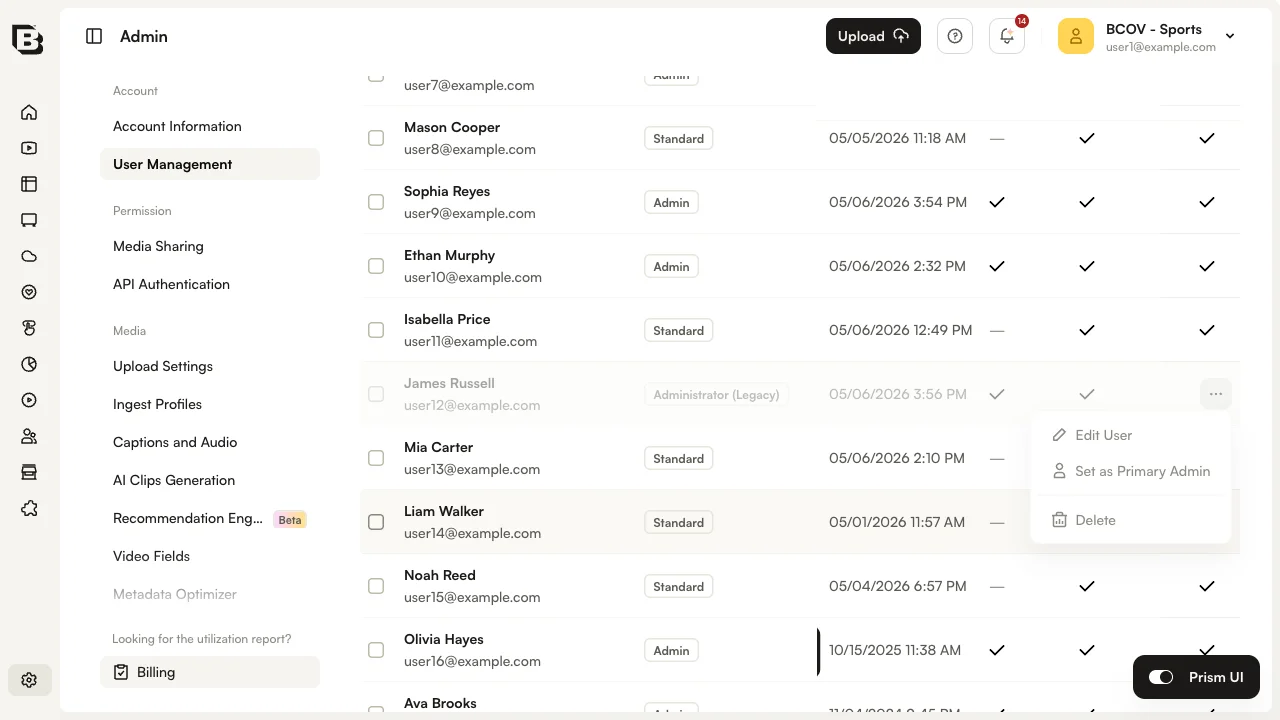
The Users tab displays the following for each user:
- Name and email address.
- Role — Standard, Admin, or a custom role.
- Last Login — The last date and time the user signed in to Video Cloud Studio. This reflects the last login across all Video Cloud Studio accounts, not just the current account.
- A check mark for each module the user can access.
You can use the User Management page to:
How many users can I have?
The number of users you can create depends on your plan. If you need more users, you can upgrade to a plan that includes additional seats. The limit applies only to the total number of users in existence at any given time; if you create 10 users, delete 5, and then create 3 more, you are counted as having 8 users. The Users tab shows how many seats you are entitled to and how many you currently use.
Purchasing additional users
If you need additional seats, you can upgrade to a plan that offers more users. Pro and Enterprise accounts should contact their Customer Success Manager for information about adding additional users.
Creating new users
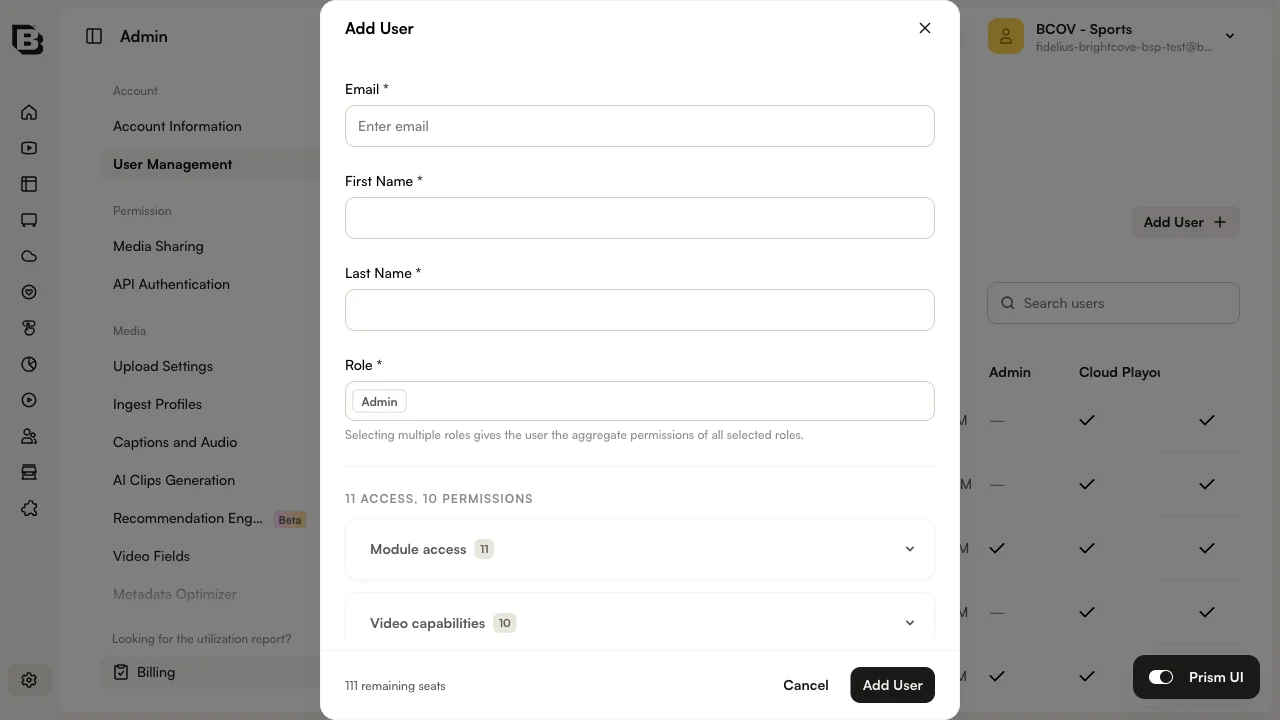
To create a new user:
- On the Users tab, click Add User.
- Enter the user's Email, First Name, and Last Name.
- Select one or more Roles for the user:
- Admin — Has access to the Admin module (creating users, custom ingest profiles, custom fields, media sharing, and so on).
- Standard — Does not have access to the Admin module.
- Custom role — Has access to specific modules and capabilities defined by the role.
- Optionally expand Module access and Video capabilities to confirm the permissions granted by the selected roles.
- Click Add User.
The user will receive an email notification informing them that they have been added to the account.
Editing existing users
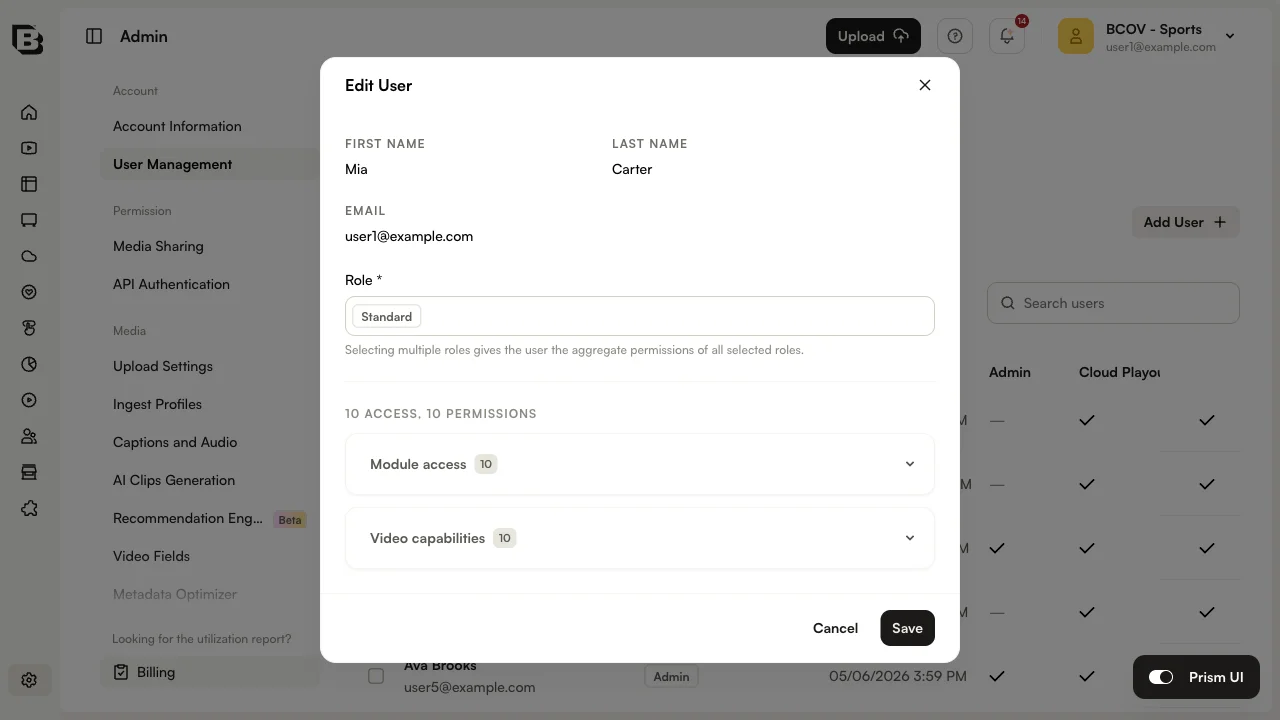
To edit a user:
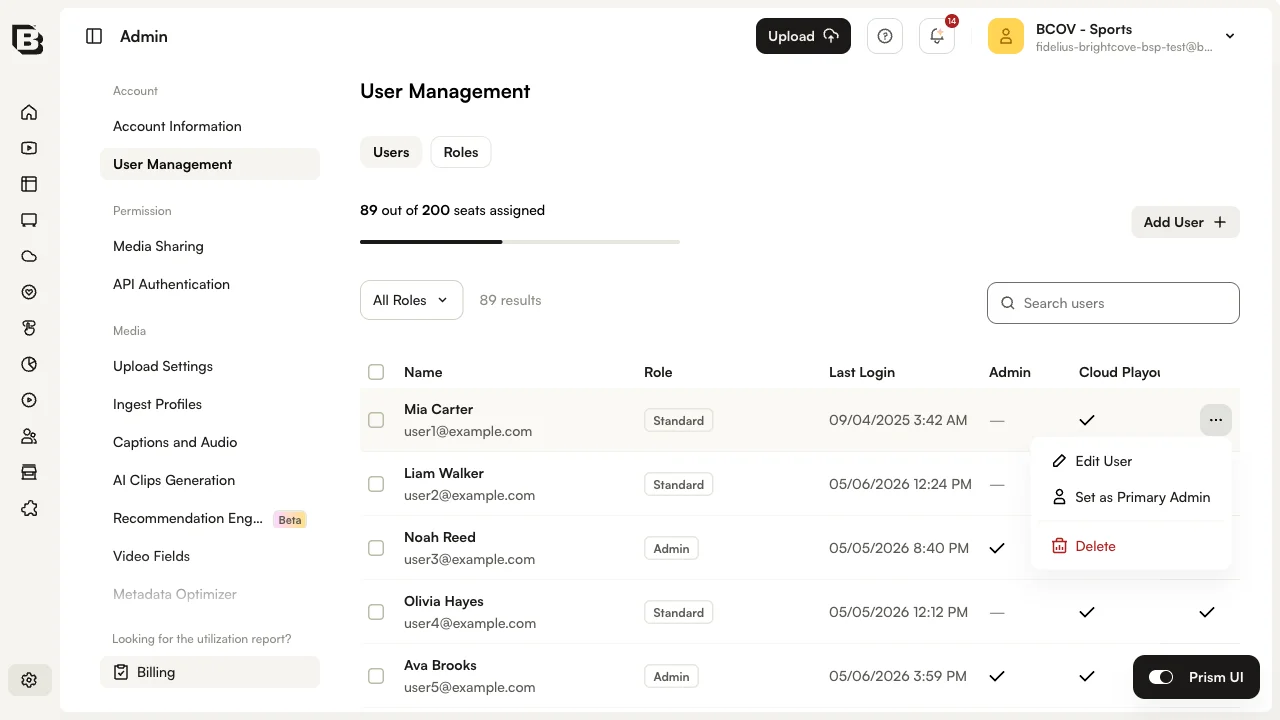
- On the Users tab, open the row's overflow menu and click Edit User.
- Update the user's First Name, Last Name, or Role selection.
- Click Save to apply the changes.
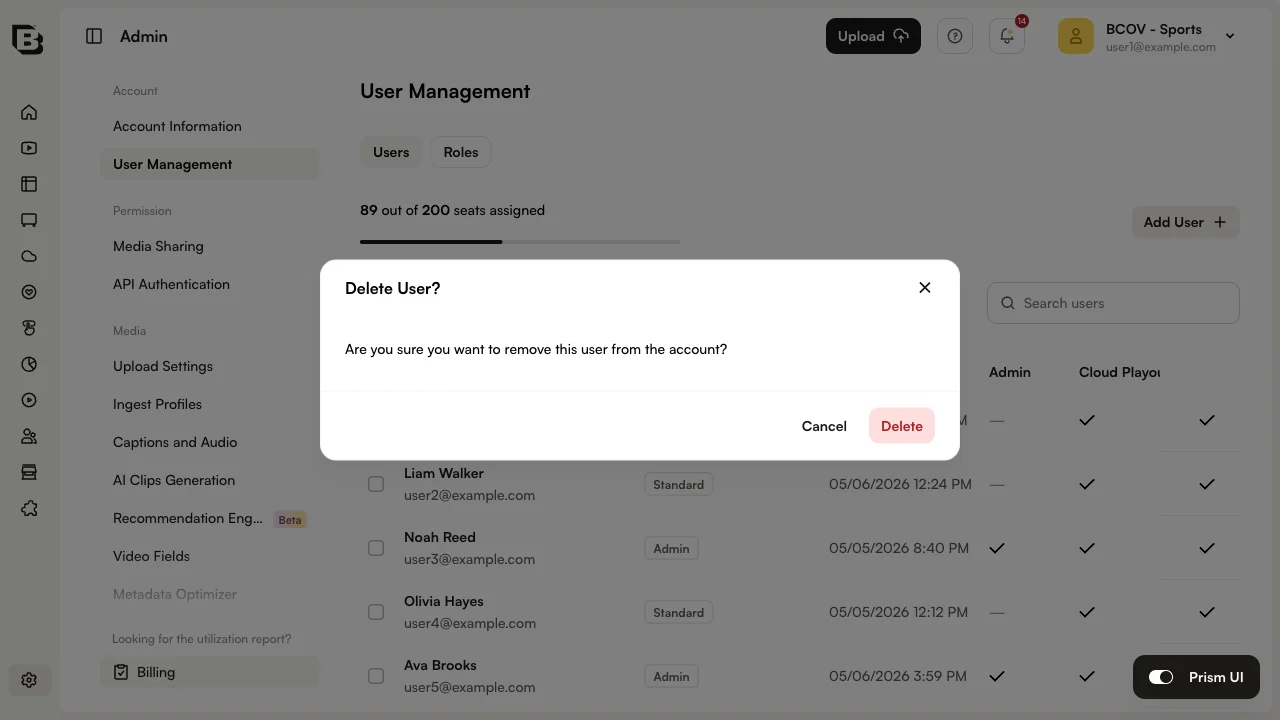
Deleting a user
To delete a user, open the row's overflow menu and click Delete. Confirm the deletion when prompted.
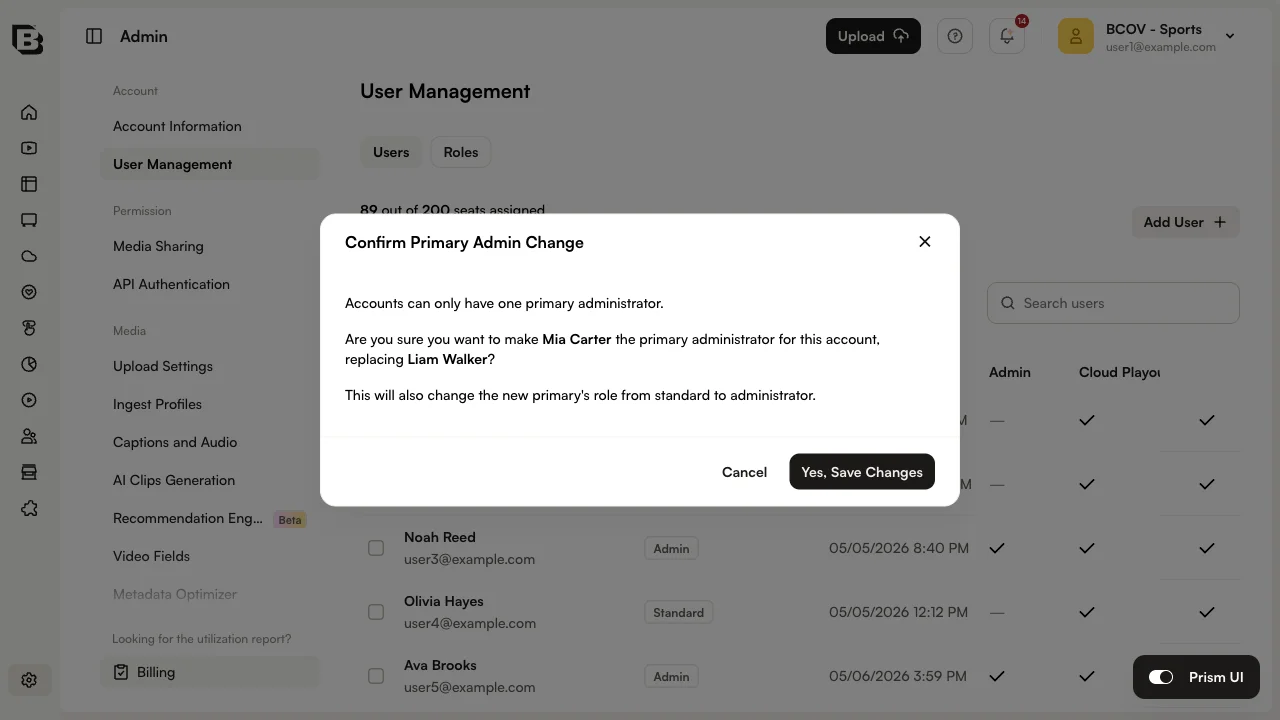
Changing the primary user
Each account has one user designated as the primary user. The primary user always has the Admin role and can only be removed by Brightcove Support.
To change the primary user, open the row's overflow menu for the user you want to promote and click Set as Primary Admin. Confirm the change when prompted.
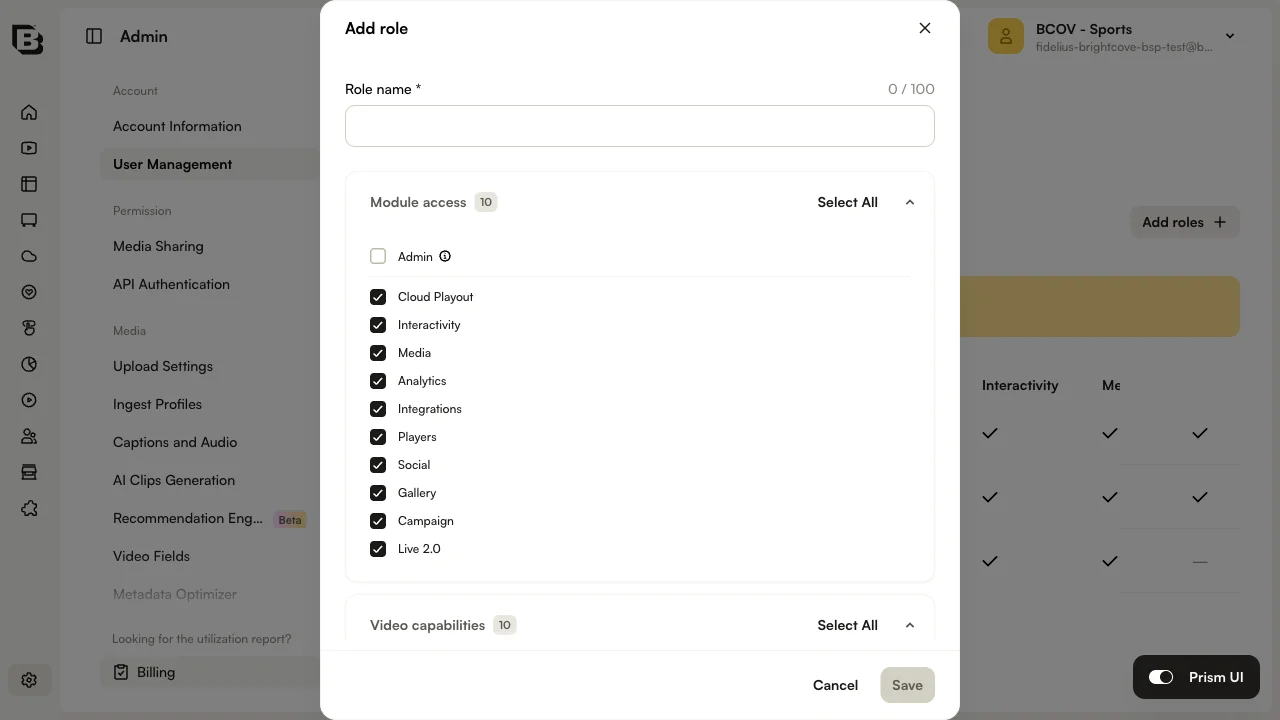
Adding new roles
To add a new role:
- Click the Roles tab.
- Click Add roles.
- Enter the role details:
- Role name — A descriptive name for the role.
- Module access — The modules the role can access. Toggle Admin on to grant administrator privileges.
- Video capabilities — The video-related permissions granted to users with this role:
- Activate or Deactivate Videos — Activate or deactivate videos in the account.
- Delete Videos — Permanently delete videos from the account.
- Video Editor — Access the video editing tools inside Brightcove Studio.
- Edit Video Metadata — Edit metadata such as title, description, and tags.
- Upload Videos — Upload new videos.
- Publish to Email — Publish and share videos through email platforms.
- Publish to Web — Publish videos to web pages and other online destinations.
- Share Videos — Share videos with other users or accounts.
- Access to all videos, private and shared videos — View and access all videos in the account, including those marked private and those shared by other users. Also grants access to the All Videos tab in the Media module.
- Share with affiliated accounts — Share videos with other Brightcove accounts affiliated with the primary account.
- Click Save.

The Roles tab displays the following for each role:
- Role name.
- Number of users assigned to the role.
- A check mark for each module the role can access.
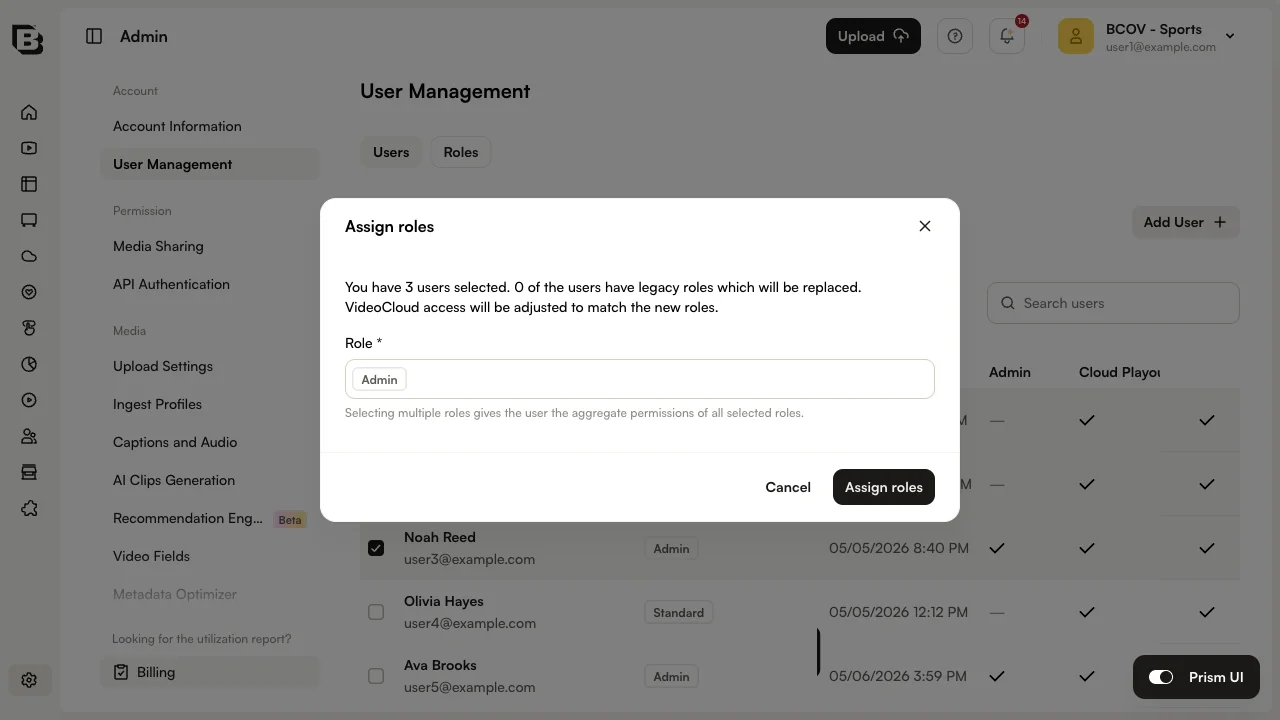
Assigning roles
To assign roles to one or more existing users:
- On the Users tab, select the users you want to update.
- In the bulk action bar, click Assign roles.
- Select one or more existing roles to assign to the selected users.
- Click Assign roles to apply the changes.
Replacing legacy roles
Brightcove has introduced more granular user roles. Users who have not been migrated to the new roles appear with a (Legacy) label in the Role column. The Roles tab also shows a banner that indicates how many users still have legacy roles.

To replace legacy roles with new roles:
- On the Users tab, select one or more users that have legacy roles.
- In the bulk action bar, click Assign roles.
- Select one or more existing roles to assign. The dialog detects legacy-role users automatically and shows how many of the selected users will have their legacy role replaced.
- Click Assign roles to apply the changes.
Working with multiple accounts
A common misconception when adding an additional account is that you get another set of user seats just like you did with your first Video Cloud account. Additional Video Cloud accounts do not include additional user seats. For example, if 10 users are added to the first account and the same 10 users are added to a second account, the total user count is still 10. Users are counted uniquely per the license agreement, and a single unique user ID can be used across multiple accounts while still counting as one user.
If you have multiple accounts, users must be added to each account individually. For example, if you have Account A and Account B and a user is added to Account A, they will not automatically have access to Account B. Users must be added to each account they need access to.
For more information about working with multiple accounts, see Working with Multiple Video Cloud Accounts.