Adding Transcripts to Videos using the Media Module
Adding a transcript file
Transcript files can be uploaded using the Media module. To upload a transcript for a video, follow these steps:
- Open the Media module.
- Click the link for the video you want to edit.
- In the right-side navigation, click Languages.
- At the top of the panel, click the title dropdown and select Transcripts.
- Click New and choose how to add the transcript:
- Browse Files — Select the transcript file from your computer. The file will be uploaded to .
- Upload from URL — Enter the public URL where the transcript file resides. The file will be uploaded to .
- Auto-Transcript — Generate a transcript automatically from the video’s audio.
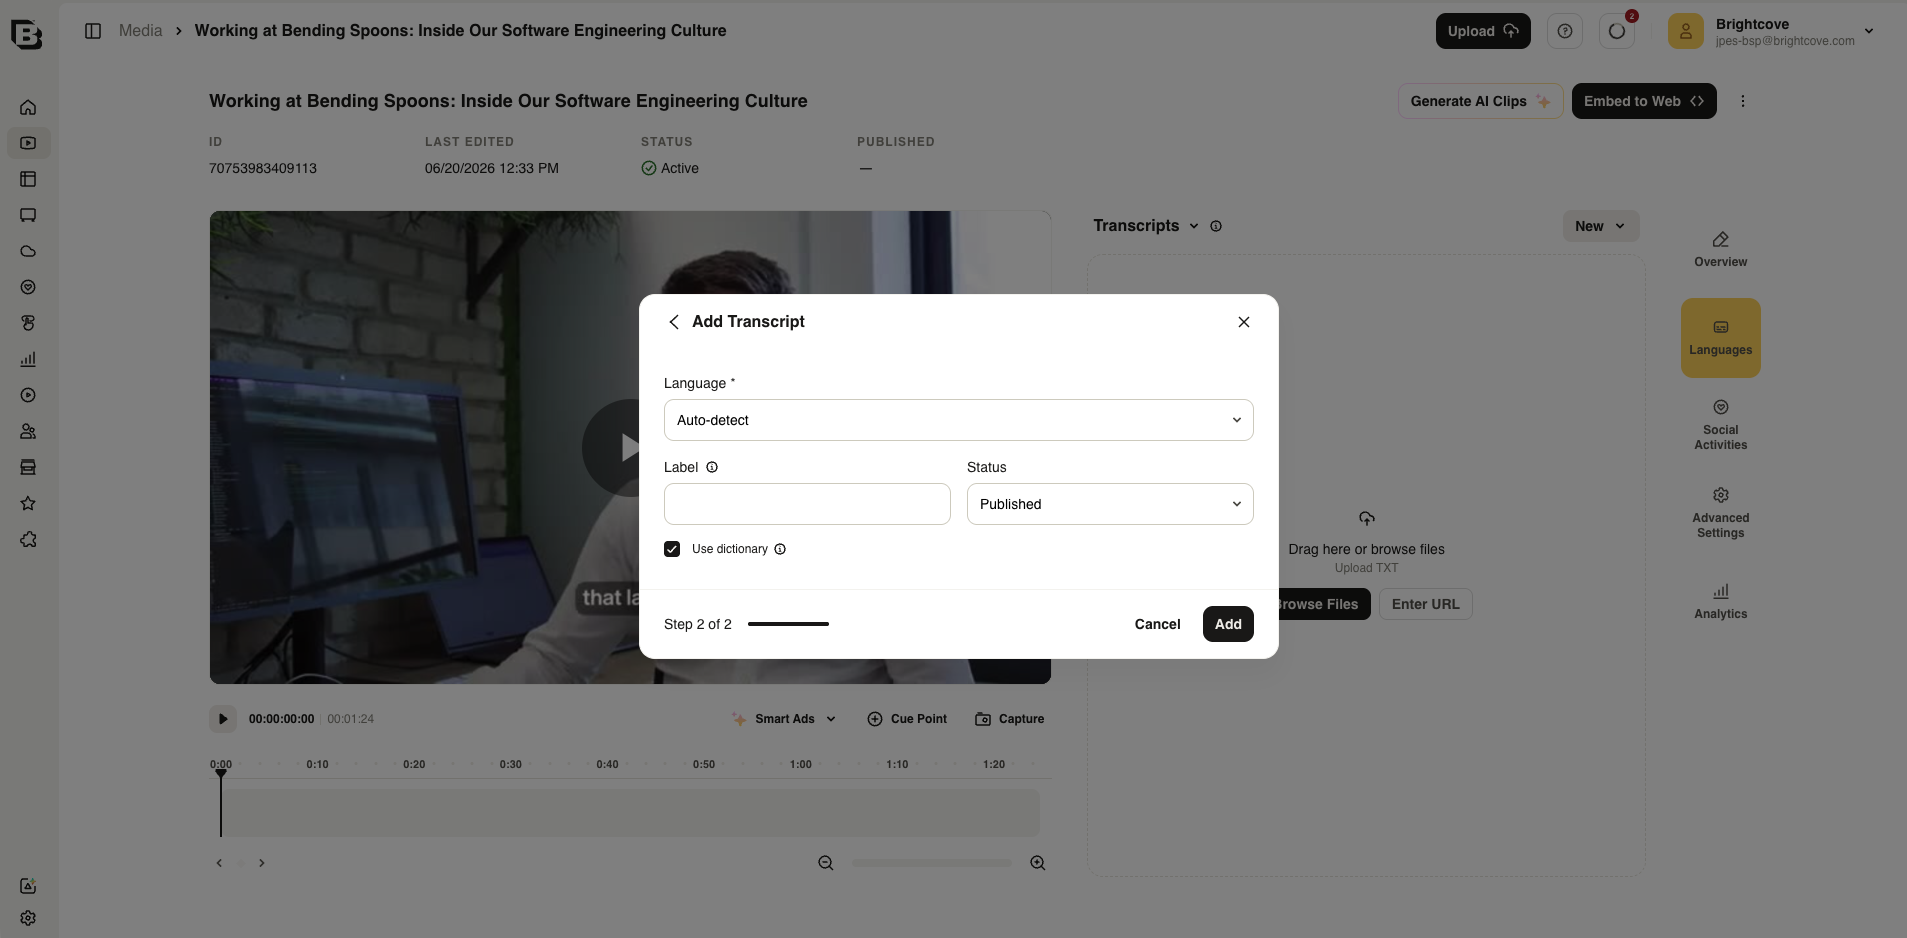
- In the Add Transcript dialog, complete the fields:
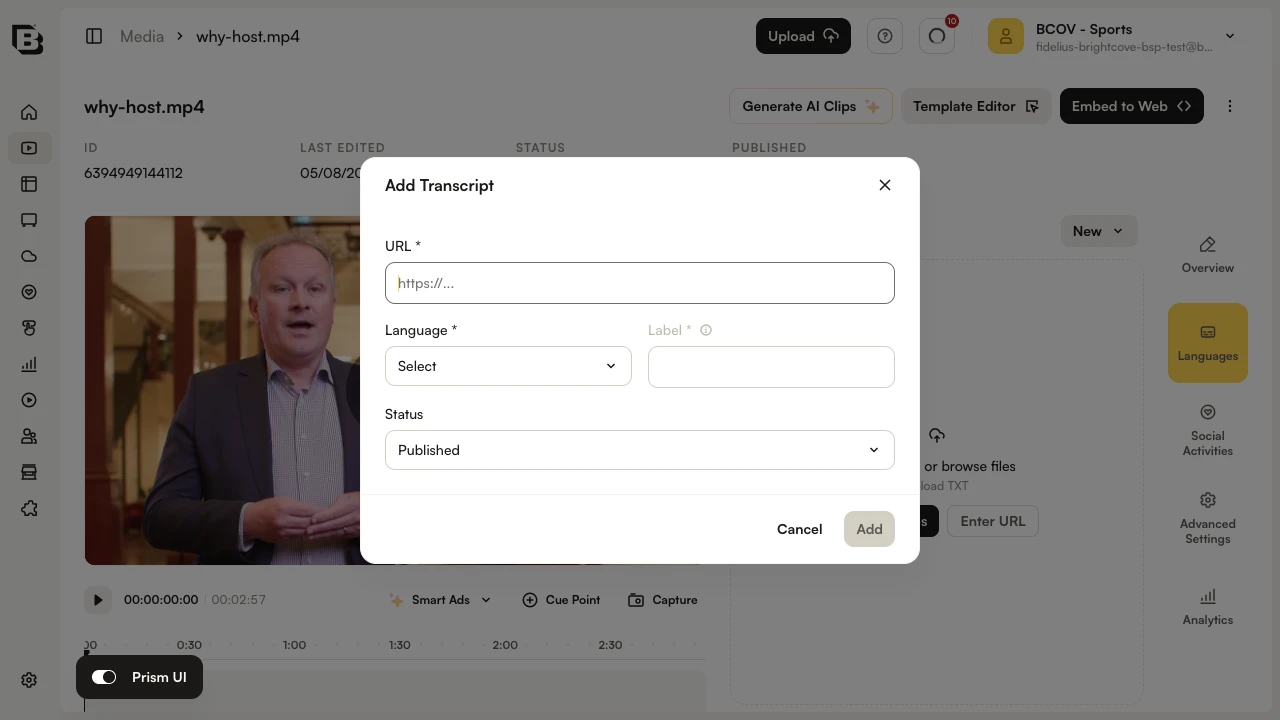
- Select the Language of the transcript data.
- The Label is filled in automatically based on the language, but you can edit it as needed.
- Select a Status:
- Published — Transcript will appear on the Playback API for the video.
- Draft — Transcript will not appear on the Playback API for the video.
- Click Add to save the transcript information.
Polished transcripts
You can use the Polish transcription setting to make auto-generated transcripts cleaner to read and organized in paragraphs. The unpolished version keeps word-level timestamps.
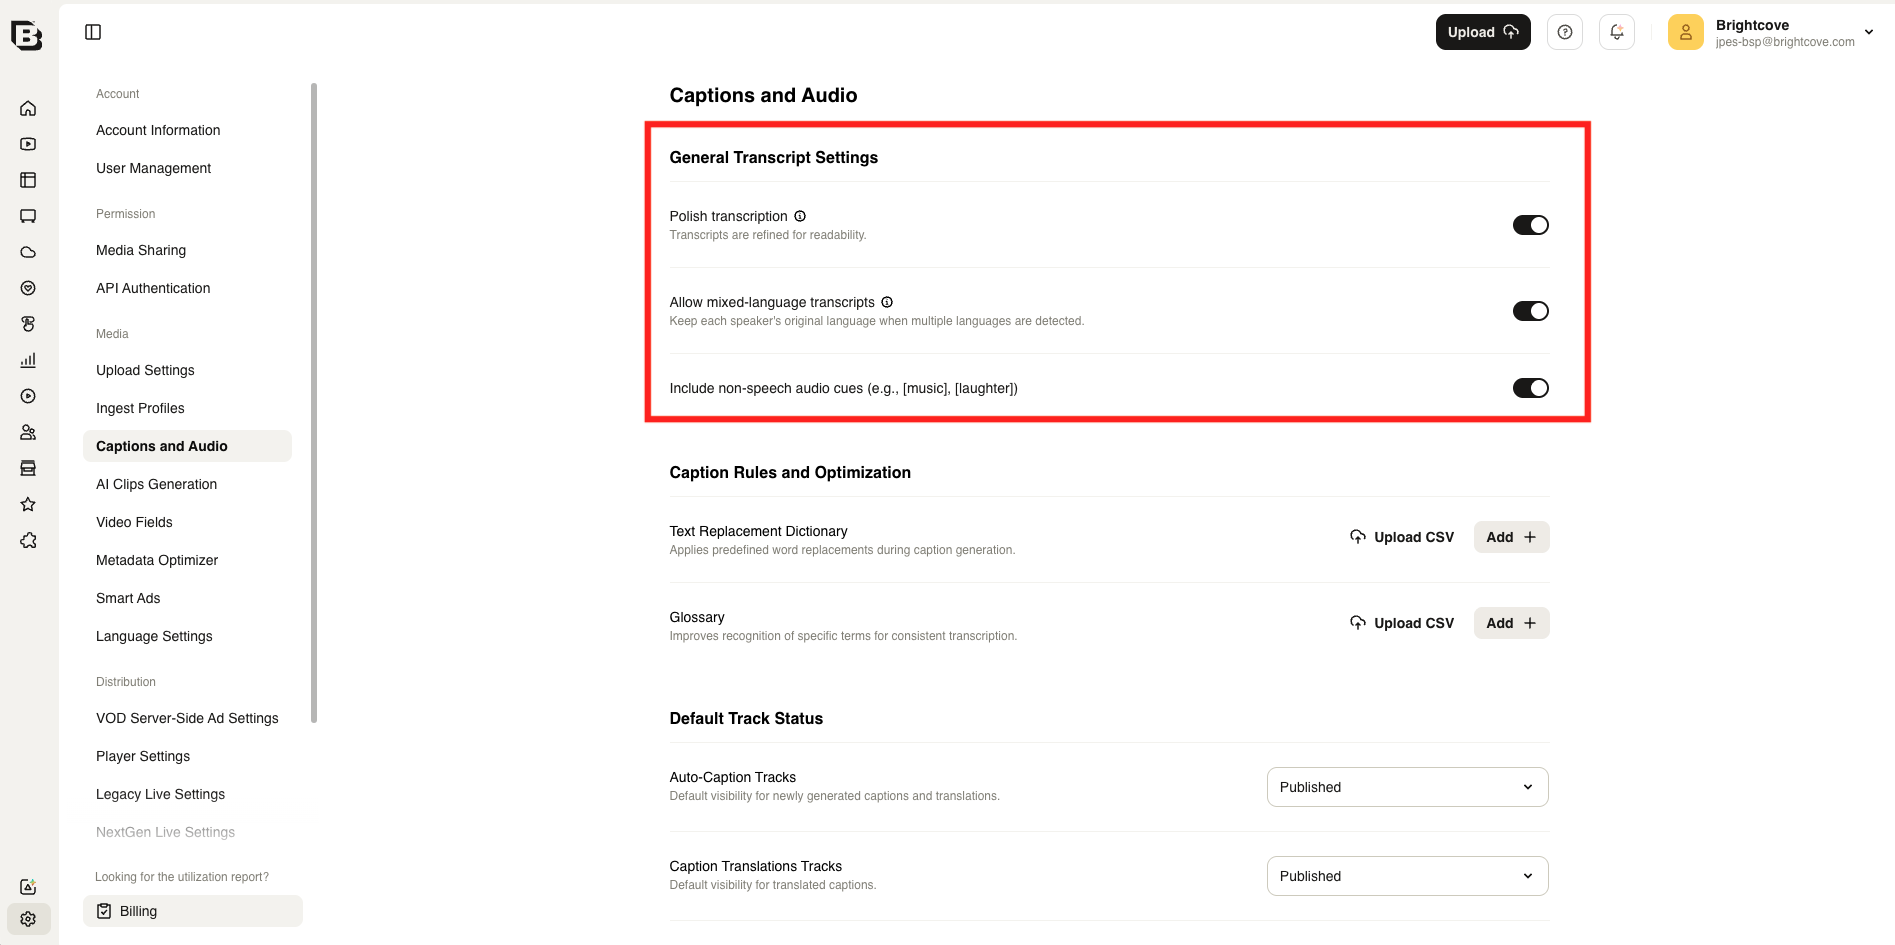
- Open the Admin module and select Captions and Audio.
- Under General Transcript Settings, turn on Polish transcription. You can also choose whether to allow mixed-language transcripts and whether to include non-speech audio cues such as music or laughter.
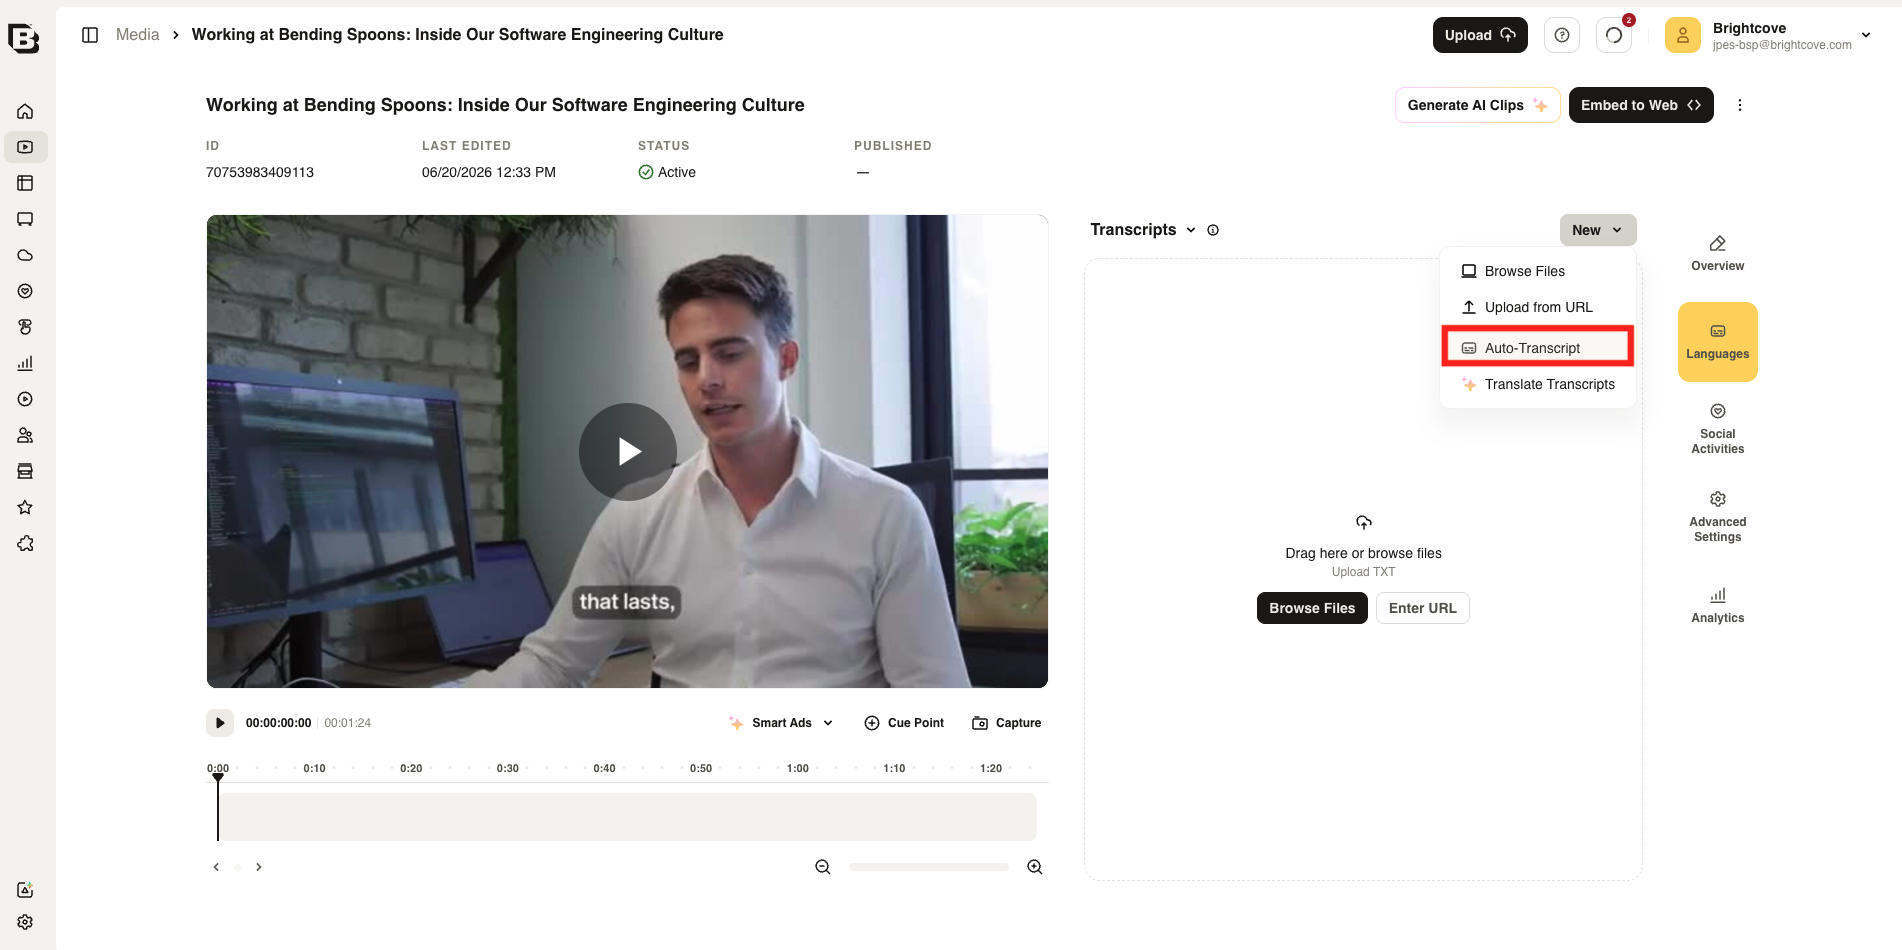
- To generate a transcript, open the Media module, open a video, select Languages, switch the title dropdown to Transcripts, and select New > Auto-Transcript.
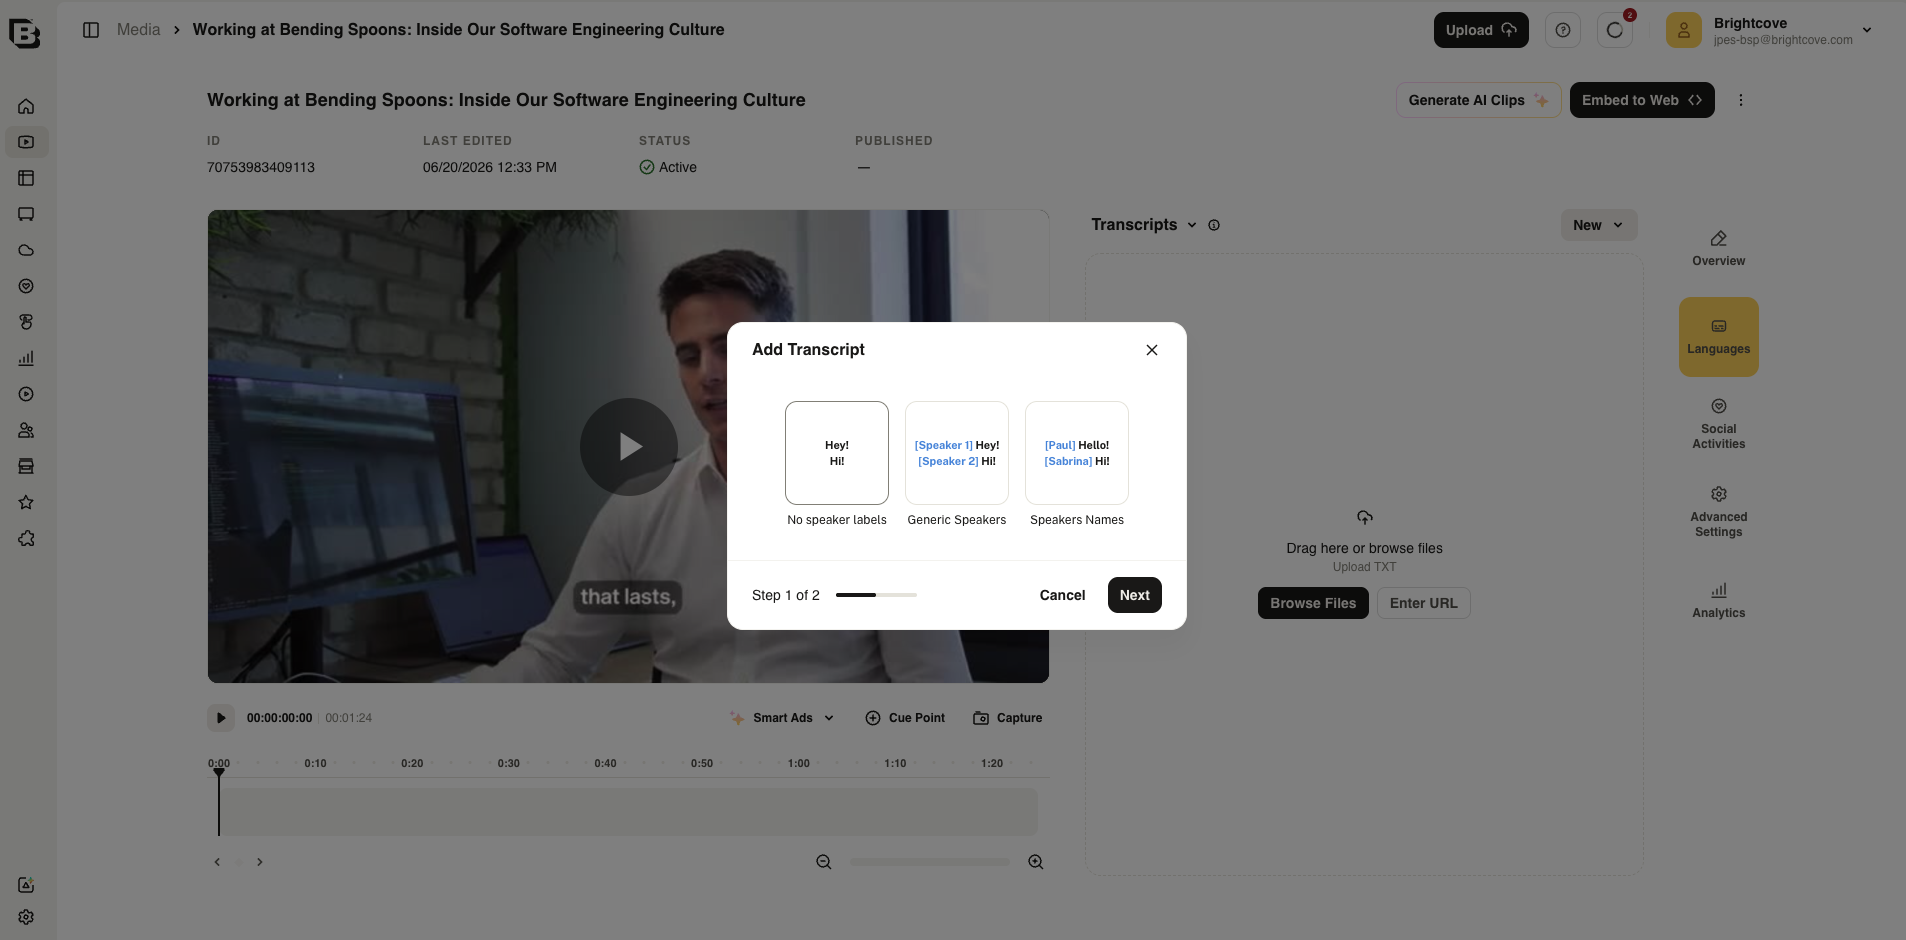
- Select how speaker labels should be handled, then click Next.
- Set the transcript language, label, status, and dictionary options, then click Add.
Editing transcript details
The Media module provides the option to edit transcript details. To edit transcript details, follow these steps.
- Open the Media module.
- Click the link for the video you want to edit.
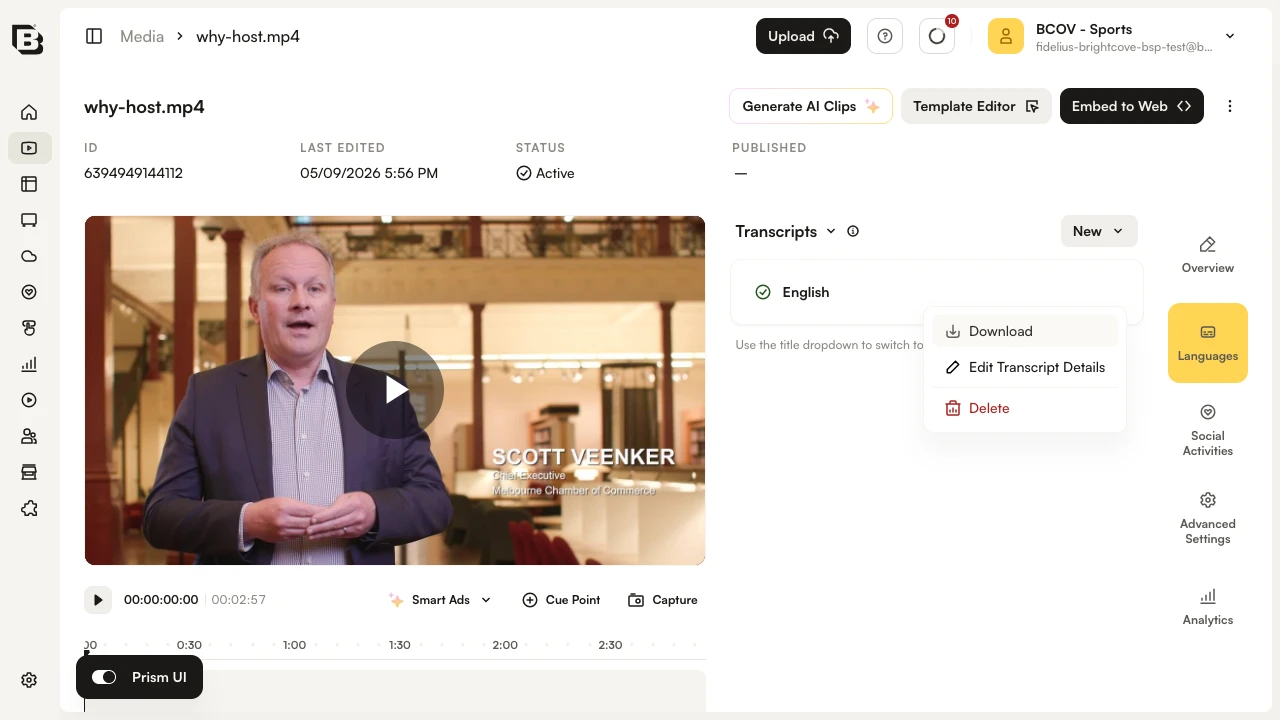
- In the right-side navigation, click Languages and switch the title dropdown to Transcripts.
- On the transcript row, click the overflow menu (
 ) and select Edit Transcript Details.
- Edit the transcript details as needed.
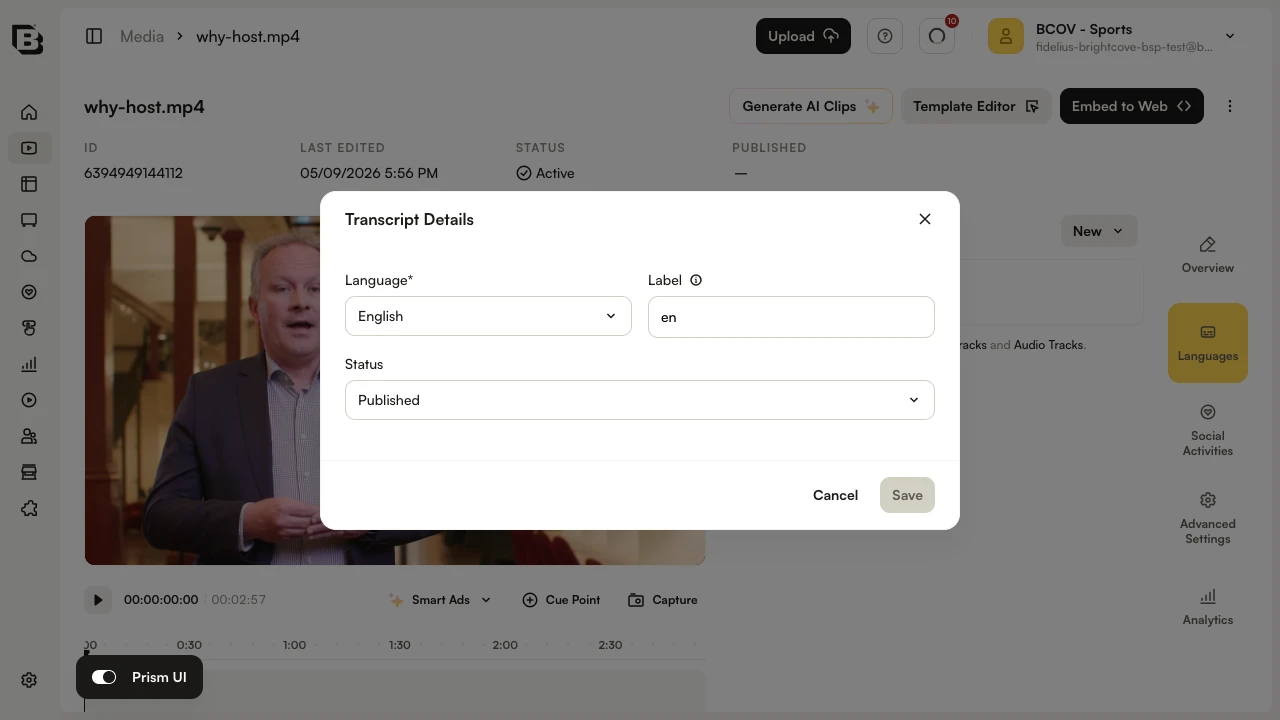
- Click Save.
Downloading transcript files
The Media module provides the ability to download transcript files. To download a transcript file, follow these steps.
- Open the Media module.
- Click the link for the video you want to edit.
- In the right-side navigation, click Languages and switch the title dropdown to Transcripts.
- On the transcript row, click the overflow menu () and select Download.
Deleting transcript files
The Media module provides the option to delete transcripts. To delete a transcript, follow these steps.
- Open the Media module.
- Click the link for the video you want to edit.
- In the right-side navigation, click Languages and switch the title dropdown to Transcripts.
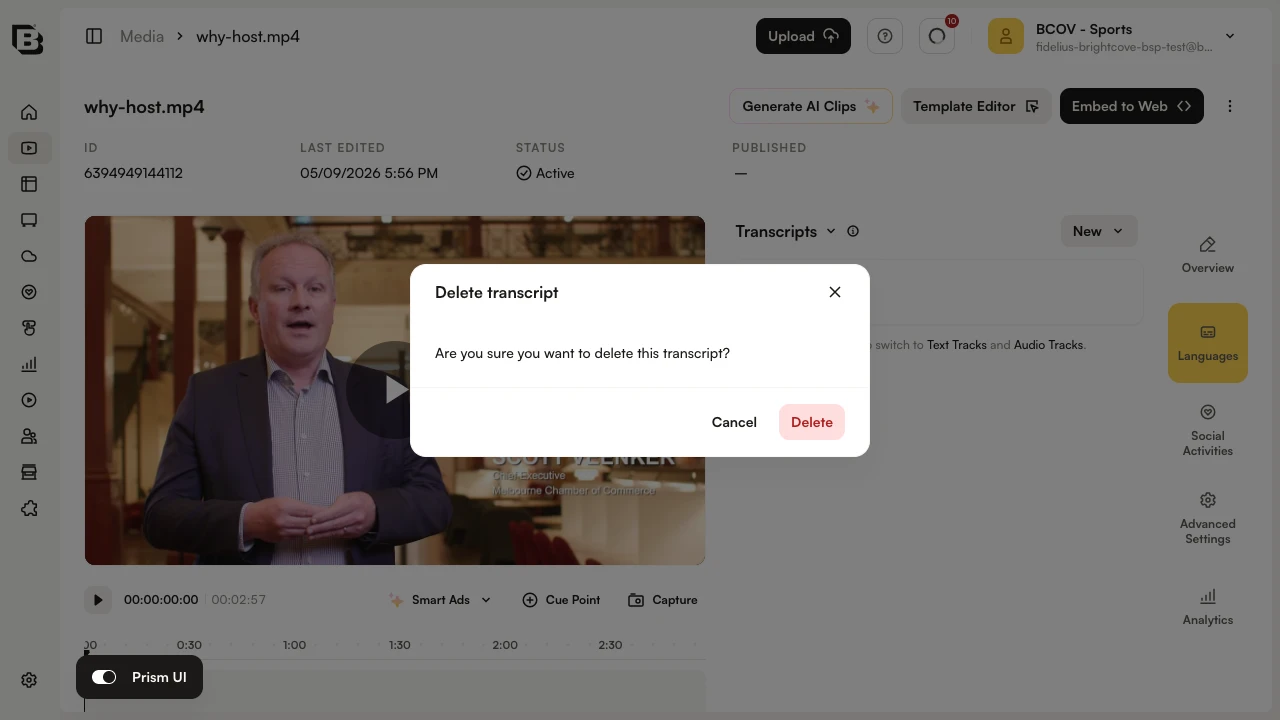
- On the transcript row, click the overflow menu () and select Delete.
- In the Delete transcript dialog, click Delete to confirm.
Limitations
- There is no current transcript experience in the Brightcove Player.
- Formats other than .txt on upload in the Media Module are not supported.
- If you are using auto-captioning, the JSON transcript will display in the list, however there is no current ability to edit the contents of the transcript.
- Remote transcripts are not initially supported.
- Uploading a transcript for shared assets is not supported.