Integrating Video Cloud with Salesforce
The Campaign module allows Video Cloud to synchronize viewing data from Brightcove Players to Salesforce. Once in Salesforce, this data can be used for campaign logic, reports and personalizing communications. The Campaign module integration with Salesforce consists of two main components:
- A Brightcove Player plug-in to enable tracking of video views data
- A synchronization process to send tracking data from Video Cloud to Salesforce
Requirements
To use the Campaign module with Salesforce, you must:
- Have a Professional or Enterprise Video Cloud account
- Have a Salesforce account, Salesforce sandbox accounts are not supported
- Have the Campaign module enabled for your account by submitting the required information in the initial splash screen that appears when you open the Campaign module
- Click through the service agreement the first time you use the module
- Have a Salesforce.com account with the API Enabled permission and belong to a role which allows you to read and write to the Salesforce object they choose to send viewing data to
- Use the Advanced Embed (in-page) publishing code when publishing your player; Standard Embed (iframe) publishing code will not work as the plugin will be running inside of an iframe and therefore will be unable to access the parent page URL parameters
- If you will be using the Pardot integration, you should complete the steps outlined in the Creating a Custom Salesforce Object for Pardot Integration topic.
Features
Some of the key features of the Video Cloud - Salesforce integration are:
- Data format - Video Cloud viewing data is mapped to a Salesforce object
- Data transfer - Viewing data is sent from Video Cloud to Salesforce every hour
- Data retention - Data collected can optionally be retained in Video Cloud for up to 1 month
- Lead forms - Create Salesforce forms that will appear automatically as viewers watch videos. For information, see Creating Custom Lead Forms for Salesforce.
Setting up the connection
Follow these steps to setup the connection between Video Cloud and Salesforce.
- Open the Campaign module.
- In the left navigation, click Data Connections.
- Click .
- Select Salesforce as the integration.
- (Optional) Enter a Connection Name.

- Click .
- Click .

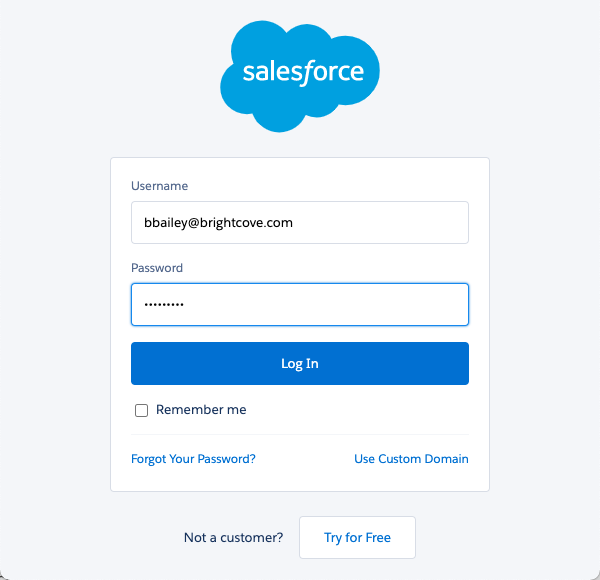
- On the login screen that appears, enter your Salesforce Username and Password. Click Log In.
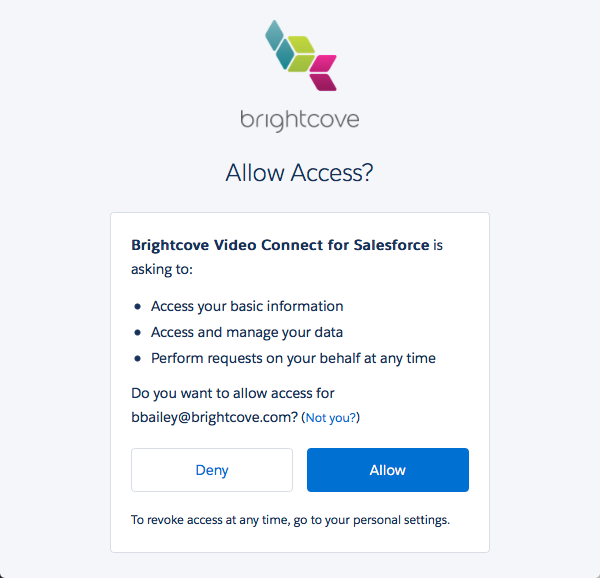
- If the login is successful, you will prompted to install the Brightcove Video Connect for Salesforce app. Click Allow.
The Video Cloud connection to Salesforce is now set up and ready to use.
Configuring the integration
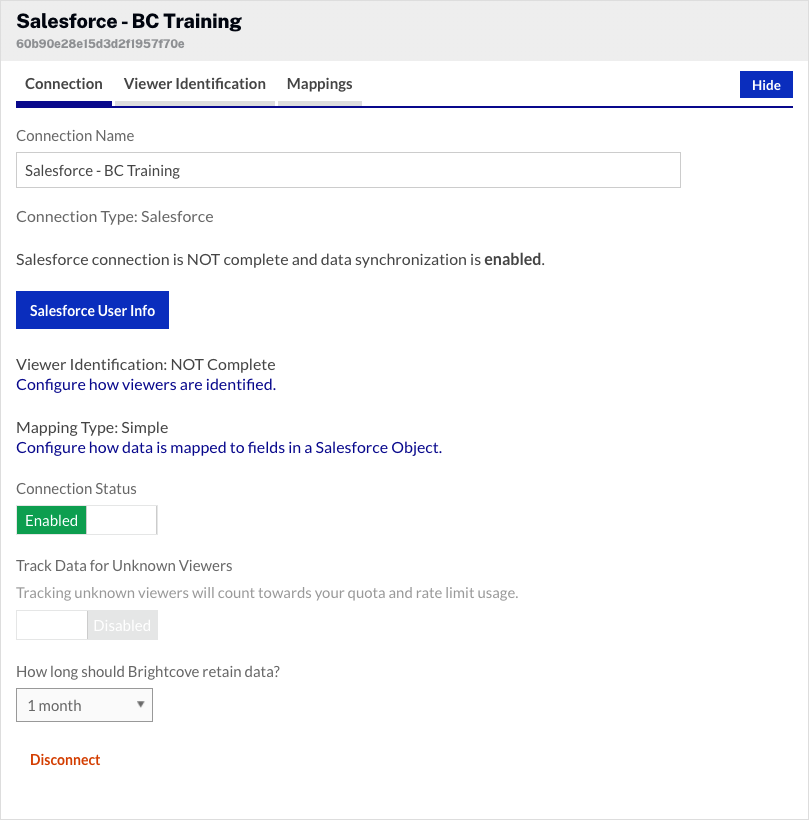
Once the Video Cloud to Salesforce connection has been made, you can configure the integration. Click Salesforce User Info to see information about the account that was used when setting up the integration.
- To configure viewer identification, click the Configure how viewers are identified link and then select an option:
- Pardot - Pardot is used to identify viewers. See the Configuring a Pardot integration section below.
- Manual - Your development staff will be responsible for adding logic to identify viewers.
- Select a Mapping Type and configure data mapping.
- By default, the Connection Status will be Enabled. The Connection Status determines if Video Cloud video engagement data is sent to Salesforce.
- Enabled - Data is collected and will be sent to Salesforce
- Disabled - No data is collected (integration is disabled)
- By default, Track Data for Unknown Viewers will be Disabled. This setting determines if video engagement data is saved in Video Cloud when the viewer is unknown. Only data for known viewers is sent to Salesforce.
- Enabled - Data for all viewers is collected and saved in Video Cloud
- Disabled - Data for unknown viewers is not saved in Video Cloud
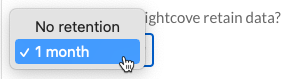
- Select a data retention policy. The data retention policy determines how long the viewing data and lead form data (if using a Campaign lead form) will be retained in your Video Cloud account. Retaining data in Video Cloud allows you to recover from interrupted synchronizations. Also, Campaign will continue to retry events that fail to sync (usually because the viewer isn't a known contact at the time they viewed a video) until the event ages past the data retention period. You should adjust the retention settings according to your privacy policy - it is not required to retain any user data in Video Cloud. Data will be deleted after the data retention period.
Configuring a Pardot integration
Once the Brightcove Campaign to Salesforce connection has been made, you can choose to use Pardot to identify viewers. This section covers the steps to use Pardot to identify viewers.
- Click the Configure how viewers are identified link.
- If you are presented with 2 login options, select Use Salesforce Login.
Get the Pardot Business Unit ID
To get the value for the Pardot Business Unit ID field, follow these steps.
- Login to your Salesforce account.
- Click the gear icon (
 ) and then Setup.
 - In the left navigation, in the Quick Find box, search for Pardot, then click Pardot Account Setup.
- Locate the Business Unit ID field. Enter the value into the Pardot Business Unit ID field in Campaign.
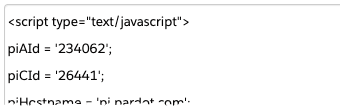
Get the tracking IDs
To get the value for the Tracking piAld and Tracking piCld fields, follow these steps.
- Use the left navigation to open the Marketing page.
- Click Campaigns on the top navigation.
- Click on a Campaign Name (or click New and create a campaign if there are no campaigns).
- Click View Tracking Code. The piAId and piCId values will be displayed.
- Copy the values and paste them into their respective fields.
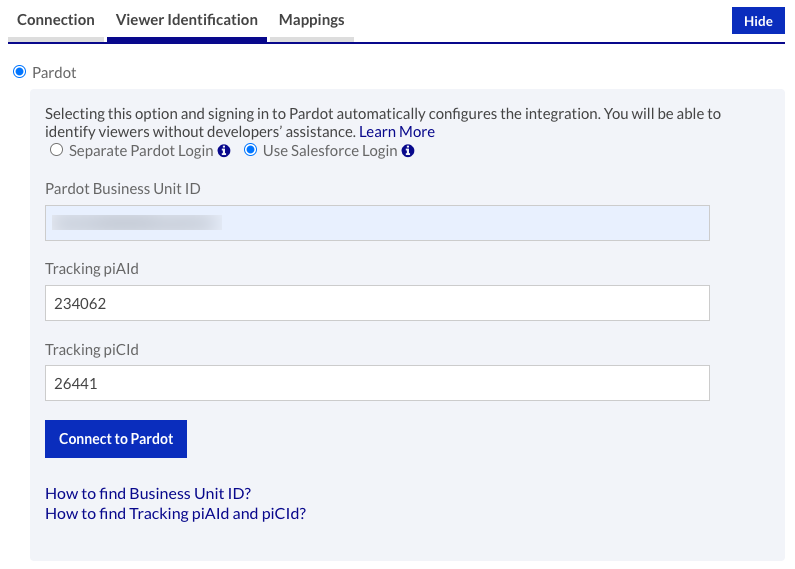
- Click .
Typically, when using the Pardot integration type, you will select the Advanced Mapping Type and then map the view fields to the Salesforce custom object you created.
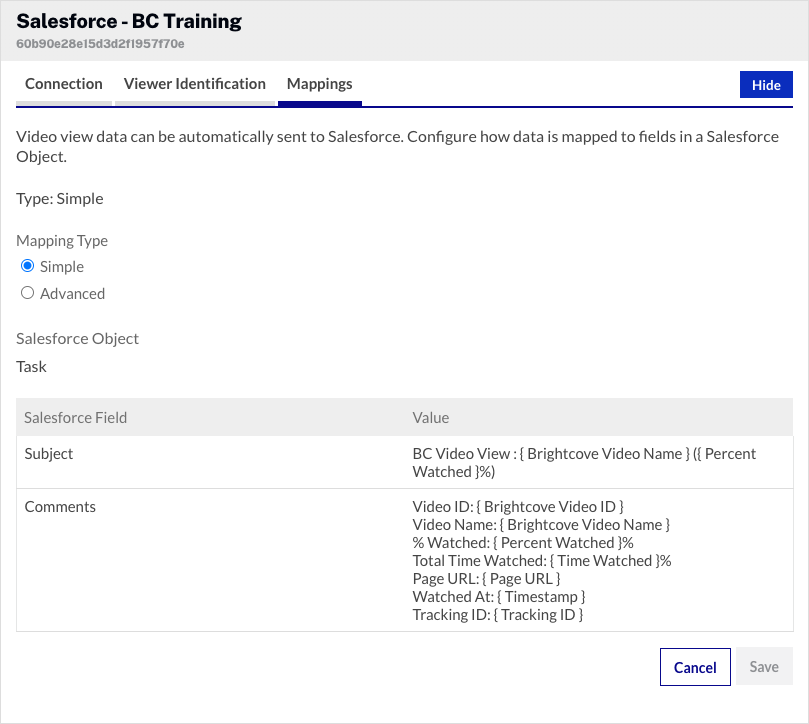
Configuring data mapping
Data mapping determines how video data is mapped to fields in a Salesforce object. By default, the integration will be configured using Simple mapping which maps some video data to the Task object in Salesforce.
Follow these steps to customize the data mapping.
- Click the Configure how data is mapped to fields in a Salesforce Object or click the Mappings link.
- For the Mapping Type, select Advanced.
- In the Salesforce Object dropdown list, select an object to map the video data to.
- Map the appropriate View Field to Salesforce fields.
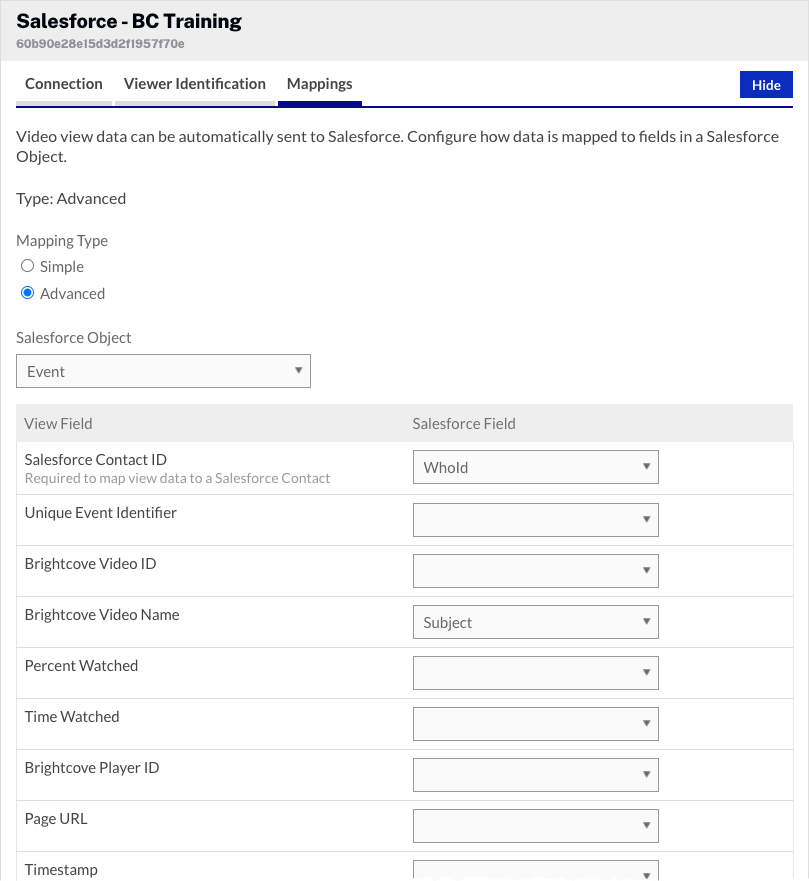
- Click to save the changes.
To remove the integration with Salesforce, click Disconnect. The Campaign module supports multiple connections to marketing platforms. Click Add New Connection to configure additional integrations.
Creating a Campaign-enabled player
Video engagement data will only be sent to Salesforce when you are using a Campaign-enabled video player. For information on creating a Campaign-enabled Brightcove Player, see Creating a Campaign-enabled Player.
Passing a tracking ID
The Campaign module supports the ability to pass a tracking ID value to Salesforce. The tracking ID might be used to track a campaign ID for example. The tracking ID can be appended to the URL that displays the Campaign-enabled player or added to the player embed code.
- Example: Appended to URL
http://www.myurl.com/video.html?bctrackingid=12345
- Example: Added to player embed code
    <video data-video-id="6033402539001"
        data-account="1486906377"
        data-player="default"
        data-embed="default"
        data-application-id
        class="video-js"
        data-bc-trackingid="12345"
        controls></video>
    <script src="//players.brightcove.net/1486906377/default_default/index.min.js"></script>
Campaign will then pass the value along to Salesforce as another field that is synced.
Identifying viewers
If your Salesforce connection is configured to use Manual viewer identification, it's up to you to identify viewers. For viewer tracking to occur, the user id should be passed as a URL parameter on the page that is displaying the video. Two URL parameters are supported:
- bcemail - To pass the viewer's email address (for an example, see this topic)
- bcsfid - To pass the viewer's Salesforce ID
In this scenario, video landing pages would be generated with a URL that’s been uniquely generated for tracking purposes. The Campaign module will then use the URL parameter to look up the user server-side and sync viewing data.
In order for the player/plugin to read the URL parameters, the Advanced Embed (in-page) publishing code should be used. The Standard Embed (iframe) publishing code will not work as the plugin will be running inside of an iframe and therefore is unable to access the parent page URL which has the parameter.
Viewing video data in Salesforce
As videos are viewed in Campaign-enabled players, video viewing data will be synced to Salesforce. If the Simple data mapping option was selected, video view data will appear as a Task entry inside Salesforce. If the Advanced data mapping option was used, viewing data will appear as part of the Salesforce object that was selecting when the mapping was configured. In the following example, Advanced data mapping was used and the video fields were mapped to a custom BC Video View Salesforce object.

Clicking the video name will display detailed information.
