This topic provides an overview on how to migrate from using HapYak to using Brightcove Interactivity. If you are just getting started with Brightcove Interactivity, check out Getting Started with the Interactivity Module.
Migrating content published through the Brightcove/HapYak plugin
If your HapYak projects were generated using the HapYak/Brightcove plugin and your content is currently deployed as Brightcove embed code/URL, the process to transition customer-facing interactive elements from the HapYak instance to the Brightcove Interactivity version is simple. Once the HapYak content migration occurs, follow these steps to update your customer-facing content to the new Brightcove versions.
- Enable Brightcove Interactivity on any players you are currently using to serve HapYak-enabled interactivity.
- Open the Players module
- Click on a Name
- In Additional Features > Interactivity, check the Enable Interactivity option
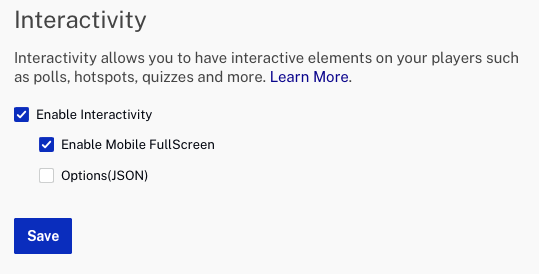
The checkbox to Enable Interactivity will replace the need for entering any API key data.
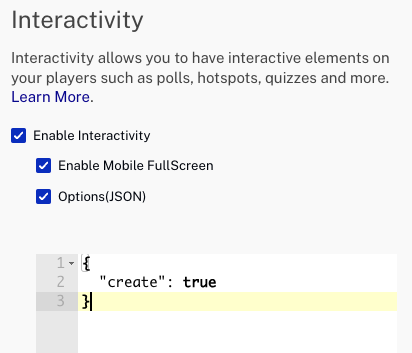
- If any custom tracking scripts were being used, enable the Options (JSON) checkbox and enter the script.
- (Optional) If you would like to have projects auto-created when they are played with an Interactivity-enabled Brightcove Player (similar to functionality from the HapYak/Brightcove plugin), you will need to enable project auto-creation on your player. To do this, add the following to the Options(JSON).
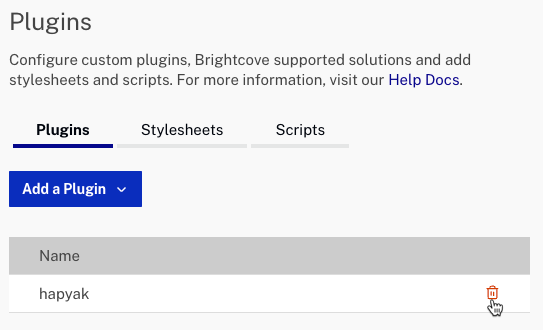
- Delete the existing hapyak plugin on the player (click Plugins in the navigation).
- Save the changes and publish the player.
After caching clears, the Brightcove Interactivity versions of the interactive content should automatically replace the HapYak versions. Customer-facing experiences should continue functioning seamlessly on the new platform.
Migrating non-Brightcove plugin published projects
If your interactive content was not published using a Brightcove embed code via the HapYak plugin (typical examples include direct publishing from HapYak embed code and non-Brightcove based projects) you will still have a path to easily update your content. During the HapYak content migration, Brightcove Interactivity versions of all your interactive content will be generated. In cases where a non-Brightcove video was used as the video source file, the migration will create a "headless" project retaining all of your interactive content. You will be required you to update the project settings and select a valid Brightcove video source file (that exists in the Media module).
- Open the Interactivity module.
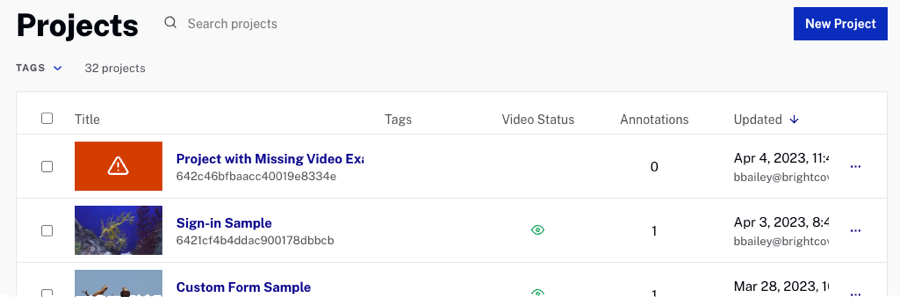
- Click on a project Title. Projects with a missing video will display a warning icon as the video thumbnail.
- Click .
- Click .
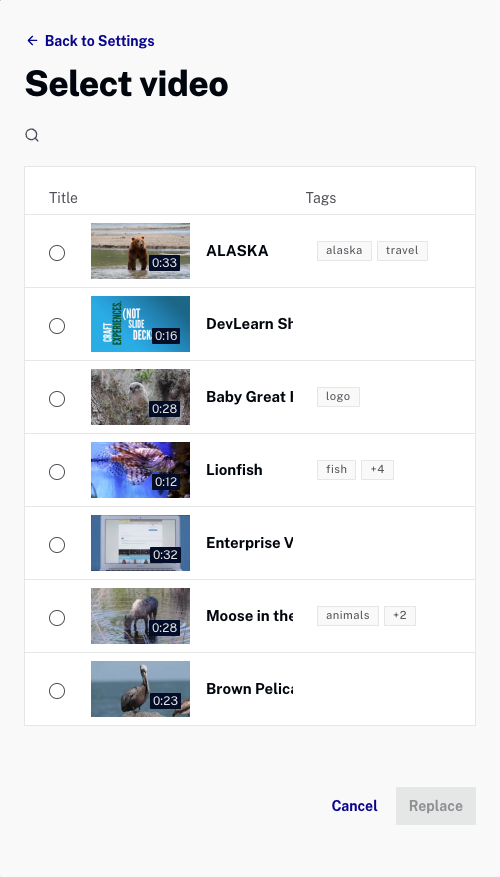
- Select a video and click .
- Verify the timing and functionality of any interactive elements in the annotation editor or by previewing the project.
- Copy the embed code for the project.
- Replace the existing HapYak embed code with the new Brightcove Interactivity embed code on your site.
Migrating HapYak experiences
Brightcove Interactivity supports interactive experiences natively. As part of the HapYak content migration, versions of your experiences will be created and be available within the Interactivity module. Each experience will have its own unique embed code. You will need to replace any existing HapYak experience embed code with the Brightcove Interactivity embed code on your sites.
- Open the Interactivity module.
- In the left navigation, click Experiences.
- Find the experience using search or by scrolling through the list of experiences.
- Verify that the experience functionality works as expected and that the appropriate settings are configured.
- Click .
- Copy the embed code for the experience.
- Replace the existing HapYak embed code with the new Brightcove Interactivity embed code on your site.