
Scheduling Clips with NextGen Live
Overview
A scheduled clip records the clip you want before the content has streamed. You choose a start and end time in the future, and when the end time passes, Brightcove creates the clip from the channel's recorded stream and ingests it into your Video Cloud library. This is the recommended approach for known-in-advance segments — a match, a session, a nightly broadcast window — where nobody needs to be watching the stream at the moment the segment ends.
Scheduled clips are separate from clips you create by hand. To clip content that has already streamed, use the clipping timeline instead — see Creating a Video Clip Using the Live Module.
Scheduling a clip
- Open the Live module and select the channel you want to clip from.
- In the Control Room, open the Overview tab and expand the Scheduled Clips card. It sits directly above Clips.
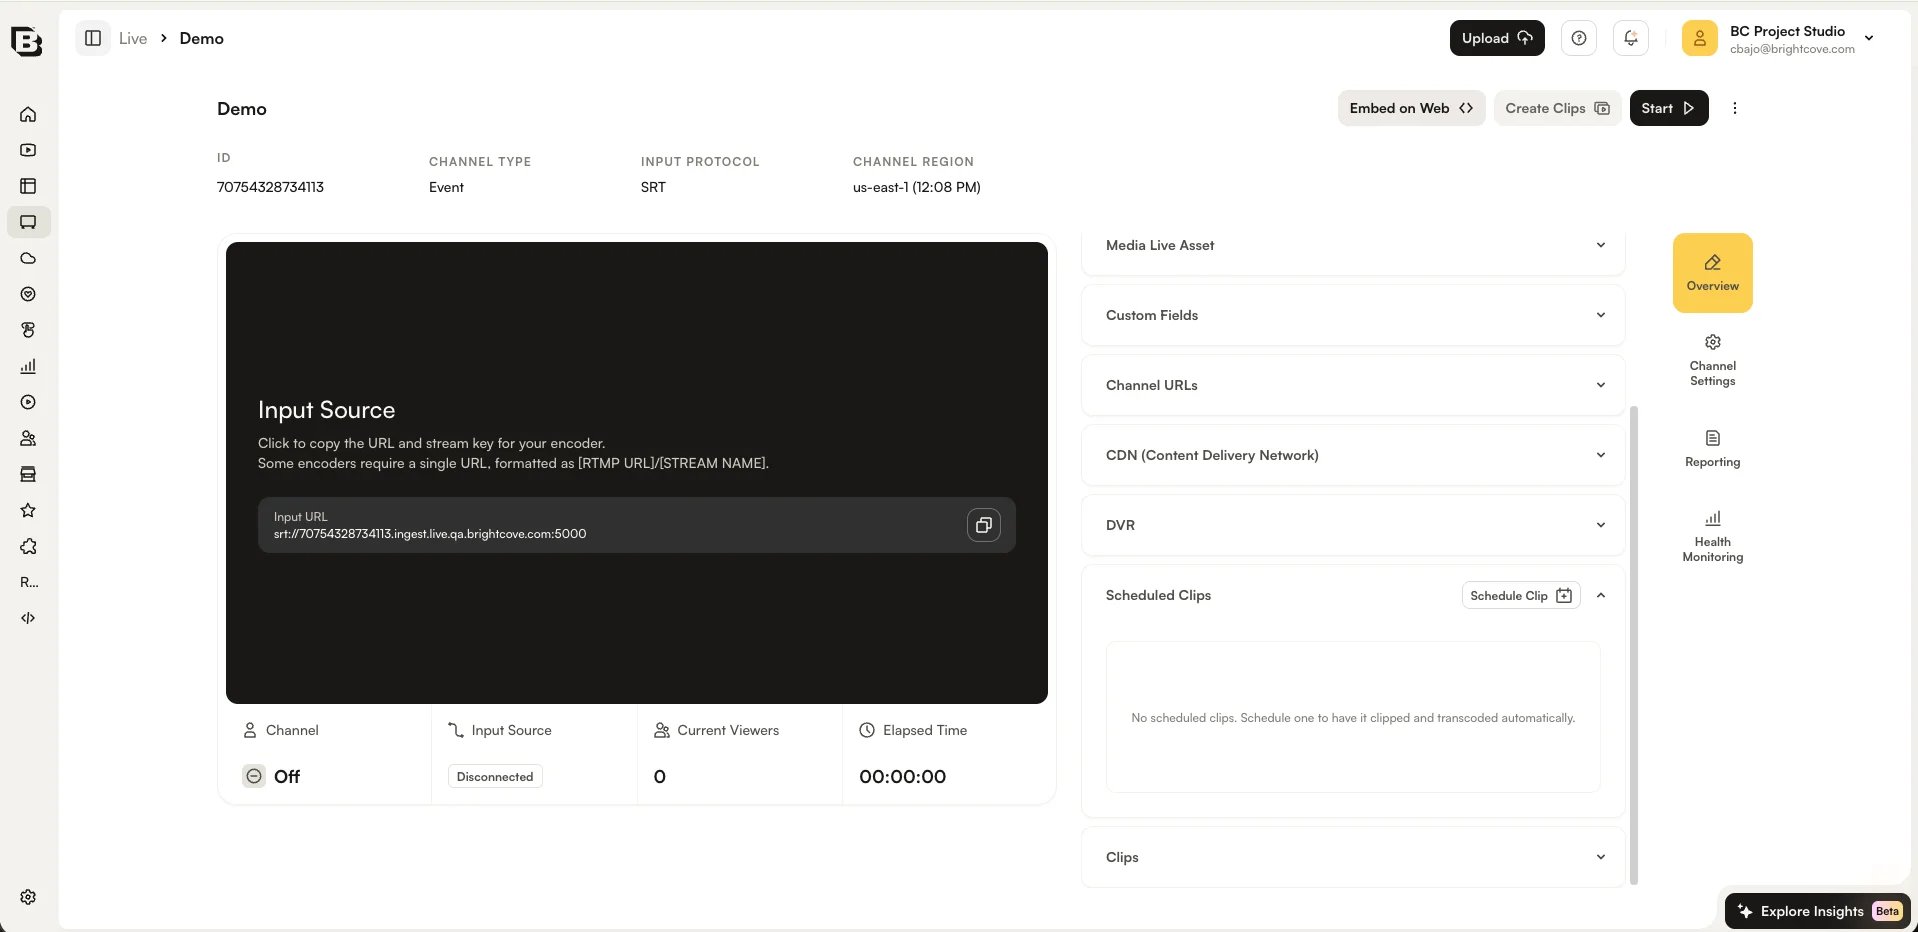
- Click Schedule Clip in the card header. The Schedule Clip dialog opens.
- Set the clip window:
- Date — the calendar day the clip starts.
- Clip Start and Clip End — the times the clip begins and ends.
Total Clip Duration is calculated for you as you adjust the times.
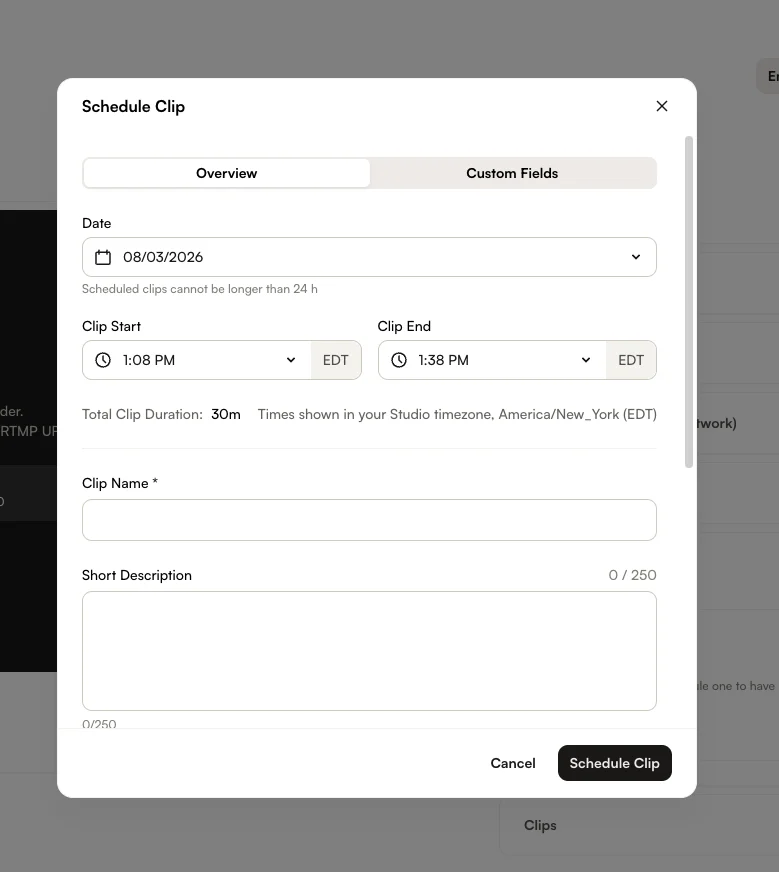
If Clip End falls after midnight, the dialog splits the date field into Start Date and a read-only End Date - next day, so it is always clear which day the clip finishes on.
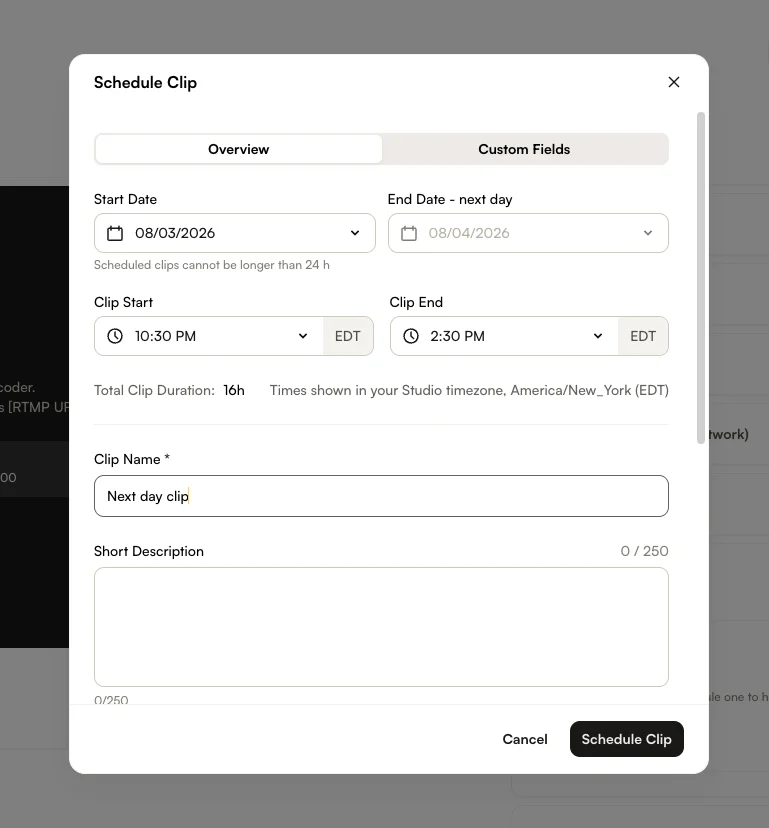
- Enter a Clip Name. This is required.
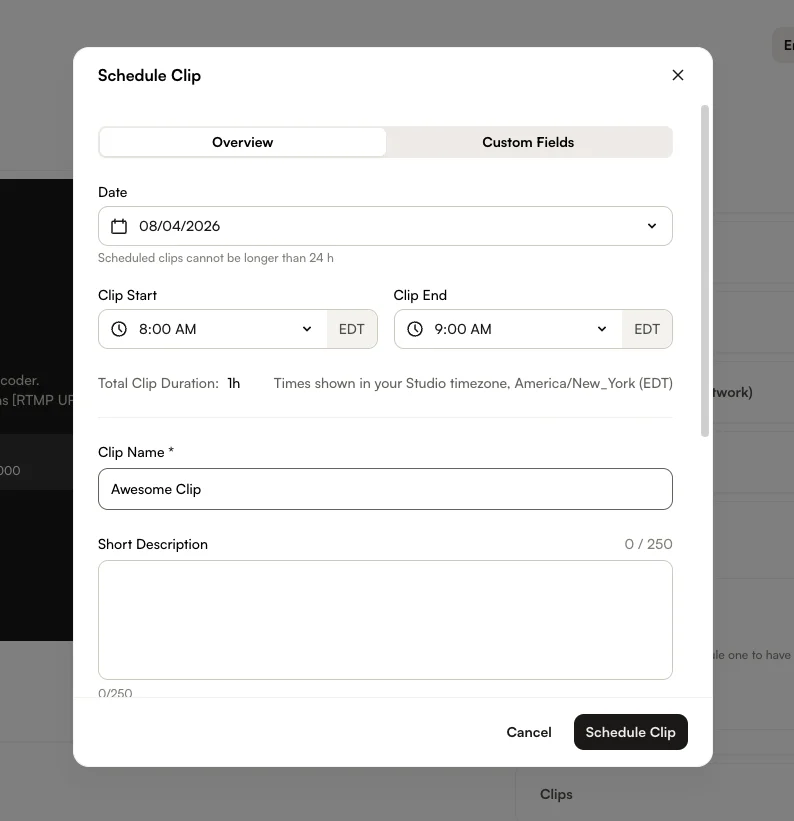
- Optionally, complete the remaining fields:
- Short Description
- Tags
- Reference ID — must be unique across your entire Video Cloud account.
- Ingest Profile — the transcode profile used for the resulting VOD. Leave the default unless you have a reason to change it.
- Video Status — Active or Inactive. Inactive clips are hidden until you activate them manually.
- Remove Source Ad Break Content — selected by default. Leave it selected to strip content that streamed during ad breaks out of the clip.
- If your account uses required custom fields, open the Custom Fields tab and complete them. The dialog cannot be saved while a required custom field is empty.
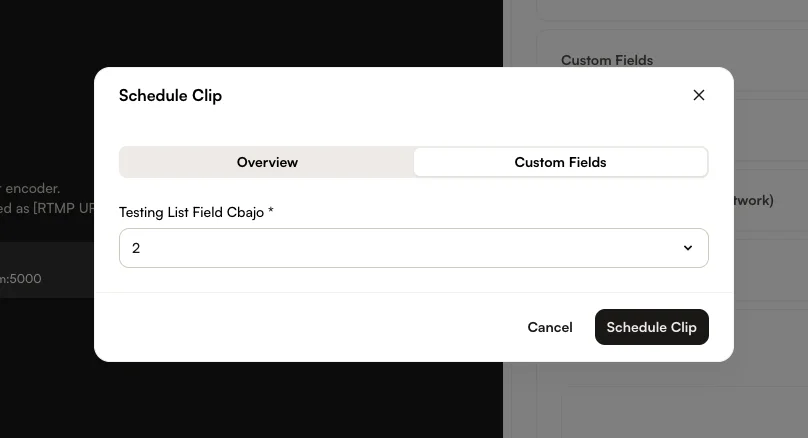
- Click Schedule Clip. The new schedule appears in the card with the status Scheduled.
Time zones
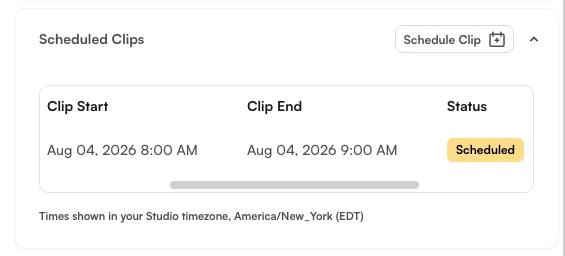
Clip times are entered and displayed in the time zone set on your Studio profile, and the card and dialog both state which zone is in use — for example Times shown in your Studio timezone, Asia/Tokyo (JST). If your profile has no time zone set, your browser's time zone is used instead and the label says so.
Because the zone is resolved from your profile rather than from the machine you happen to be using, a colleague in another region sees the same schedule rendered in their own zone. It refers to the same moment in the stream.
What happens when a scheduled clip runs
- Shortly after Clip End passes, Brightcove submits the clip request for you.
- The clip is cut from the channel's recorded stream, transcoded with the selected ingest profile and ingested into your Video Cloud library.
- The schedule's status becomes Completed and it is removed from the Scheduled Clips card. The finished clip is listed in the Clips card and in the Media module, exactly like a clip created by hand.
Editing and cancelling a schedule
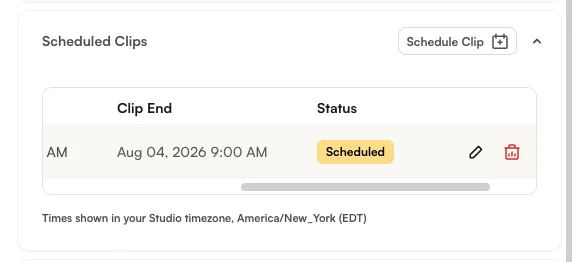
The Scheduled Clips card lists each schedule with its Name, Clip Start, Clip End and Status. Times in the card use the same timezone as the dialog, stated below the list.
- To edit a schedule, click the edit icon on its row, change the values in the Edit Scheduled Clip dialog and click Update Clip.
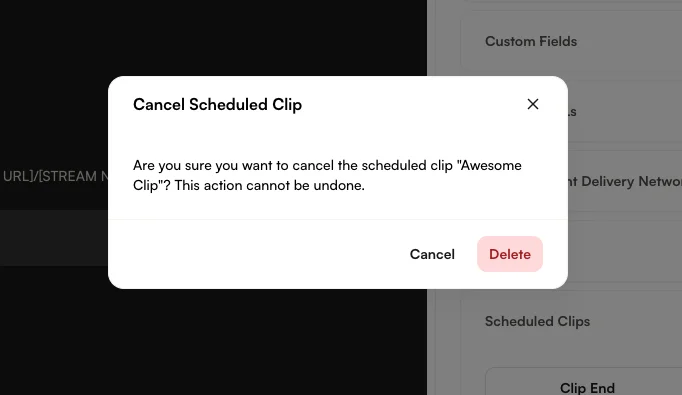
- To cancel a schedule, click the delete icon on its row, then click Delete to confirm. Cancelling cannot be undone; schedule a new clip instead.
Statuses
| Status | Meaning | Listed in the card |
|---|---|---|
| Scheduled | Waiting to run. Can be edited or cancelled. | Yes |
| Failed | The clip window passed but no clip was produced. See Troubleshooting. | Yes |
| Completed | The clip was produced. The resulting video is in the Clips card and the Media module. | No |
| Cancelled | You cancelled the schedule before it ran. | No |
Rules and limits
| Rule | Detail |
|---|---|
| Clip end must be in the future | To clip content that has already streamed, use the clipping timeline instead. |
| Minimum duration | 5 minutes. |
| Maximum duration | 24 hours. |
| Clip name | Required. |
| Reference ID | Optional, but must be unique across the account. A duplicate causes the clip to fail when it runs. |
| Pending schedules per account | Up to 1,000 schedules can be waiting to run at any one time. Contact Brightcove Support if you need a higher limit. |
Troubleshooting
A schedule shown as Failed usually means one of the following:
- The clip window fell outside the stream — the channel was stopped, or the window covers a period with no content.
- The channel was not running when the clip was requested.
- The Reference ID was already in use by another video in the account.
Correct the cause and schedule a new clip. Failed schedules cannot be retried in place.
Differences from Legacy Live
If you scheduled clips on Legacy Live, note the following changes:
- No placeholder video. Legacy Live created an empty video in the Media module as soon as you scheduled a clip. NextGen Live creates the video only when the clip is actually produced, so a cancelled or failed schedule leaves nothing behind to clean up.
- Times follow your Studio profile time zone, and the zone is stated on screen. Legacy Live did not address time zones.
- Scheduling lives in one place — the Scheduled Clips card in the Control Room Overview tab. Legacy Live also offered an entry point on the clipping page.
- Completed schedules drop off the list rather than remaining alongside the clips they produced.