Overview
Setting up the Salesforce integration using the Viewing Data Integration section exports additional granular (event-based) data. This viewing data is bound to a custom object and appended, not overwritten, on each contact sync.
Requirements
- Must have a Video Cloud account
- Must have Admin access to create integrations.
- Must have Viewer Analytics and Audience Insights enabled.
- Must have a Marketing Studio Essentials or Premium account to access MAP connections.
- Must have a Salesforce account
- Must have API access enabled.
- Must be able to install apps from the Salesforce AppExchange Marketplace.
- Must have 'Modify Metadata' or 'Modify All Data' permissions.
- Must have the 'System Administrator' profile.
Video ID Tracking
The Salesforce integration will only send data to Contacts that exist in both systems. It will not create new Contacts in Salesforce. This integration identifies users through a Salesforce Contact ID, which serves as the Viewer ID and must be set in the Brightcove Player to be registered in our system. For more details, see how to configure Viewer ID Tracking for Salesforce in the Player.
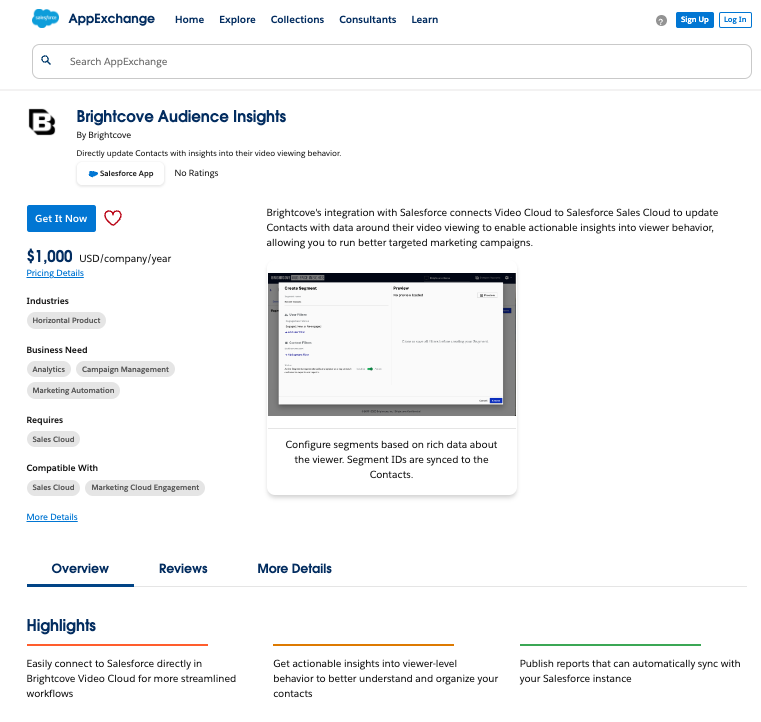
Install App
Install the Brightcove Audience Insights app from the Salesforce AppExchange Marketplace to allow Brightcove to integrate with your Salesforce account.
Create the integration
Log in into Video Cloud Studio.
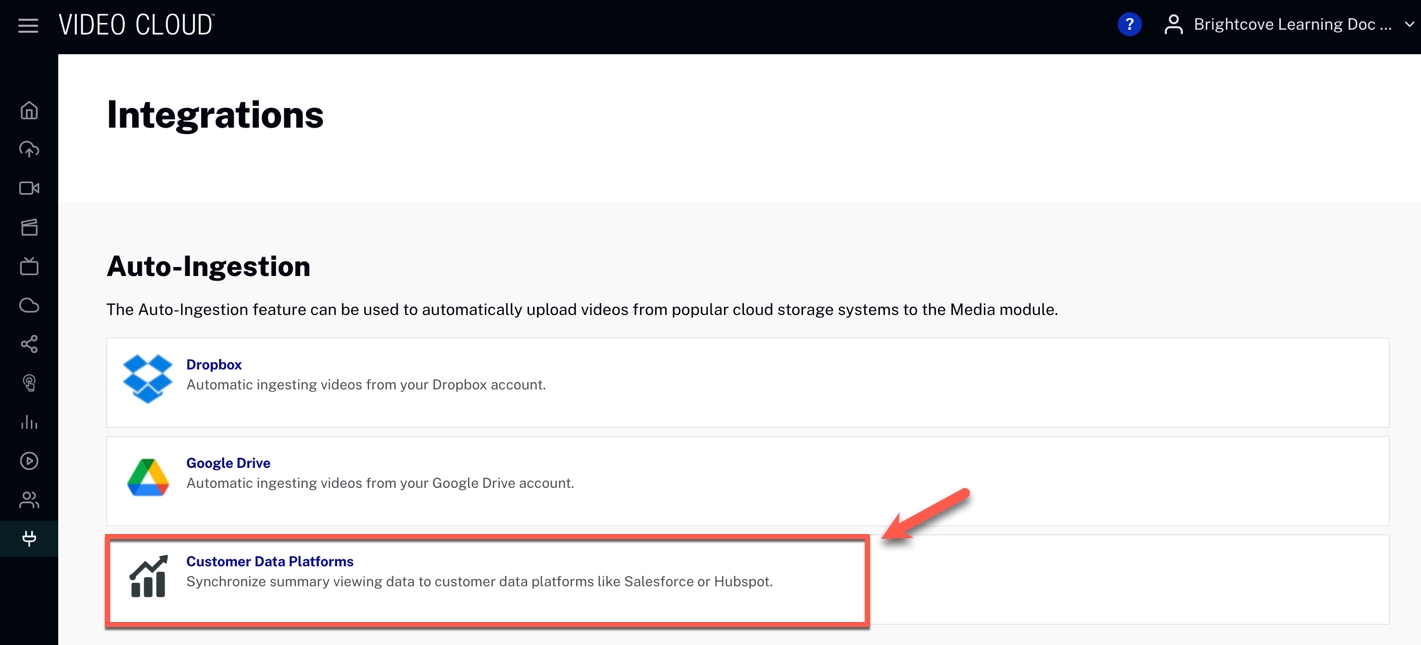
- Open the Integrations module.
-
Click Customer Data Platforms
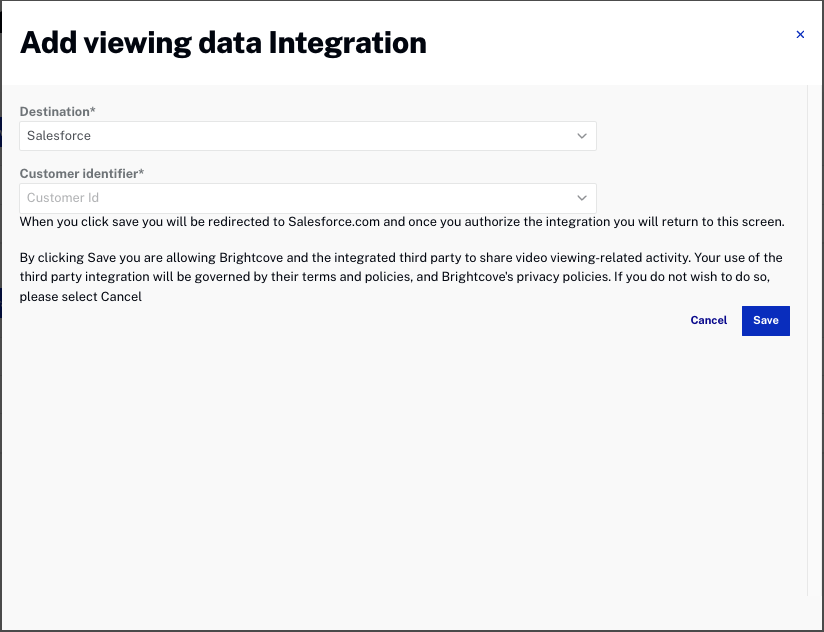
- On the Viewing Data Integration section, click
-
Select Salesforce from the Destination dropdown.
- Select your target environment:
- If you want to test in a sandbox environment, choose Sandbox (see Salesforce Sandboxes: Sandbox Development Environment for details about Salesforce sandboxes).
- Choose Production if you want to connect to your production instance.
- Click
- You will be redirected to Salesforce to authorize access for the application.
- If you accept, you will be redirected to Video Cloud Studio, where the integration will complete the setup.
- The integration will create a Salesforce custom object named
BrightcoveViewEventwith default settings. - Viewing data will be sent to Salesforce as the above custom objects.
Validating data within Salesforce
The following steps will give one way to view custom object data in Salesforce as a report. An admin user must do steps 1-8. This assumes Salesforce has Lightning Experience enabled. These steps may be different for Classic.
- From Salesforce, at the top right, click the cog wheel.
- Click Setup.
- Click Object Manager.
- In the Quick Search box, type in
BrightcoveViewEvent. - Click the custom object with the API Name
BrightcoveViewEvent__c. - In the Details tab, click Edit.
- In the Optional Features section, make sure the Allow Reports checkbox is enabled.
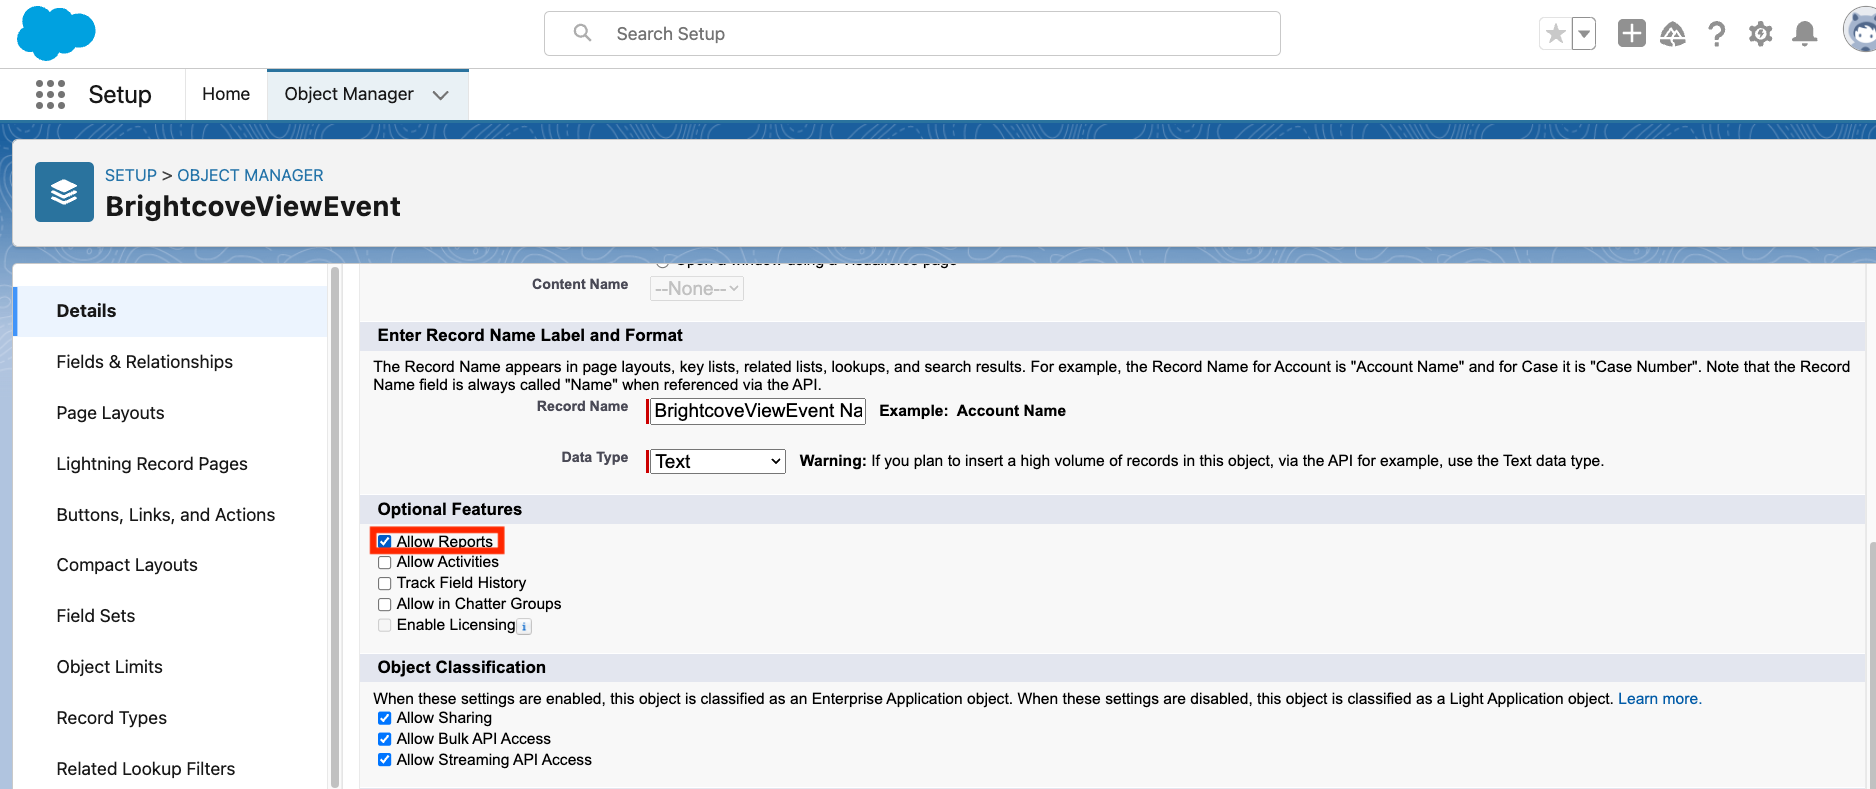
- Click Save.
- Go to the Salesforce home page.
- Click Reports.
- Click New Report.
- In the search box, type
BrightcoveViewEvent. - Click on the
BrightcoveViewEventreport type.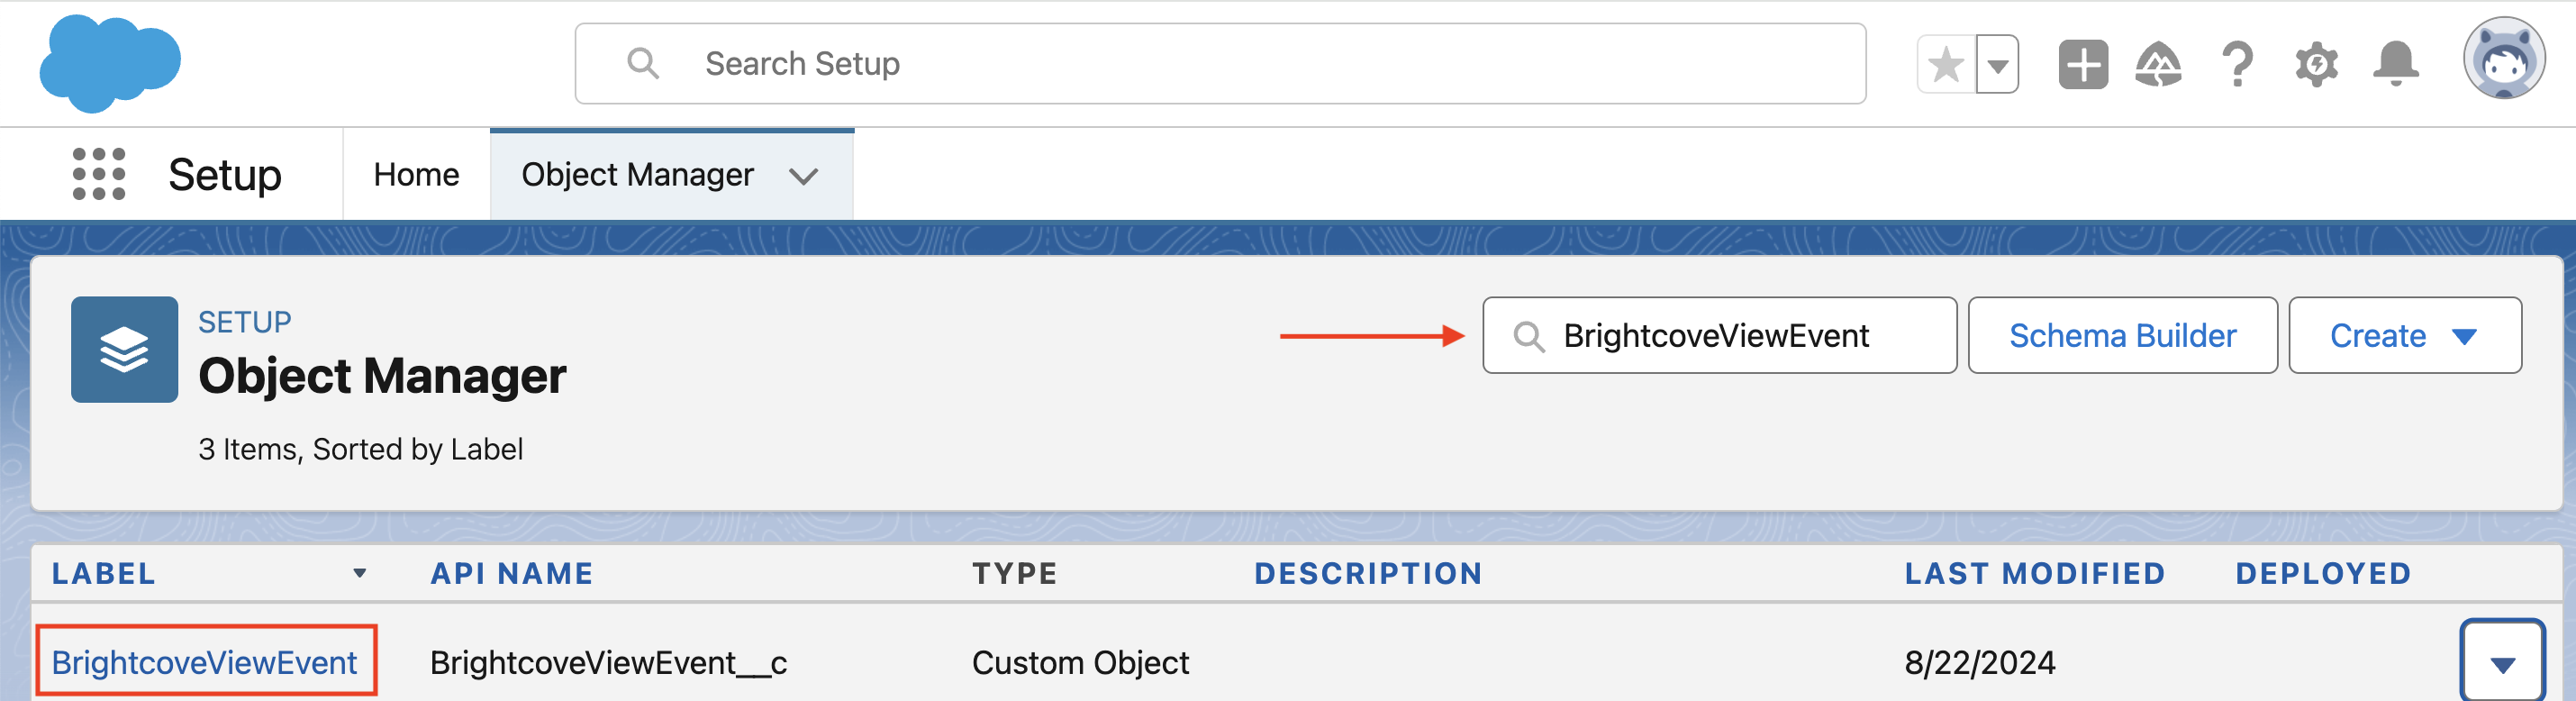
- Click Start Report.
- In the left pane, click Add column and add the desired columns to the report.
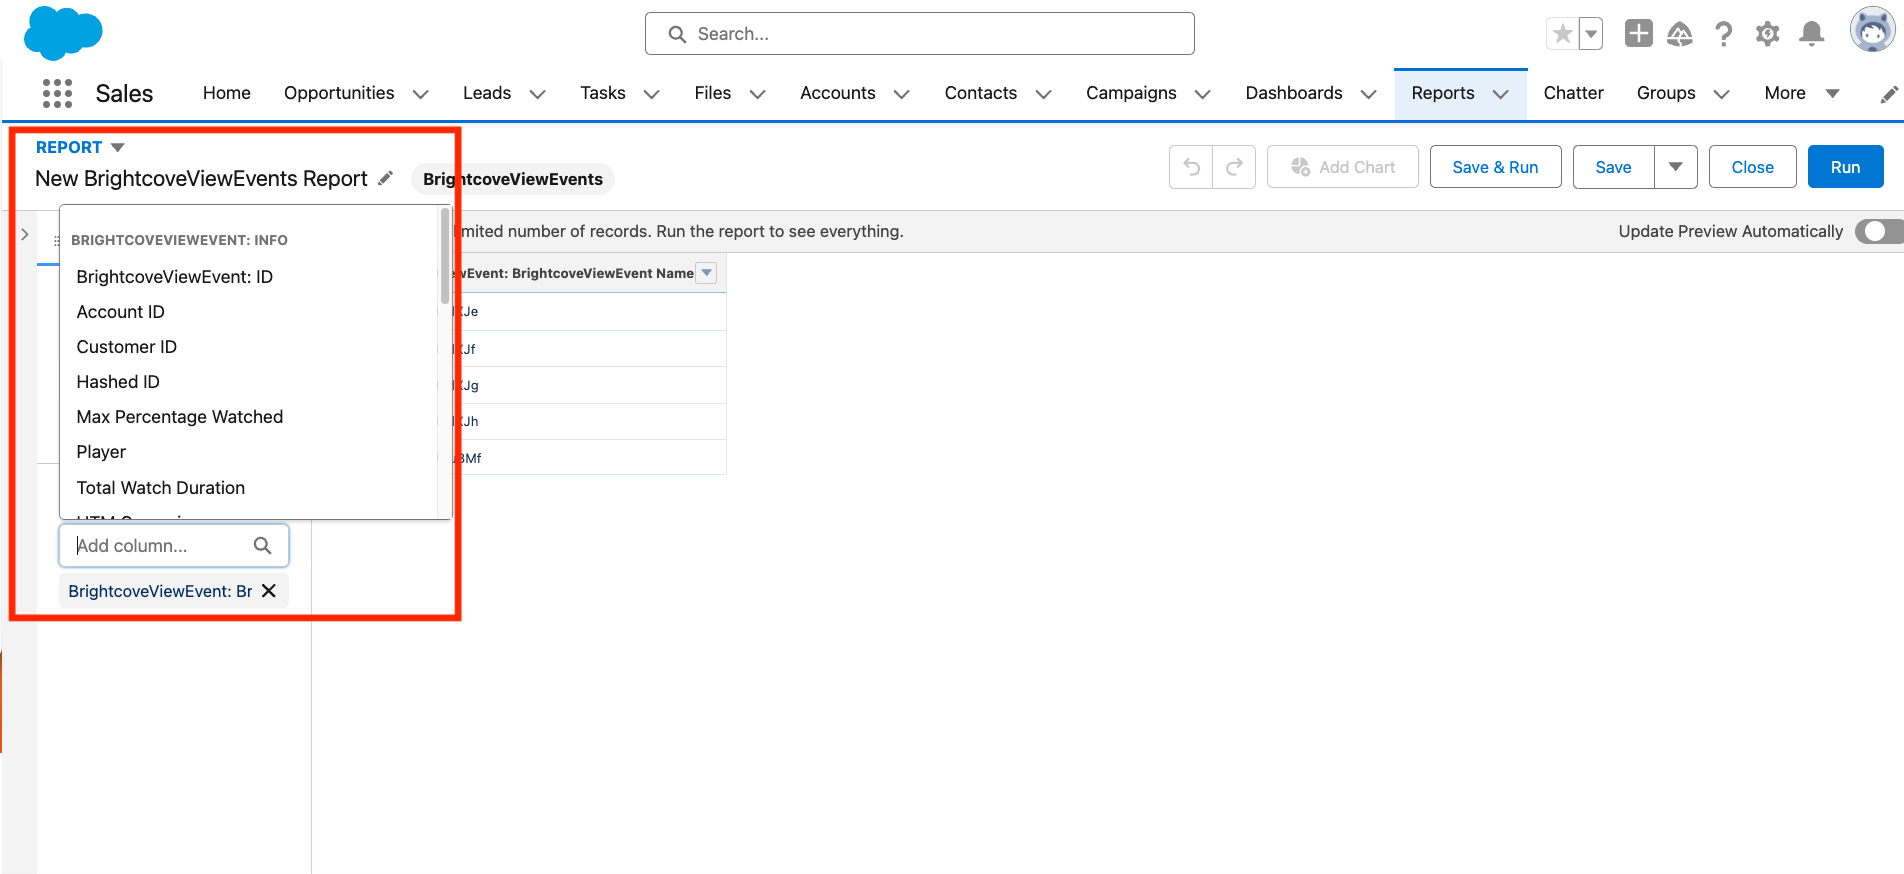
- Click Run to view the custom object data.
Delete Integration
Log in to Video Cloud Studio.
- Open the Integrations module.
-
Click Customer Data Platforms
- On the Salesforce row, click the trash icon (
 ).
). - Type DELETE (case sensitive) to confirm.
- Click .
Troubleshooting
Cannot Create Integration
- Please contact Brightcove Support.
Data is Not Appearing in Salesforce
- It may take from 24 to 48 hours for views to be registered in our system.
- If you have both a Viewing Data Integration and a Contact Integration for Salesforce, one of the integrations can invalidate the other's credentials. We currently do not support having both simultaneously, so if this is the case, please delete one of the integrations and reauthorize the remaining one.
- Ensure that Salesforce Contacts exist for the expected users.
- Ensure that the Salesforce Contact IDs for the expected users are being set in the Brightcove Player.
- If the issue persists, please contact Brightcove Support.